How to Import Trust Wallet to MetaMask?
Are you looking to import your Trust Wallet account to MetaMask? If you’re reading this, the answer is probably yes. And we totally get it—many of us have been there too. When you first dive into crypto, you often pick the wallet that’s most convenient or the one you’ve heard of, and Trust Wallet is a popular choice.
However, MetaMask is another of the best crypto wallet options. If you’re ready to switch or simply want to import your Trust Wallet into MetaMask, we’re here to guide you through it step by step.
Plus, we’ll go over a few things you should know about both wallets to make sure this is the right move for you.
Let’s get started!
[nativeAds]
How to Import Trust Wallet to MetaMask – Step-by-Step Guide
Importing Trust Wallet to MetaMask is relatively easy and quick. First, you should have a working MetaMask account. If you don’t have one yet, you can create it by following these steps:
- Access MetaMask on the desktop or download the mobile app;
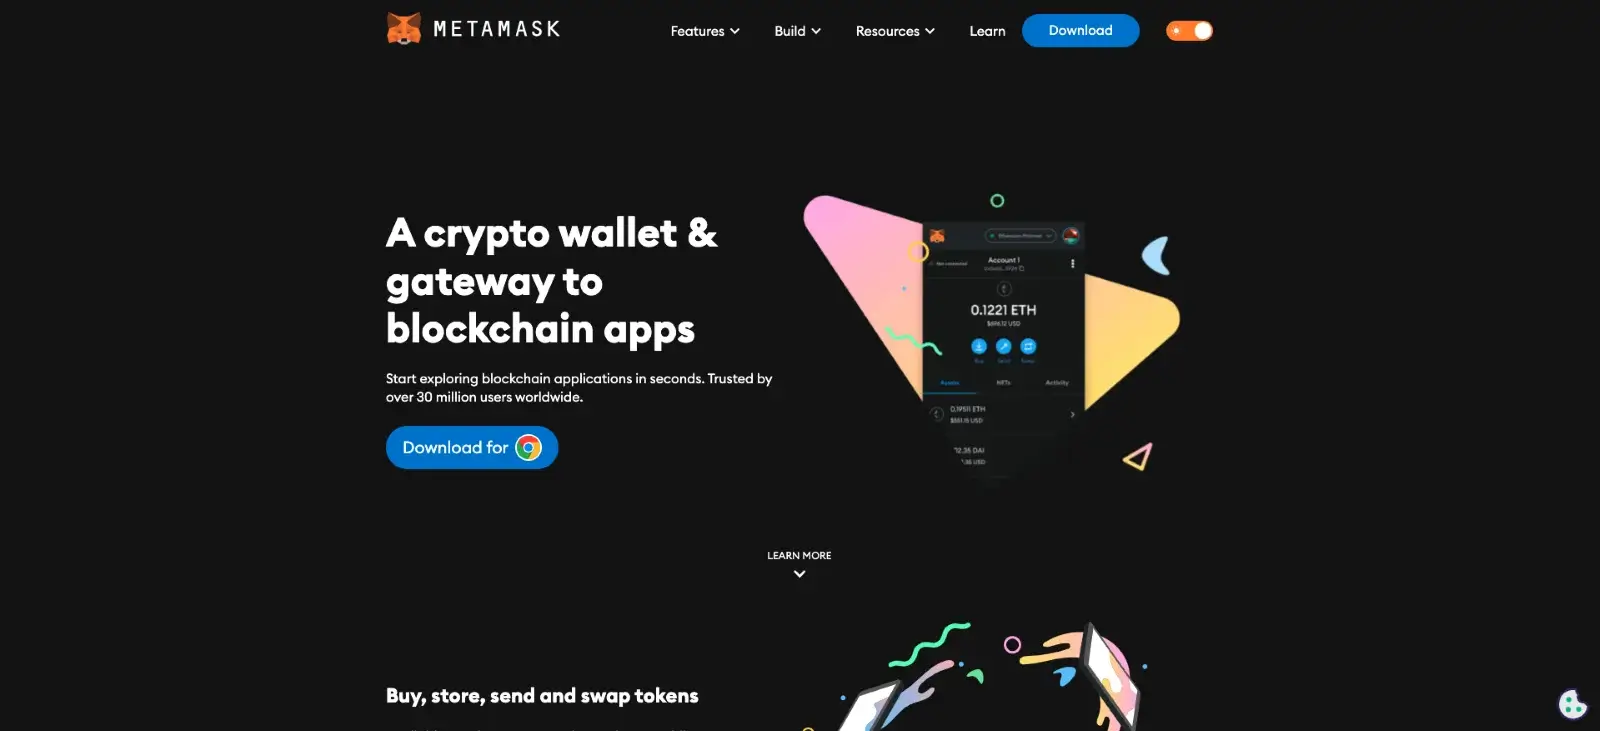
- Download the MetaMask browser extension (in case you chose to use your computer);
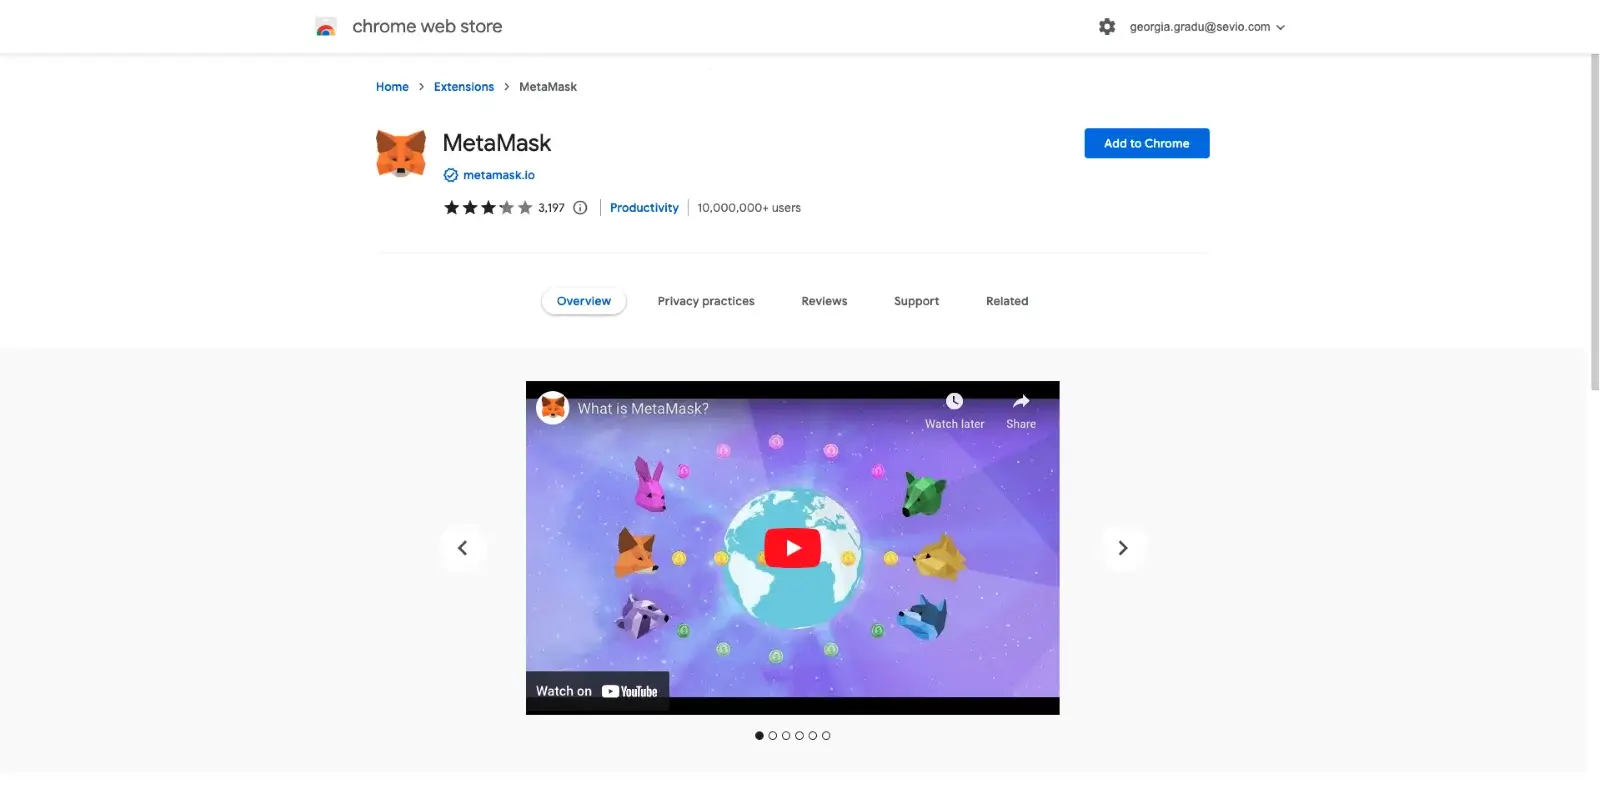
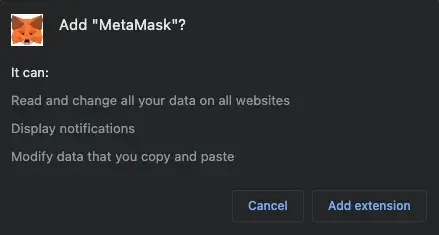
- Create a new MetaMask wallet;

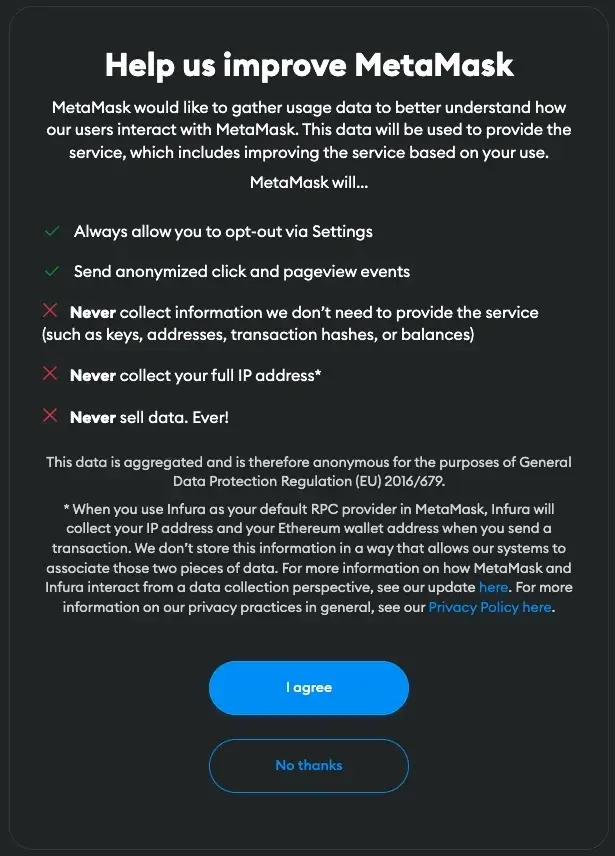
- Create a strong password and confirm it;
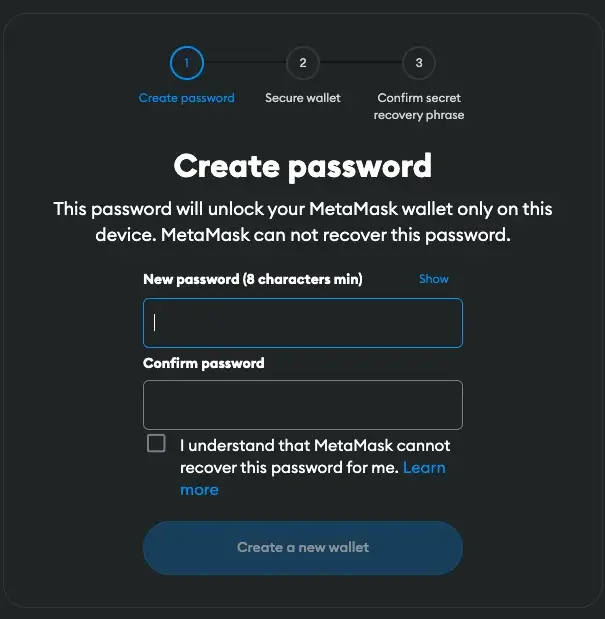
- Secure your wallet to keep your funds safe;

- Reveal the recovery phrase and copy it to a safe place that can be accessed only by you;

- Confirm the seed phrase by filling the empty spaces with the words required;
- Your MetaMask account is all set up.

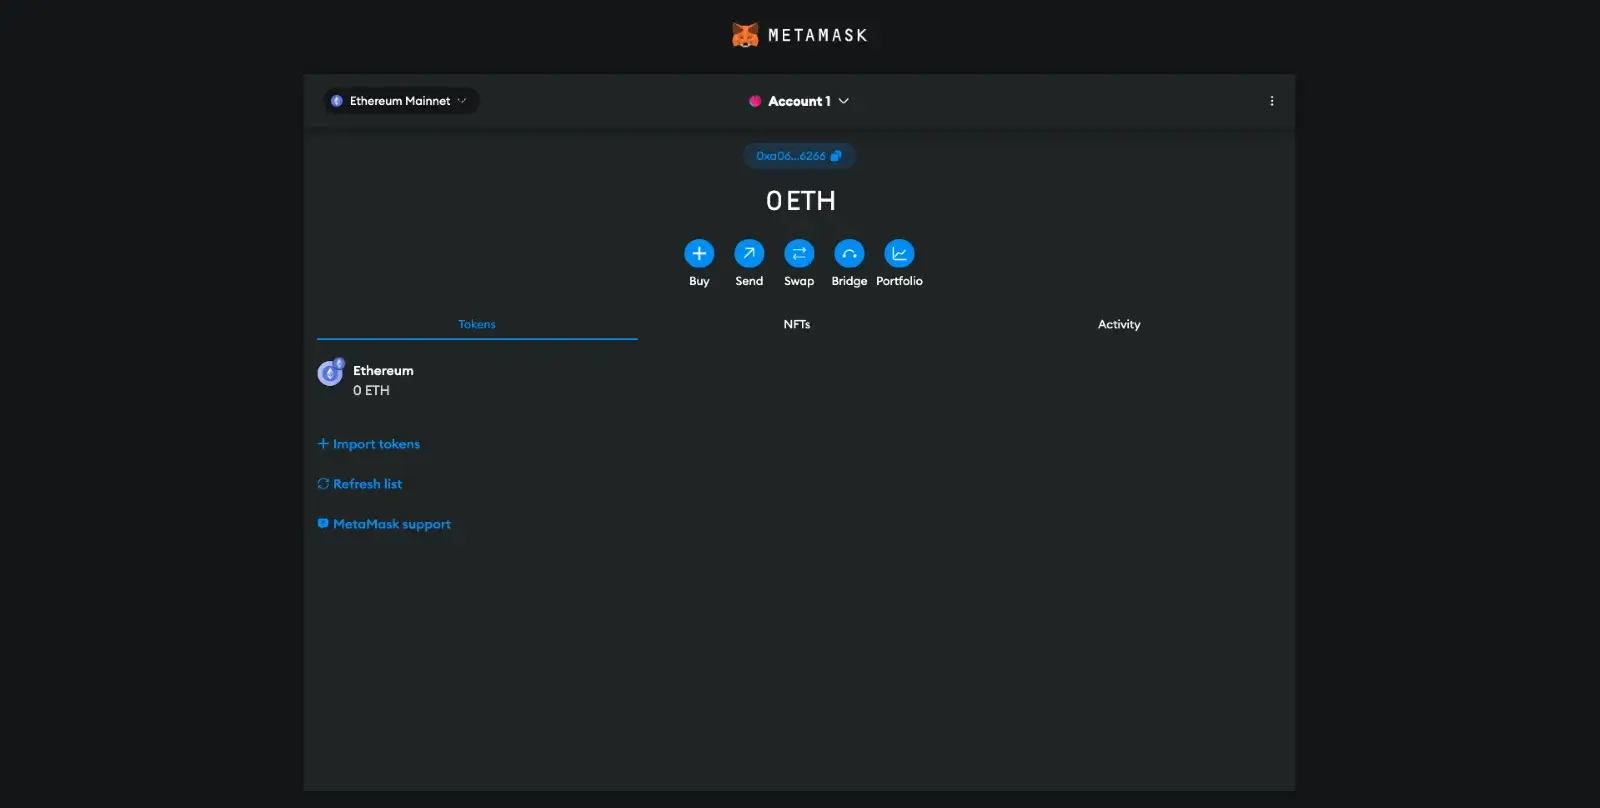
After you set up your MetaMask account, it’s time to connect Trust Wallet to it. To do that, the easiest way is to use MetaMask Mobile.
How to Import Trust Wallet to MetaMask – Method 1
The first and simplest way to import Trust Wallet to MetaMask is by using your Secret Recovery Phrase.
Step 1: Install MetaMask
Go to Google Play or Apple Store and download the MetaMask app.
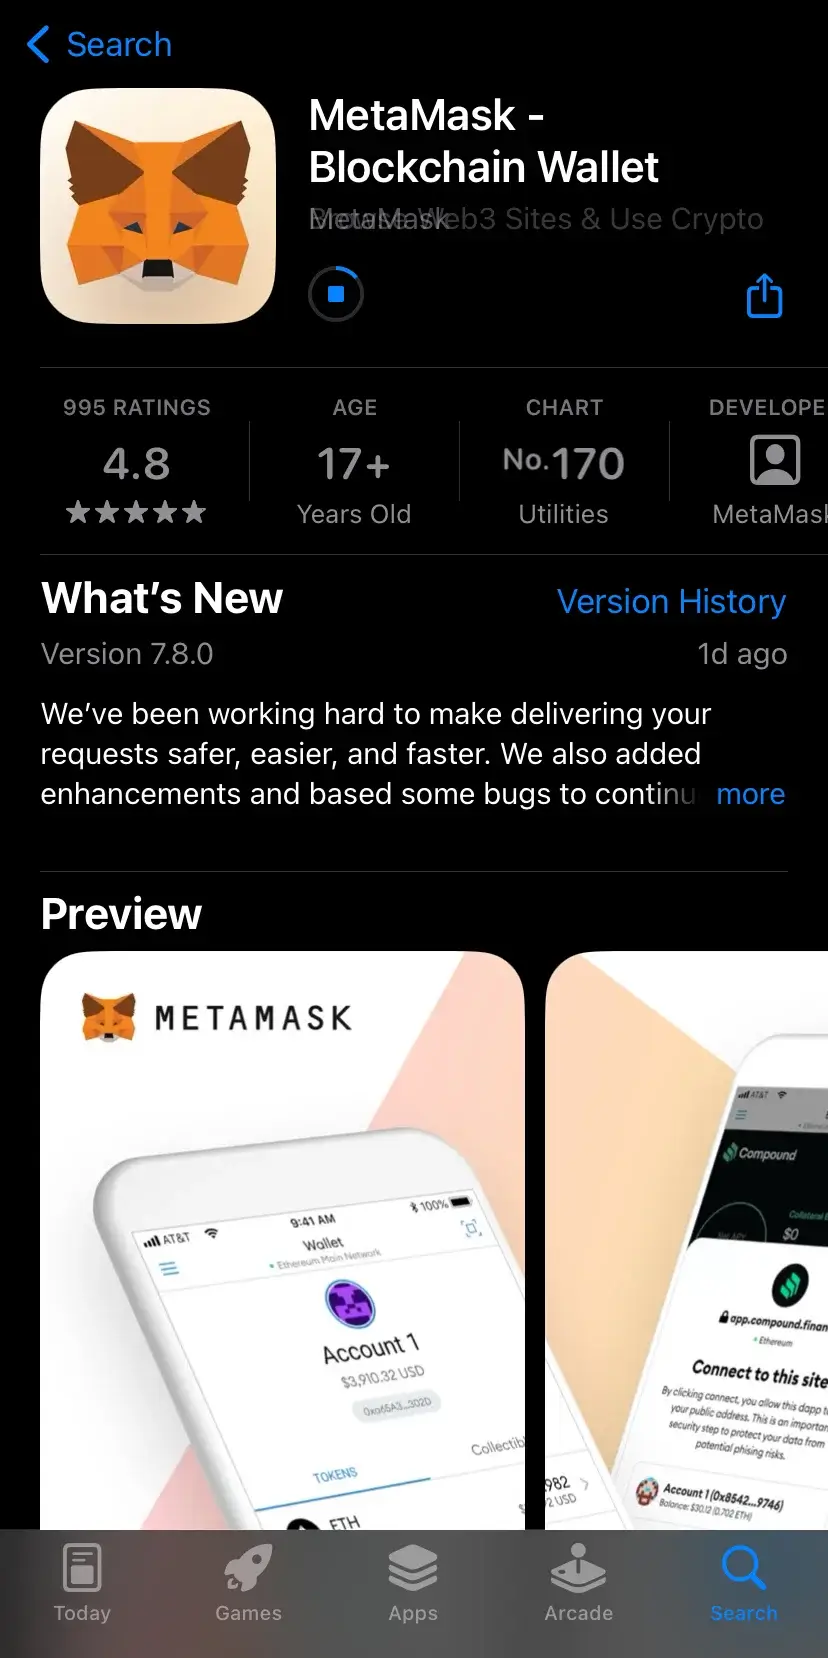
Step 2: Open the MetaMask app and click on “Get started”
Open the MetaMask app. There, you will see a “Get started” button. Click on that to find the options to create or import wallets.

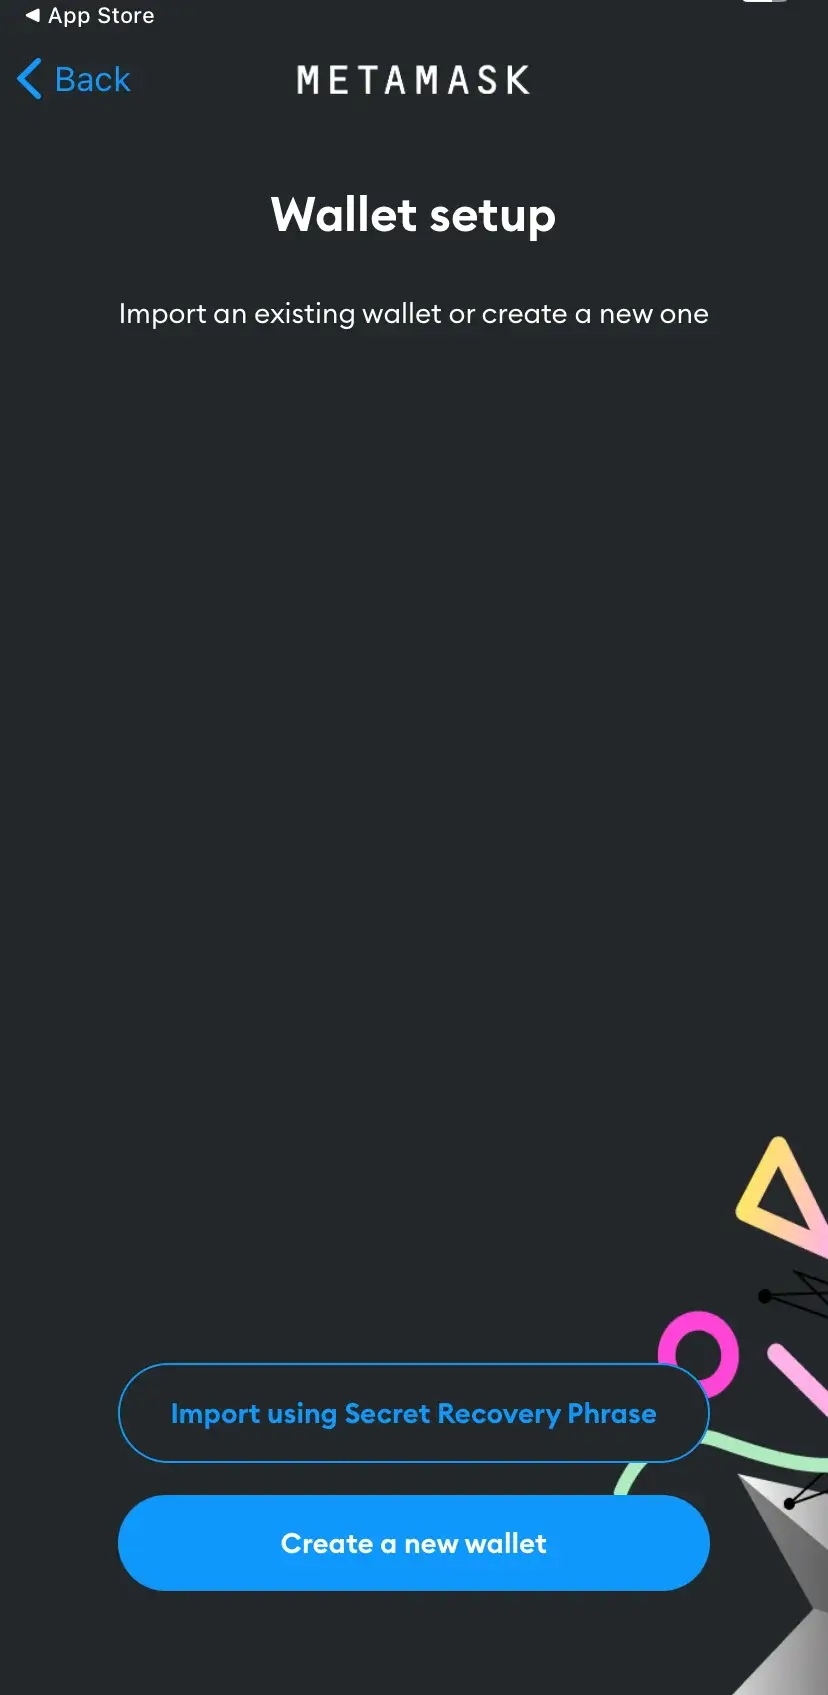
Step 3: Click on “Import using Secret Recovery Phrase”
You will see 2 options: “Import using Secret Recovery Phrase” and “Create a new wallet.” Click on the first one to start importing your Trust Wallet.
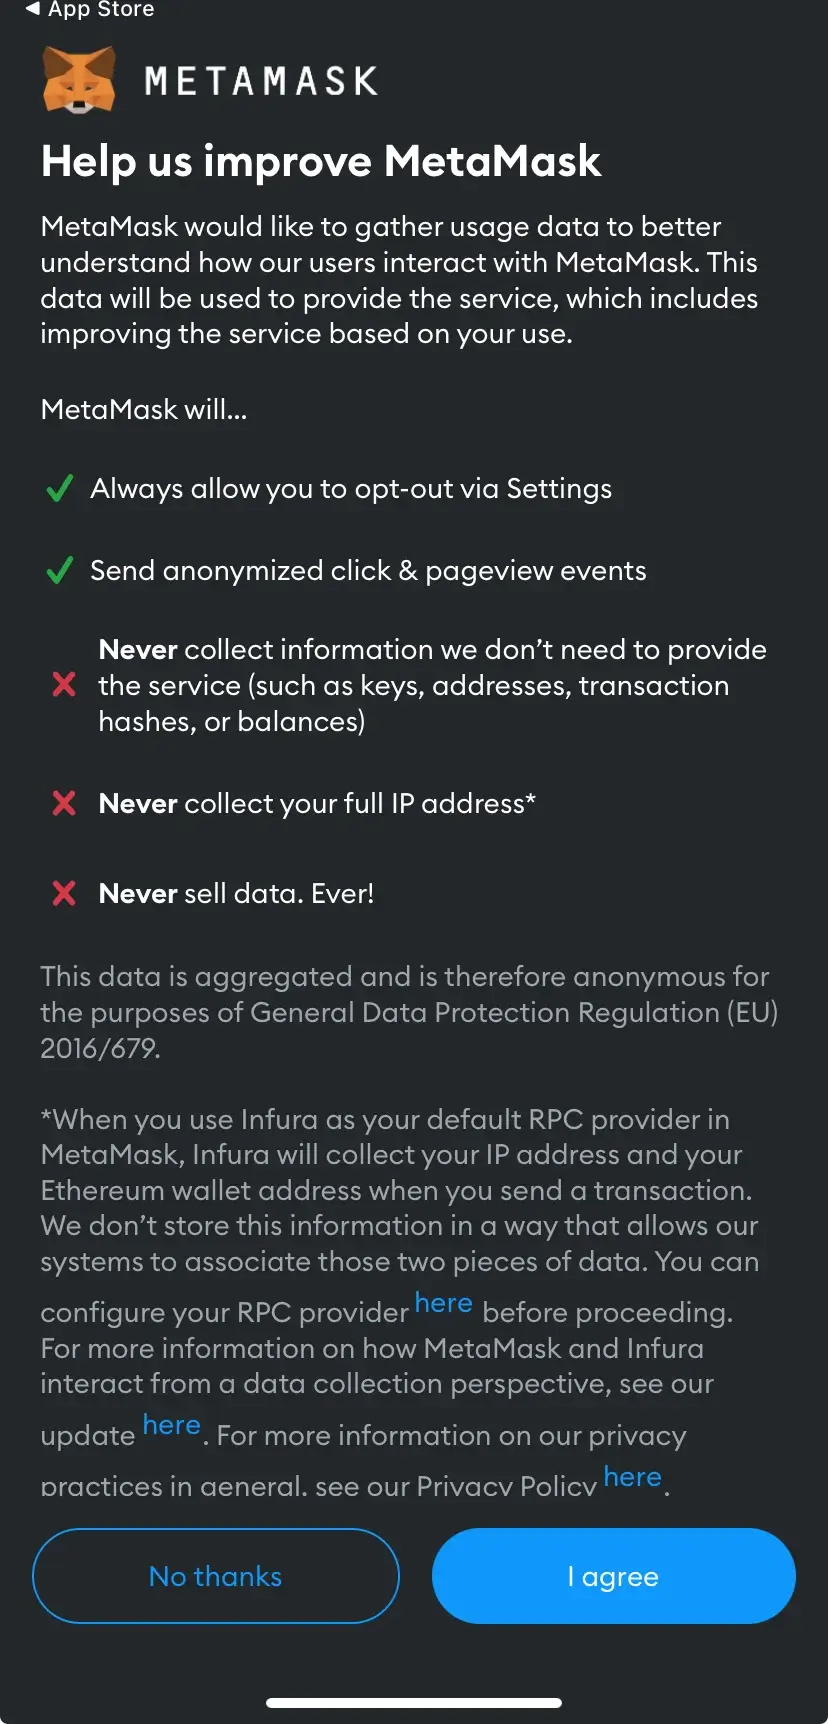
Then, you will be required to agree to MetaMask’s policy. Read the information thoroughly and click on “I agree.”
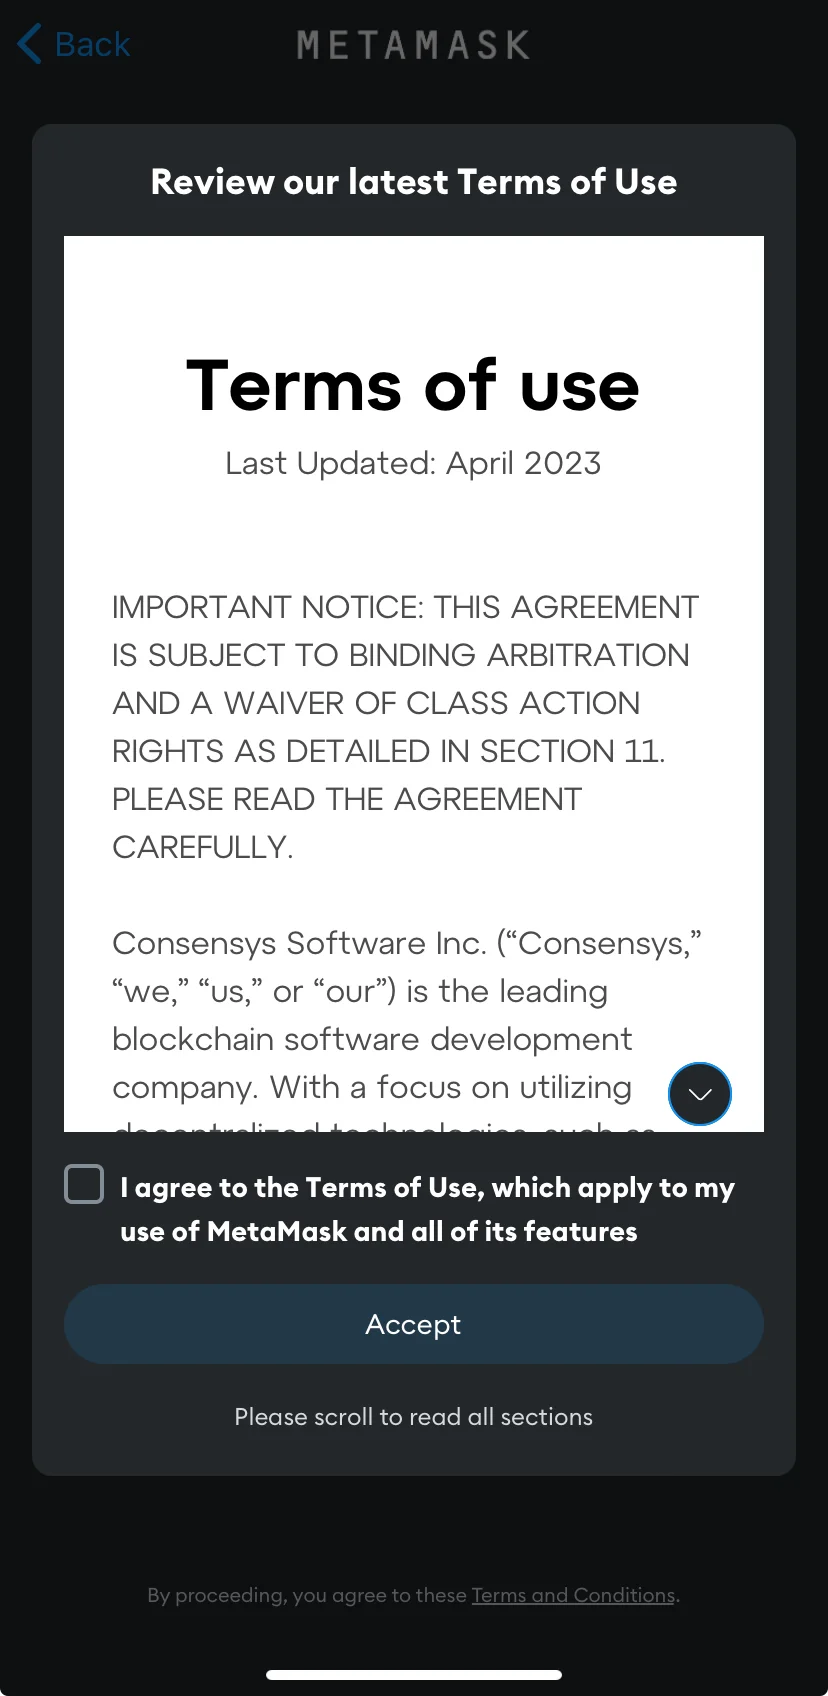
Afterward, you can review MetaMask’s latest Terms of Use. After reading them, check the “I agree” section and click “Accept.”
Step 4: Import the Secret Recovery Phrase
The next step is to add the Secret Recovery Phrase from Trust Wallet.
To do that, go to the Trust Wallet app.
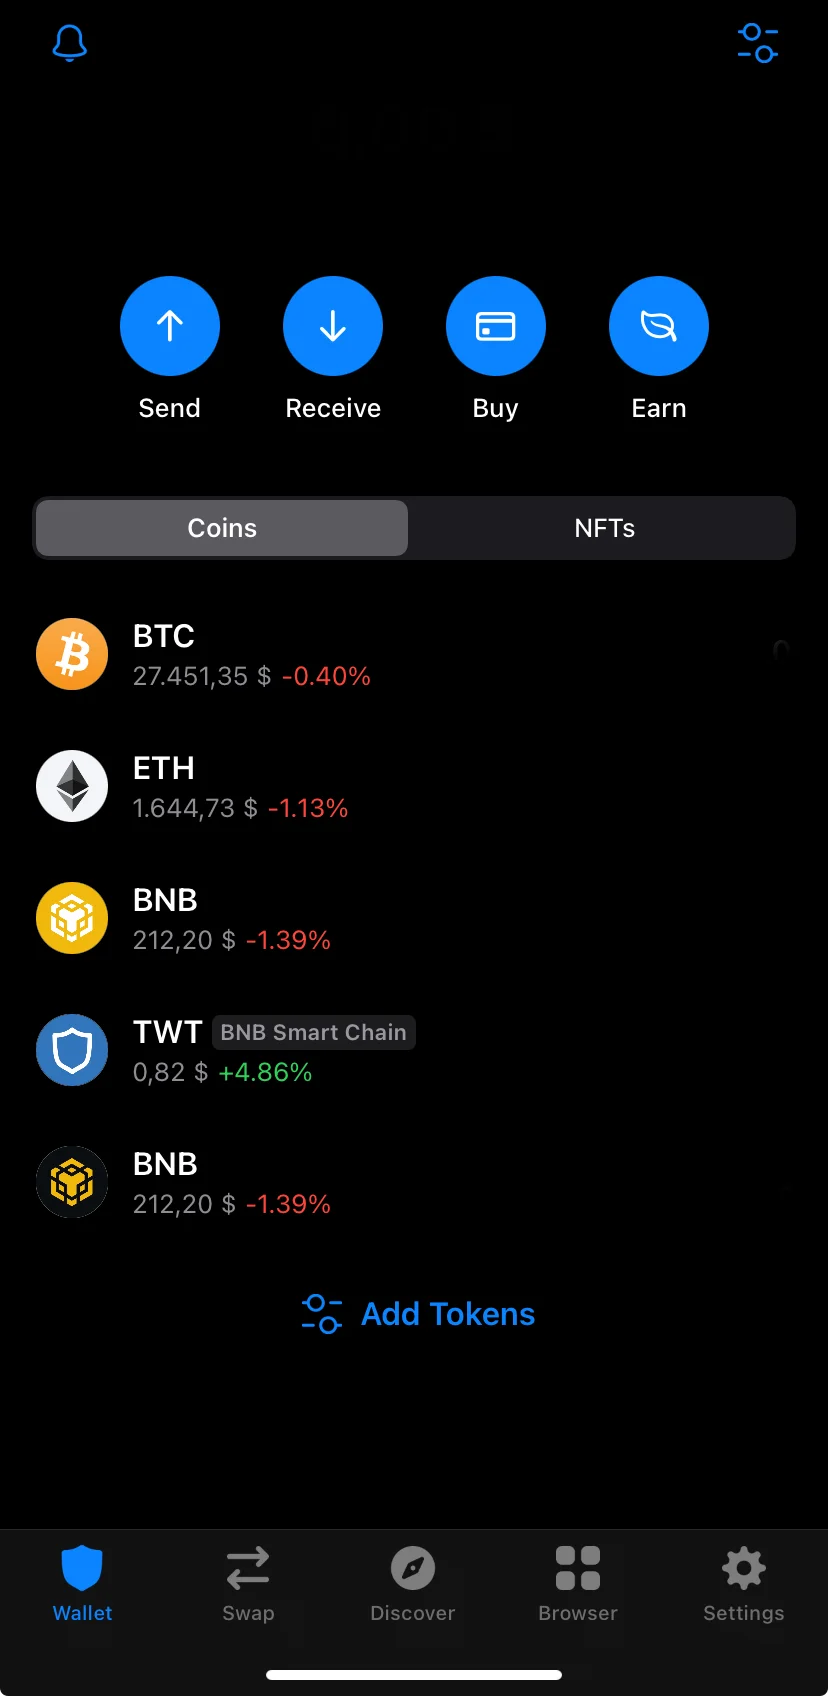
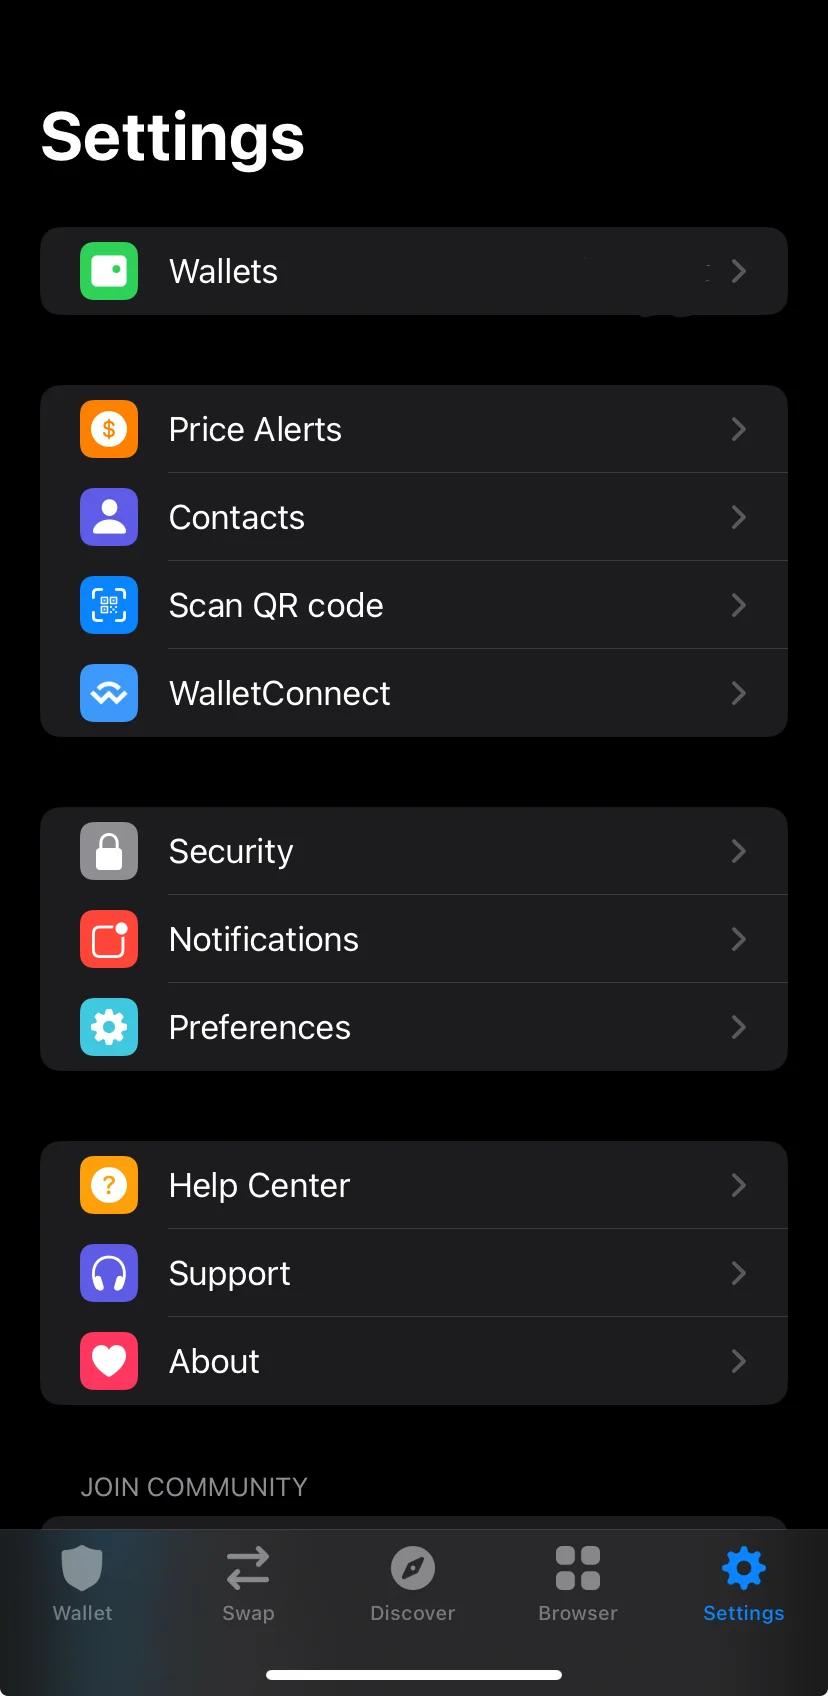
Click on the “Settings” icon from the lower right corner. Click on “Wallets,” the first option from the settings.
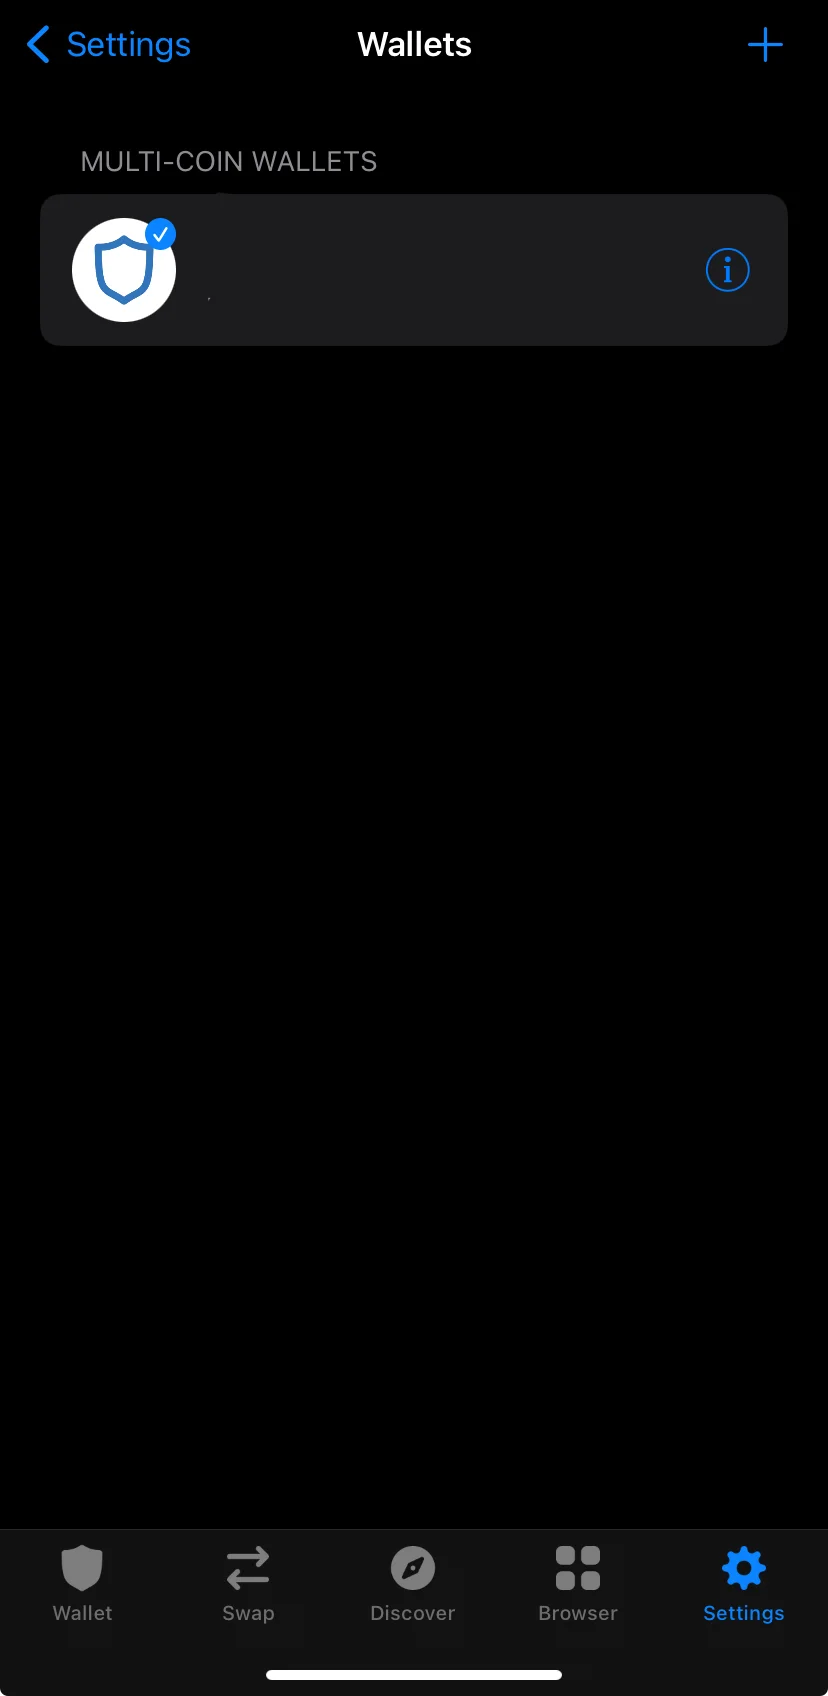
Click on the “Information” icon beside the name of the cryptocurrency wallet you want to import.
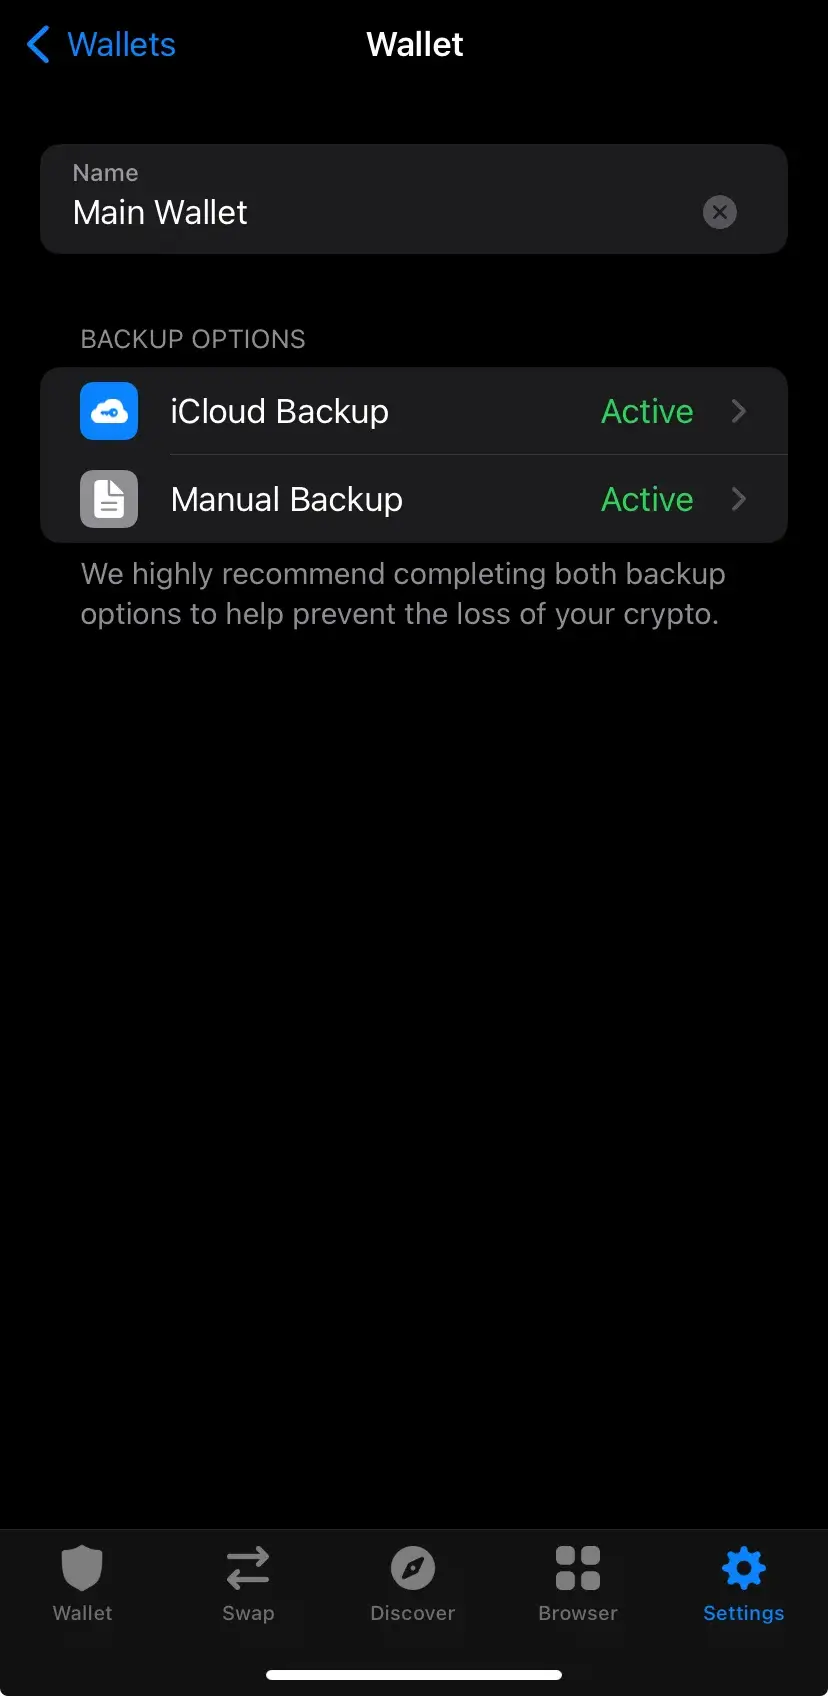
There, you will be able to find the Secret Recovery Phrase. Copy it and go back to MetaMask. You can also write the Secret Recovery Phrase somewhere safe and copy it from there.
Step 5: Paste the Secret Recovery Phrase to MetaMask
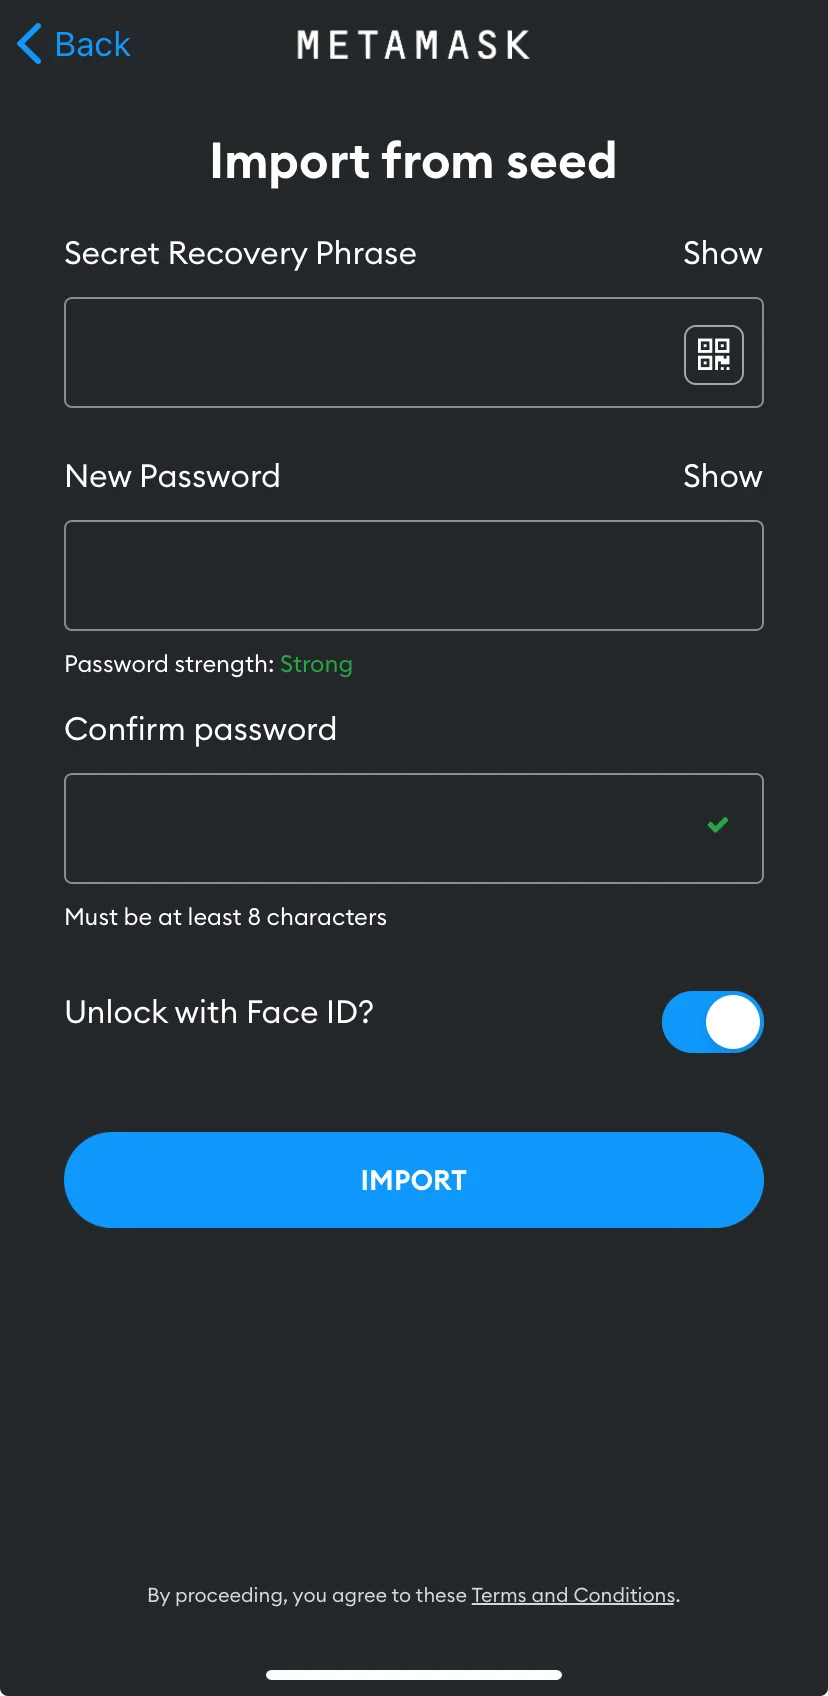
When you return to MetaMask, you will find a place where your Secret Recovery Phrase is required. Paste the secret words there.
Step 6: Create a password
Afterward, enter a strong password and confirm it. Remember that the password will secure your wallet and, therefore, your funds, so make it as strong as possible.
Step 7: Click on “Import”
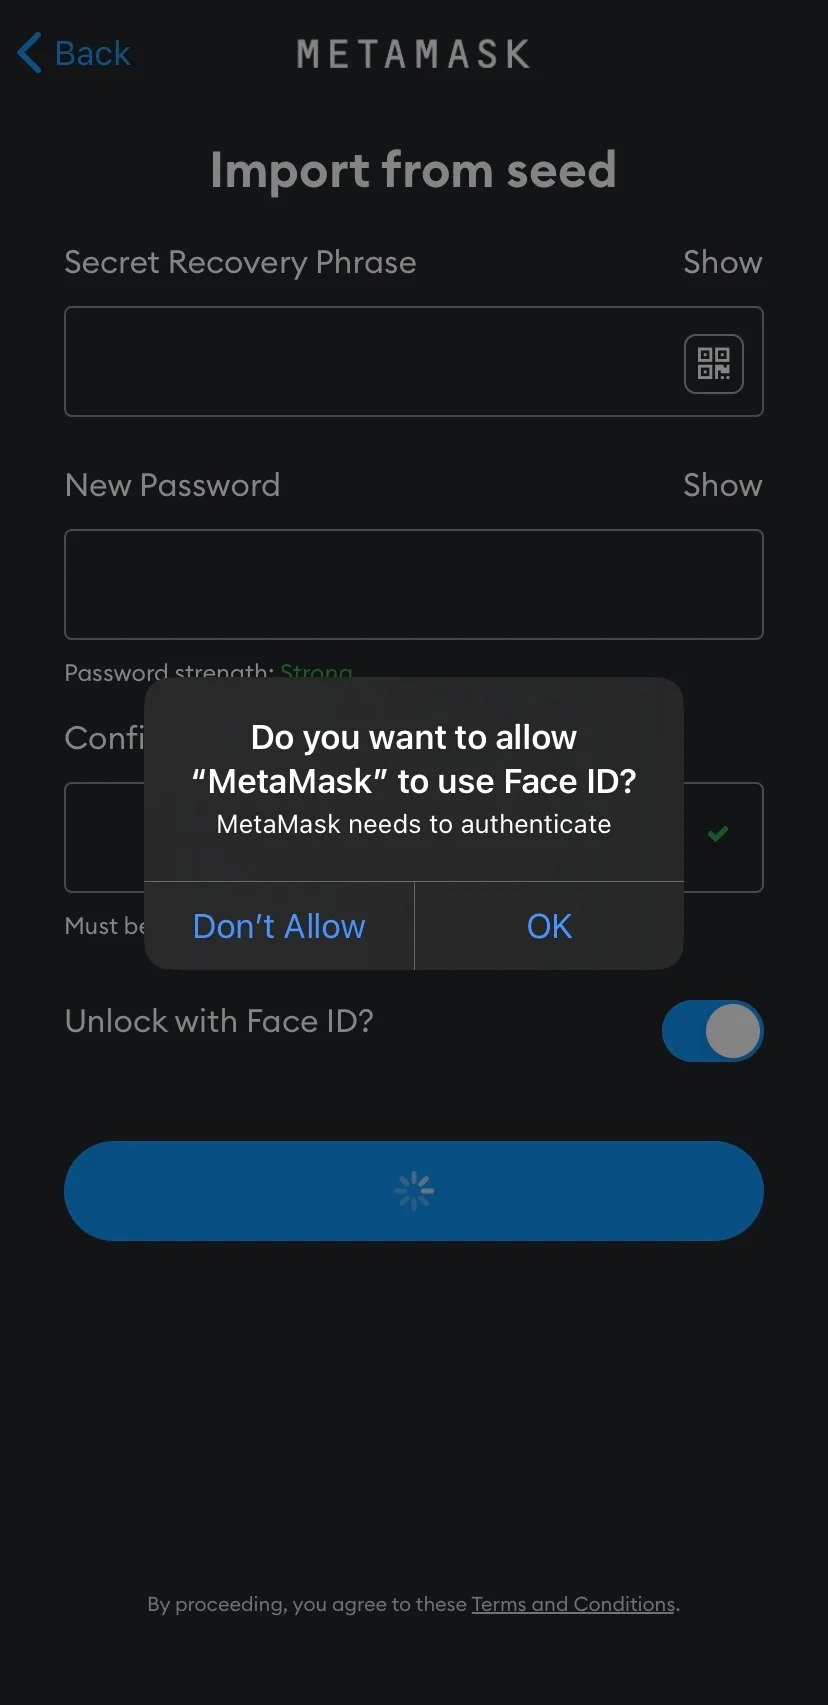
After you enter the Secret Recovery Phrase and create a password, you will also have the possibility to enable FaceID to enter the wallet. Then, your Trust Wallet is imported to MetaMask.
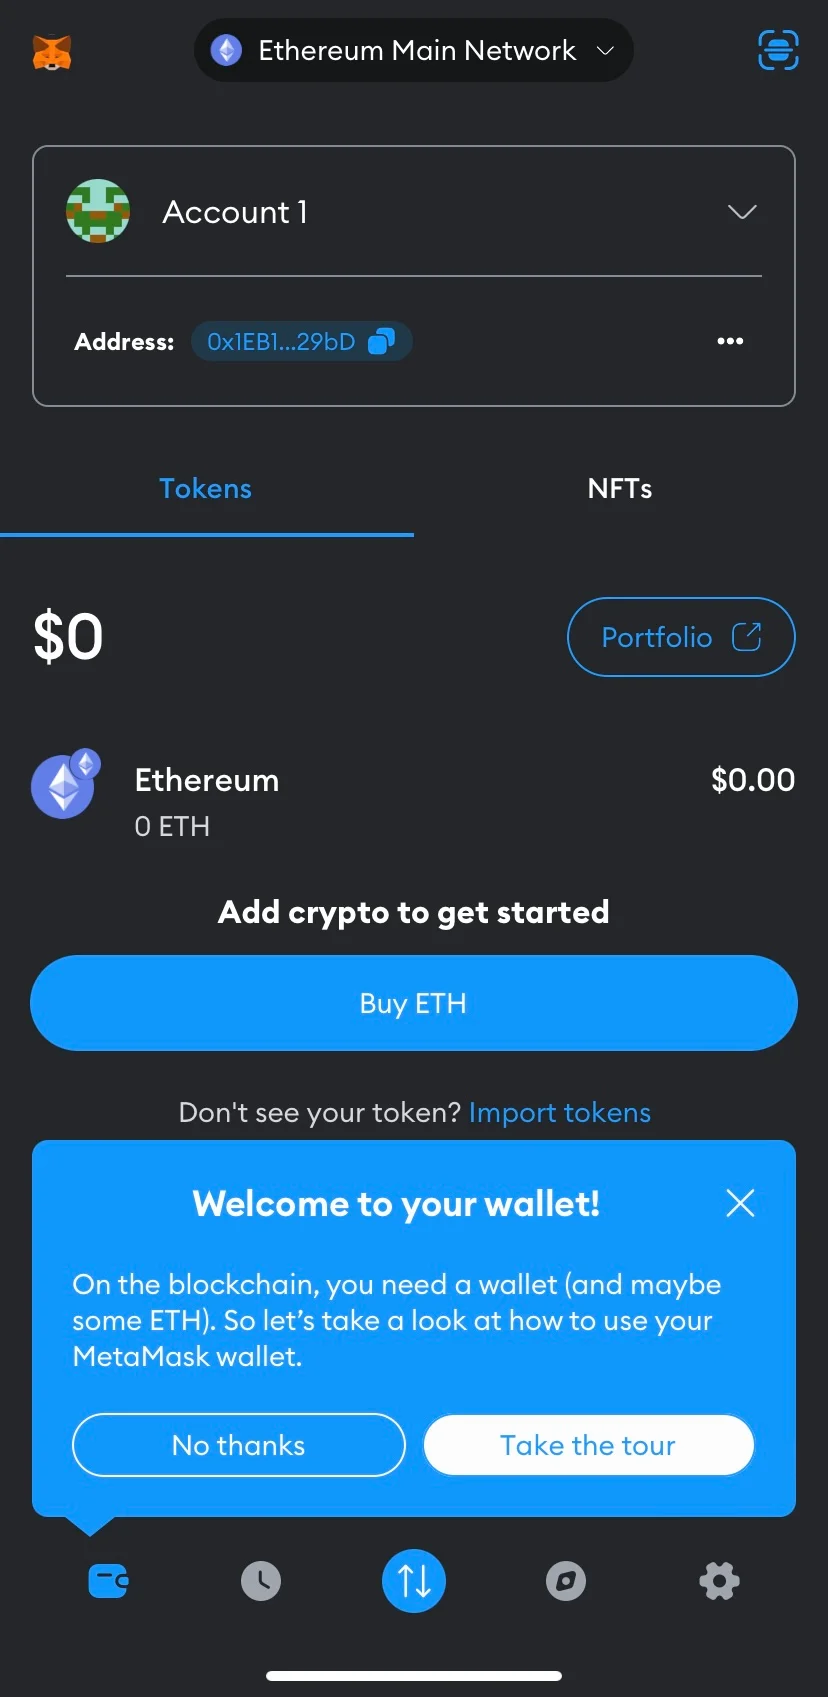
Afterward, you successfully imported Trust Wallet to MetaMask.
How to Import Trust Wallet to MetaMask – Method 2
The second method to import Trust Wallet to your MetaMask account is by using your private key. However, you will not be able to find the private key on Trust Wallet, so you will have to use a tool to convert a mnemonic phrase to a private key.
Step 1: Look for a mnemonic code converter
First, you will have to find a trustworthy mnemonic code converter. In this guide, we will use iancoleman.io.
However, it’s better to be paranoic when it comes to your secret phrase and private key, so we recommend you access the converter offline. To do that, you can go to GitHub, where you will find a downloadable HTML version.

Step 2: Open the HTML version of the mnemonic converter
After you download the .html, open it. On that page, you can enter your Trust Wallet Recovery Phrase.
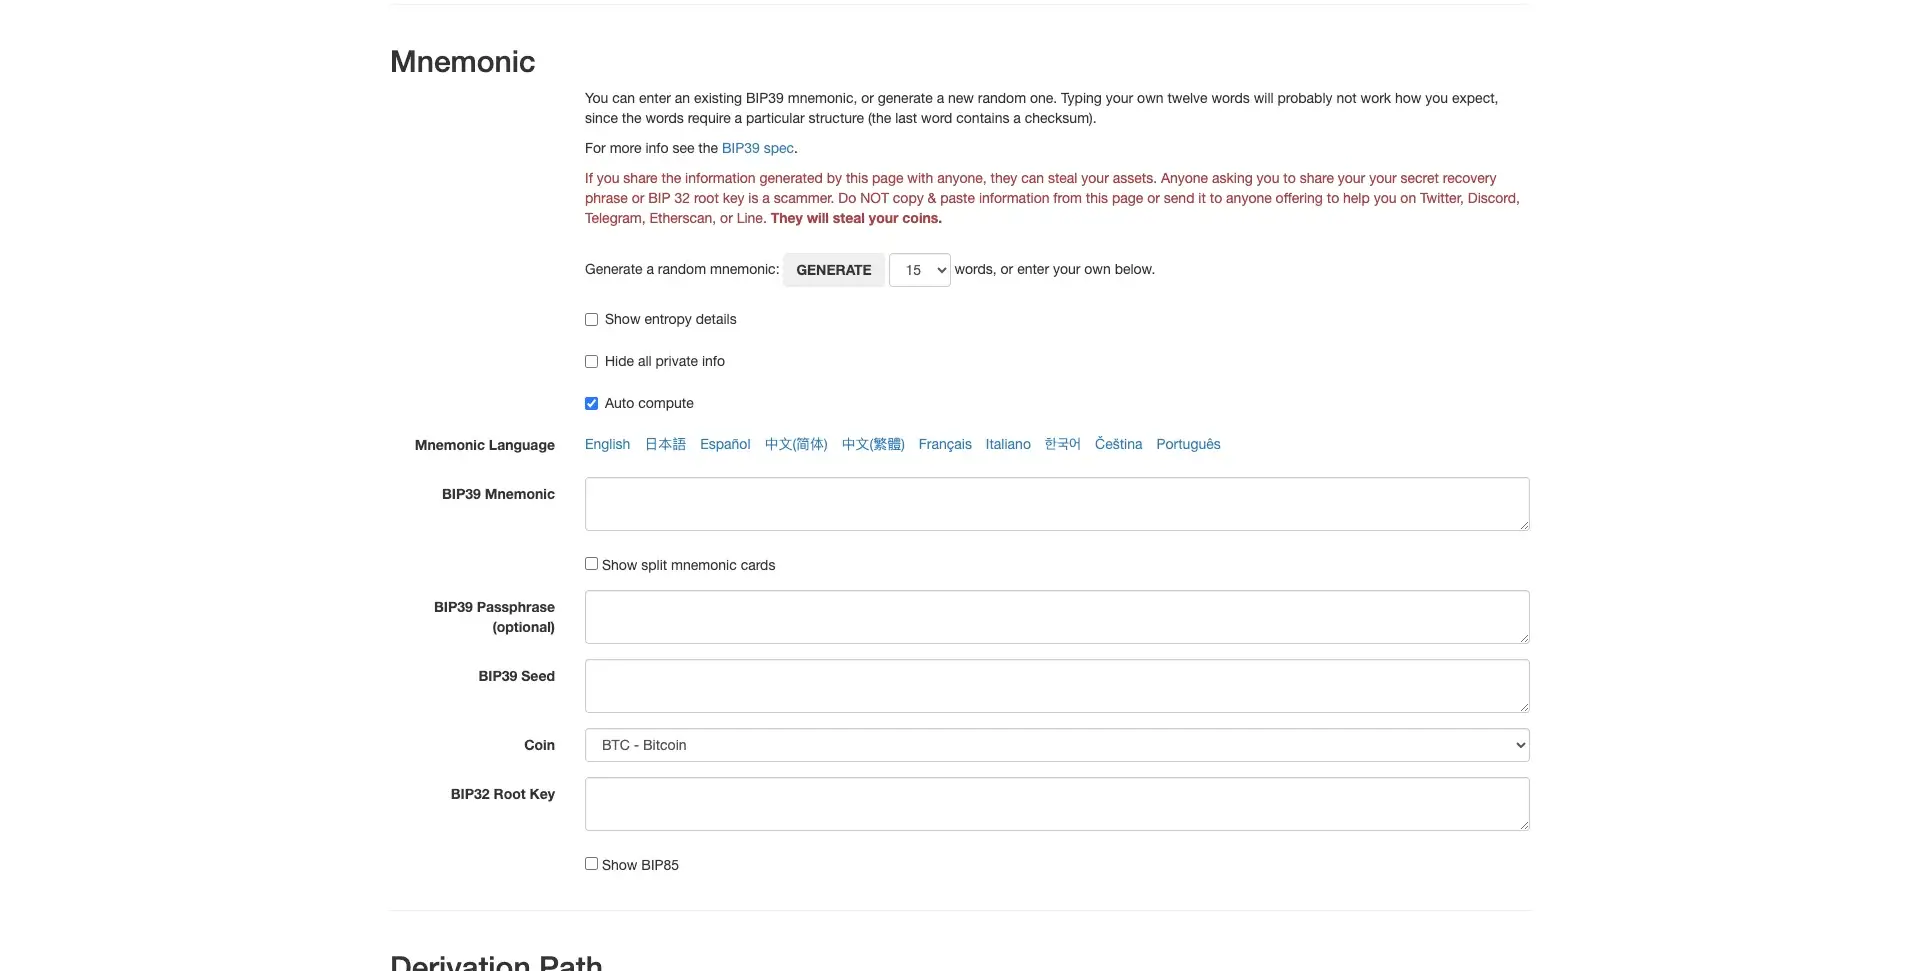
Find the Trust Wallet Secret Recovery Phrase and type it in the “BIP39 Mnemonic” section. After you finish adding it, the other fields will be automatically updated. However, you will have to select the coin manually.
Step 3: Copy the private key
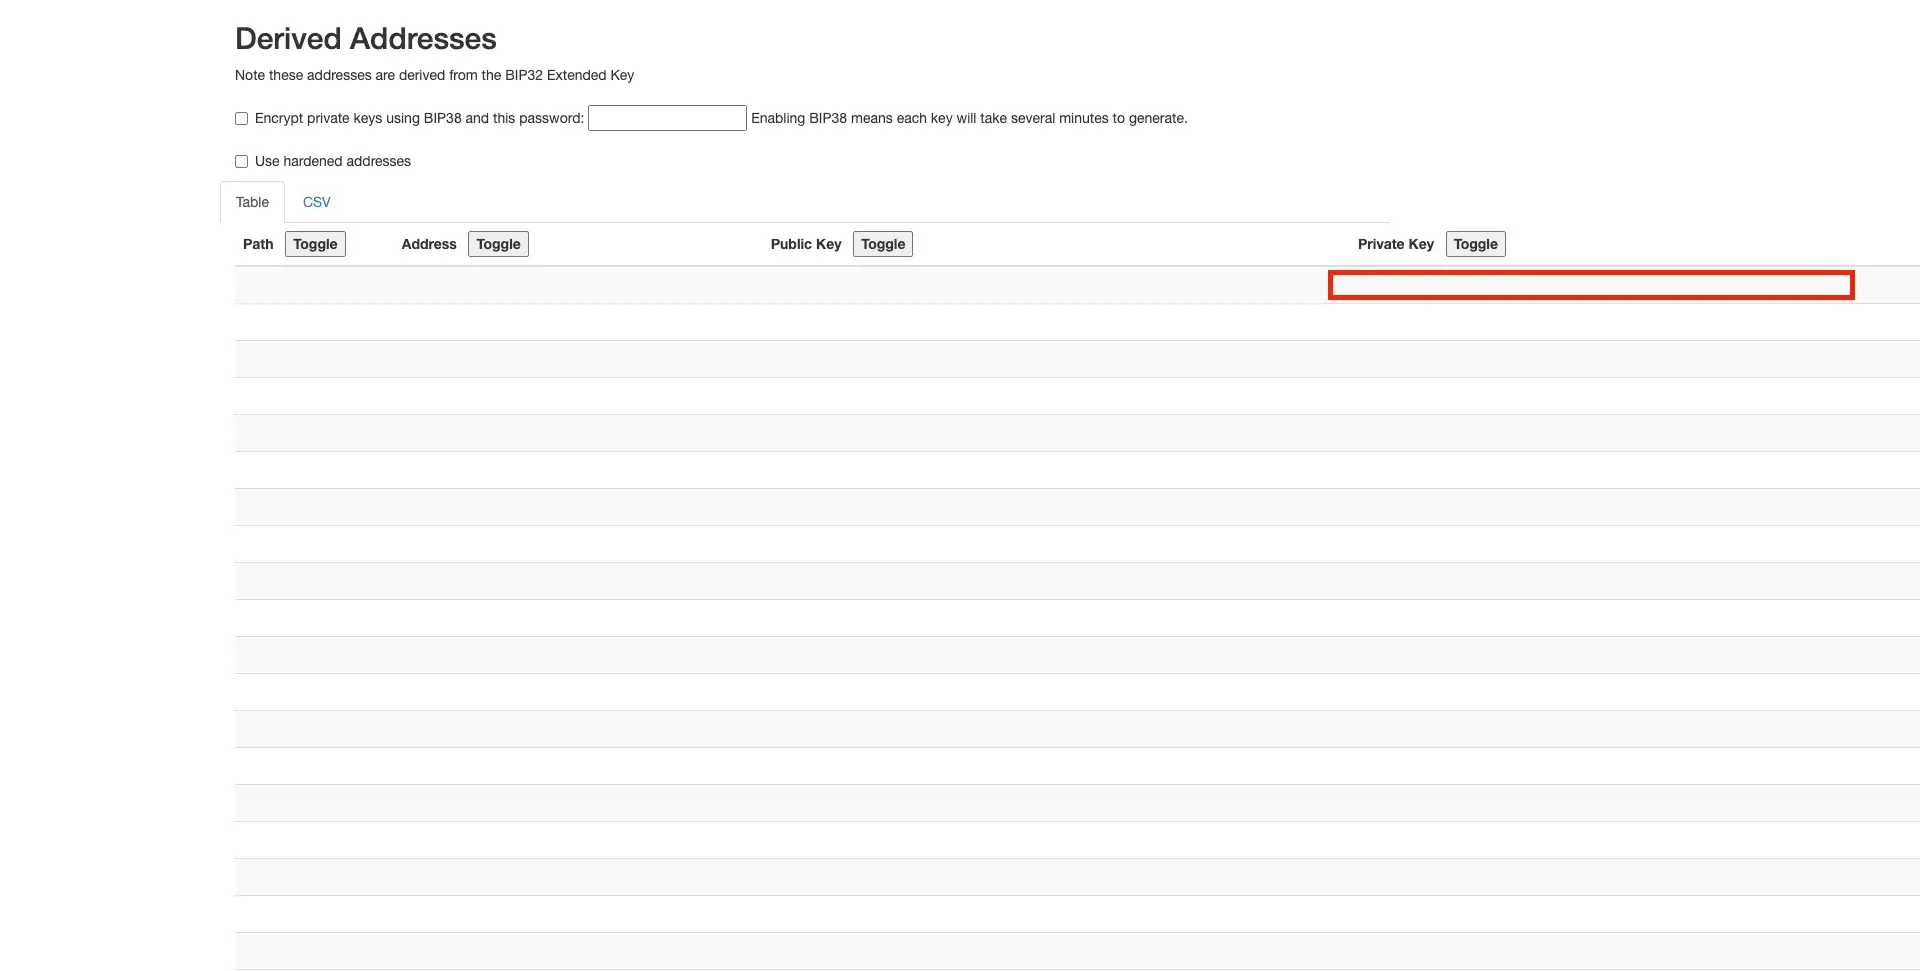
Go to the “Derived Addresses” section and copy the top private key.
Step 4: Go to MetaMask and import wallet
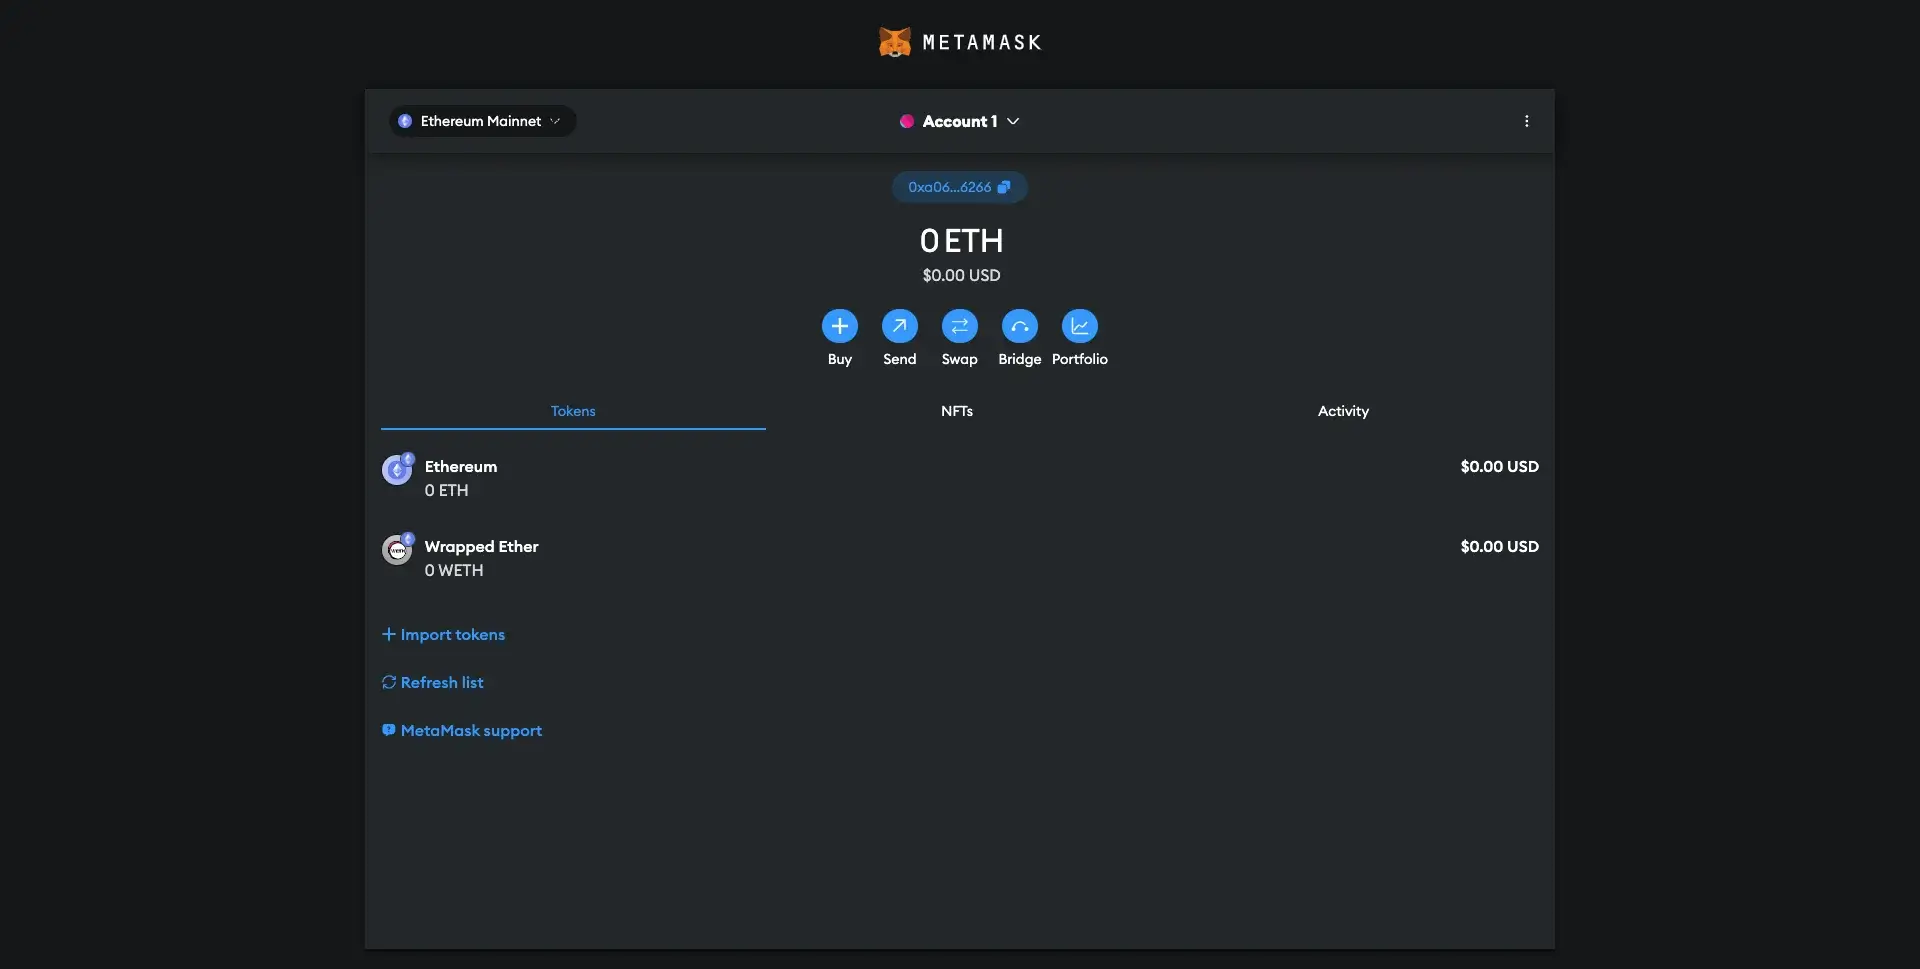
Return to MetaMask and click the “Account” button under the MetaMask logo.
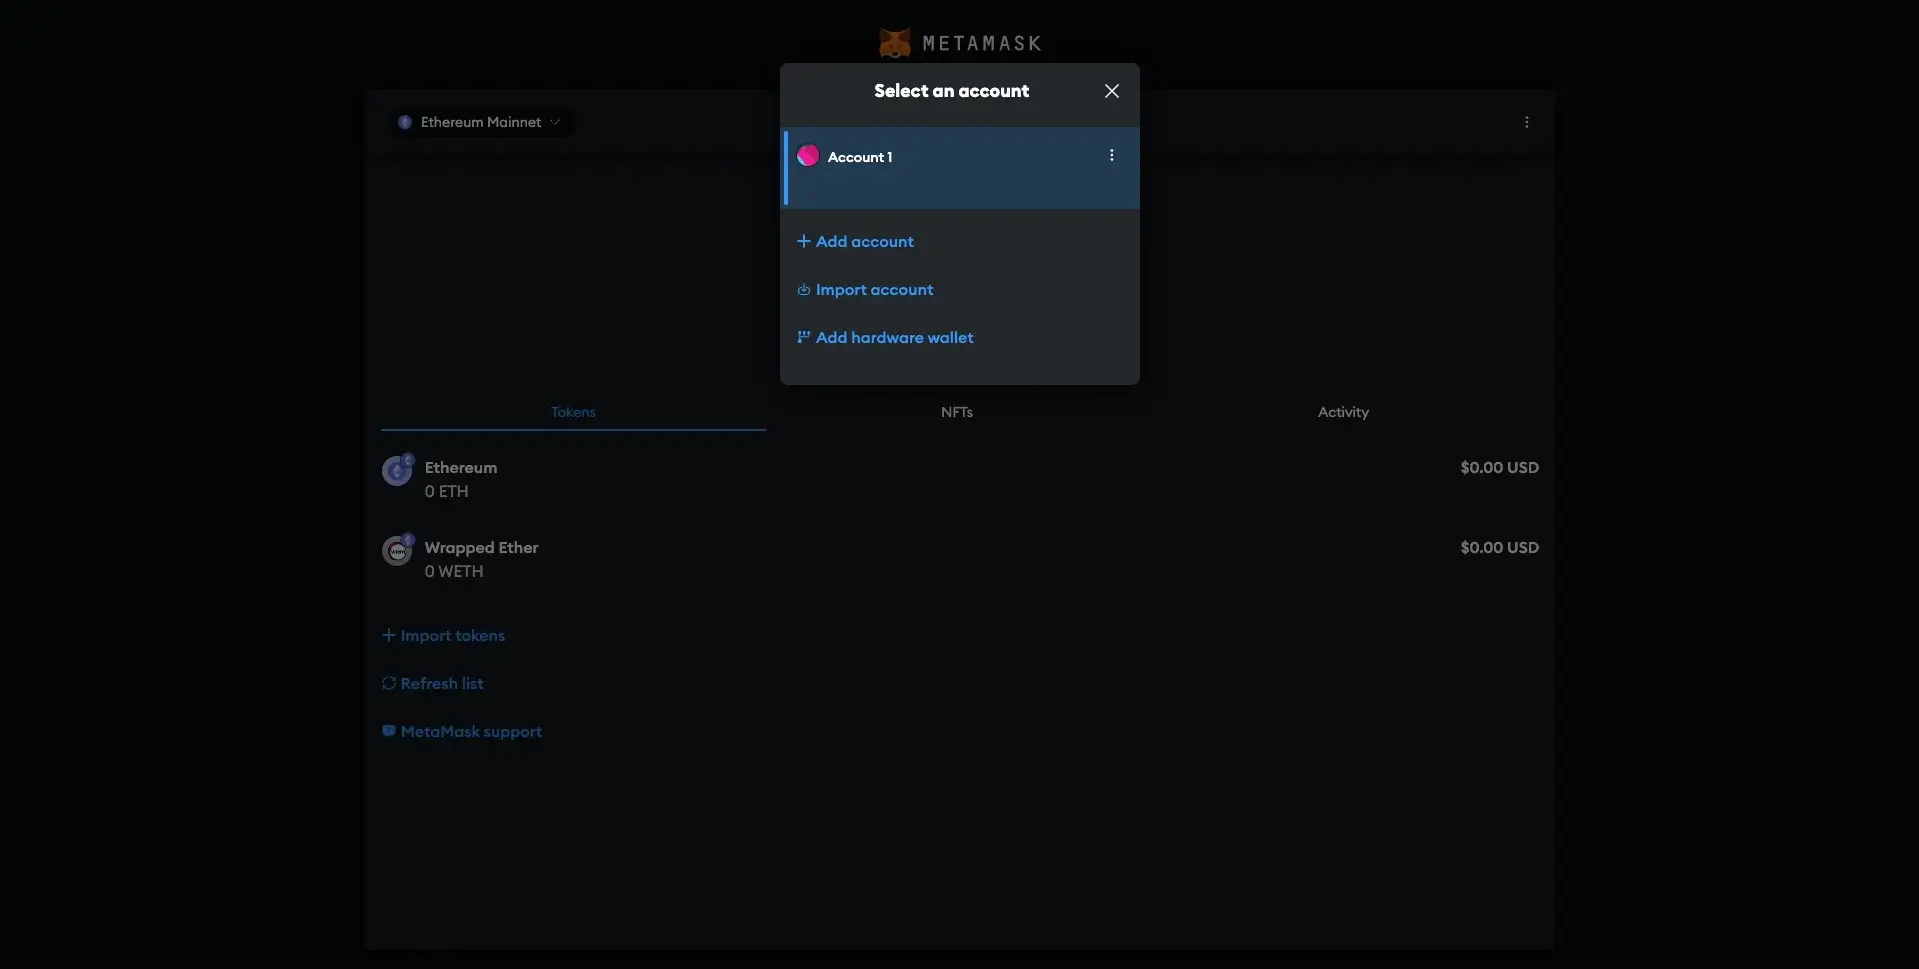
Click on “Import account.” There, you can paste the private key you copied from the generator. Then, click on “Import.”
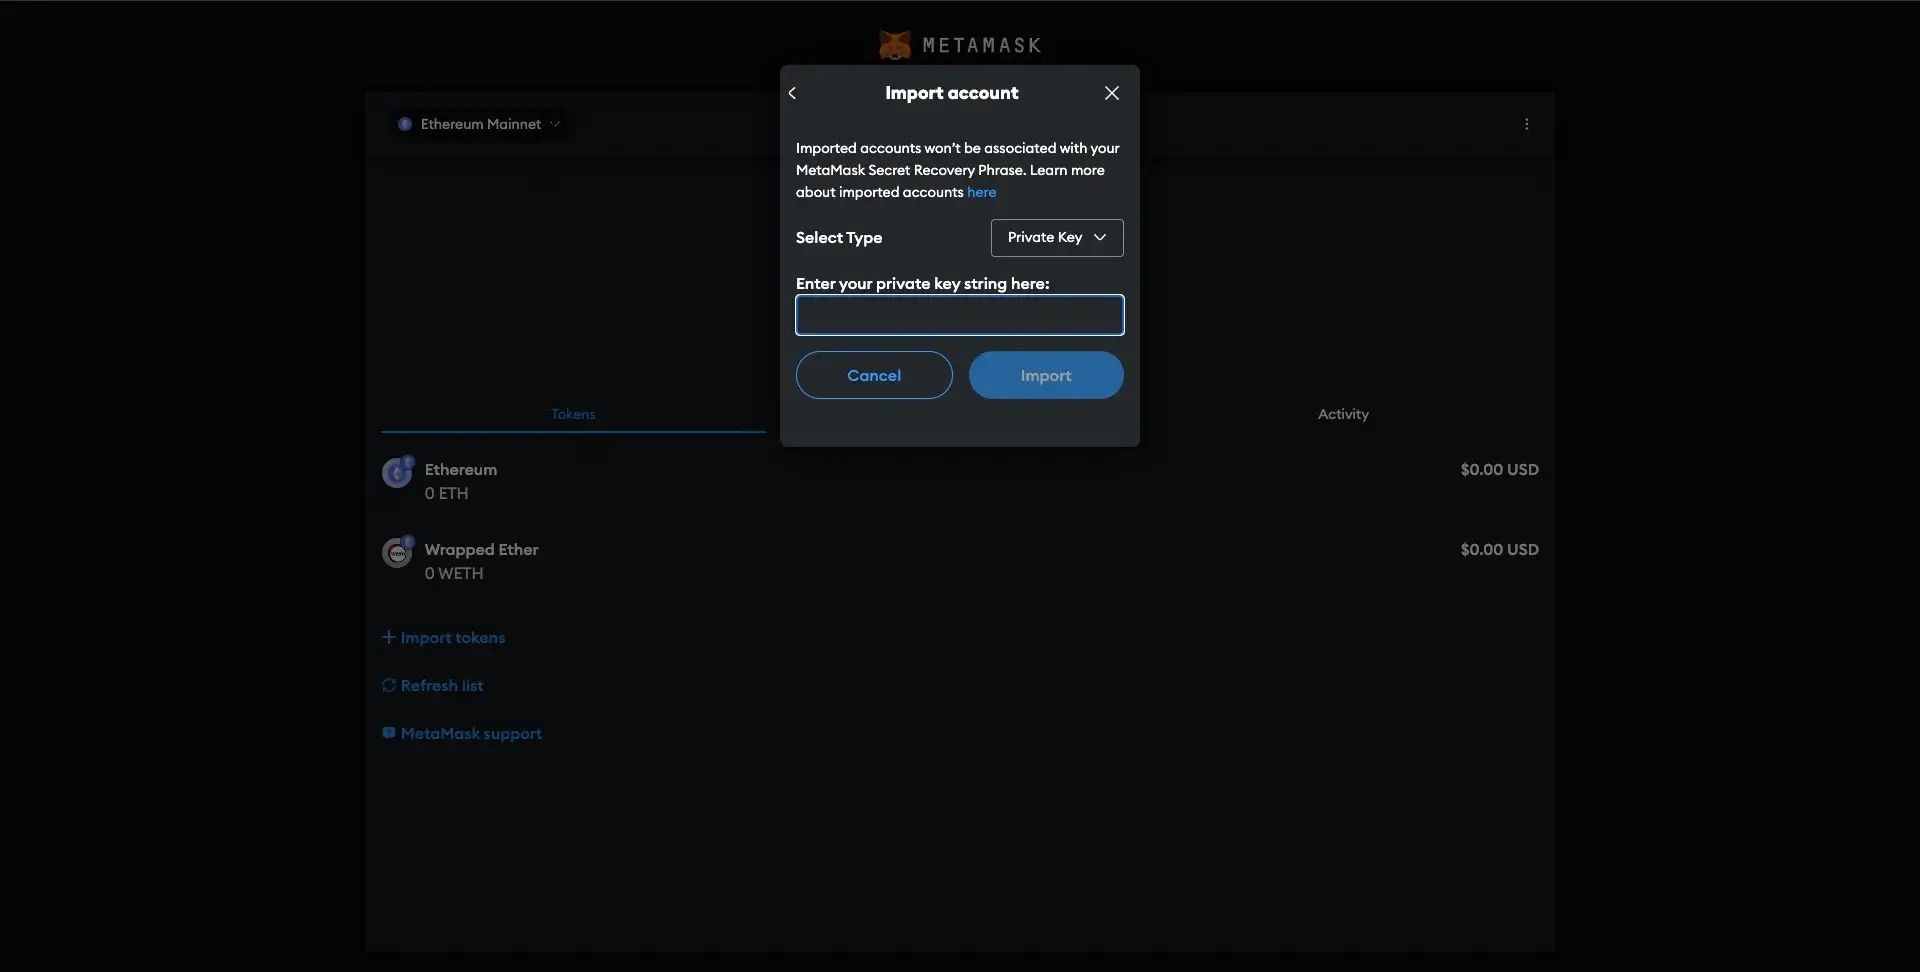
This way, your Trust Wallet was imported to MetaMask.
About Trust Wallet
Launched in 2017 by Viktor Radchenko, Trust Wallet is a storage option many crypto investors use. In 2018, the project was acquired by Binance, making it even more trustworthy than before. Currently, the Trust Wallet community gathers over 60 million users from all over the world.
Trust Wallet is a non-custodial software blockchain wallet, meaning users have complete control over their digital assets. The wallet is available as a mobile app for iOS and Android devices.
Furthermore, the company recently developed the Trust Wallet extension, which is currently available on Chrome, Edge, Opera, Brave, and more.
Supported Cryptocurrencies
Currently, Trust Wallet supports over 10 million digital assets, including NFTs built on Ethereum and Binance Smart Chain.
The number of digital assets supported by Trust Wallet is quite surprising (even though most are NFTs), and users can store their funds on the platform. Some of the cryptocurrencies supported by Trust Wallet include:
- Bitcoin (BTC);
- Ethereum (ETH);
- Binance Coin (BNB);
- Litecoin (LTC);
- Dogecoin (DOGE);
- Solana (SOL);
- Polygon (MATIC);
- Polkadot (DOT);
- Tron (TRX).
Main Features
Trust Wallet allows users to sell, buy, store, and swap crypto, as well as collect NFTs and interact with dApps (Decentralized Applications) built on Ethereum and Binance Smart Chain. Furthermore, if needed, users can add custom tokens to their wallets.
Besides, Trust Wallet also supports staking for multiple cryptocurrencies, including Binance Coin (BNB), Tezos (XTZ), Tron (TRX), VeChain (VET), Osmosis (OSMO), and Algorand (ALGO). Users can find the estimated earnings for each cryptocurrency on the official website. Also, the platform offers a staking calculator that can predict how much you will earn.
One of Trust Wallet’s most intriguing features is its dApp browser, a concept just a few crypto wallets provide. The dApp browser allows users to interact with various dApps, such as Aave or Uniswap. Besides, through the dApp browser, users can access NFT marketplaces like OpenSea to purchase and exchange digital collectibles.
Security Features
As mentioned, Trust Wallet is a non-custodial storage solution, meaning users have full control over their wallet’s private key string (also called recovery phrases). So, investors should keep their private keys as safe as possible, as their loss might lead to losing their funds for good.
If you need to secure your wallet even more, you can enable Touch ID or Face ID for the app. This way, you can ensure that only you can unlock the app.
Besides, you can set up an auto-lock time so that even if you use the app and leave the phone unlocked, users cannot access it.
Fees
The good thing about Trust Wallet is that it is free to download and set up. You don’t have to pay a monthly or annual subscription, and storing your funds in this wallet is entirely free.
However, the platform charges some fees when buying and selling crypto within the Trust Wallet app. Users who want to purchase crypto on the wallet will have to pay a 1% fee on top of those charged by third-party exchanges.
What Is MetaMask Wallet?
Currently operated by ConsenSys and based in San Francisco, MetaMask is a non-custodial multi-coin wallet launched by Aaron Davis in 2016. The wallet allows users to store, purchase, sell, swap, and convert many crypto assets.
Just like Trust Wallet, MetaMask is available as a mobile app for iOS and Android devices and as a web browser extension. However, in MetaMask’s case, first, there was the browser extension, and then the mobile app appeared.
MetaMask is ETH-focused, meaning that it supports ETH and any ETH-based token (ERC-20, ERC-721, and many more). So, if it supports ERC-721 tokens, you can store NFTs (Non-Fungible Tokens) on your MetaMask account. While MetaMask used to support NFTs only on MetaMask Mobile, the feature is now available on the web, too.
Furthermore, concerning cryptocurrencies, you may be required to manually import specific tokens to your account. However, the process is pretty simple, and we discussed it for TRX and WETH.
Final Thoughts
So, if after going through all the information we’ve shared about Trust Wallet and MetaMask, you’re sure you want to make the switch, you’re now ready to do it.
With the two methods we’ve outlined in this guide, importing your Trust Wallet into MetaMask should be smooth and straightforward. Just follow the steps, and you’ll be set up in no time!
Regardless of the method you use, always keep in mind that you must protect your secret phrases and private keys as much as possible.


