How to Build a Crypto Mining Rig
Cryptocurrency mining relies on computers to validate transactions on a blockchain, and to do it efficiently, you need a system capable of solving complex equations.
This is where mining rigs come into play. They are designed specifically for this task and offer the computing power required to process transactions quickly. The more powerful your rig, the faster it can validate transactions, leading to higher rewards for miners.
However, you must also know that mining is more than just using any computer. It requires specialized hardware and software to handle the energy-intensive and computationally demanding process.
Popular cryptocurrencies like Bitcoin (BTC), Zcash (ZEC), DASH (DASH), Monero (XMR), Ravencoin (RVN), and Dogecoin (DOGE) often require this type of setup, and building a mining rig tailored for these tasks is vital to maximizing efficiency and profitability.
That’s why here’s how to start building your mining rig and what components you’ll need.
[nativeAds]
What is a Mining Rig, & How Does it Work?
A crypto mining rig is a specialized PC equipped with a CPU, a motherboard, RAMs, and storage in order to mine cryptocurrencies. However, it is essential to understand that the key difference is that mining rigs rely on GPUs or ASICs for processing rather than just a standard CPU.
Graphical Processing Units (GPUs) are faster and, thus, better at solving the cryptographic equations needed to verify transactions within the blockchain. Moreover, only one high-end GPU can downturn a basic CPU by almost 800 times for instructions per clock. So, we could say that a Graphics Processing Unit is one of those mandatory mining rig’s components.
Thus, the cryptocurrency mining rig components work together within a global network of miners to solve complex mathematical problems, which help verify and record transactions on a blockchain network.
Thus, successful crypto miners earn cryptocurrency as a reward for their role in maintaining the network’s integrity and security.
However, as more miners join the network, the difficulty of these puzzles increases to maintain a consistent rate of block creation. This active forces miners to continually upgrade their rigs to remain competitive in cryptocurrency mining.
All the Necessary Equipment for Mining Rigs
As we already mentioned, to build a mining rig, you must have the following hardware components:
- Motherboard;
- Processor;
- Memory (RAM);
- Power supply unit;
- Cooling system;
- Storage.
It’s also important to remember that compatibility between components is crucial for the smooth operation of a mining rig. Be sure to check that the parts you purchase are compatible.
1. Motherboard
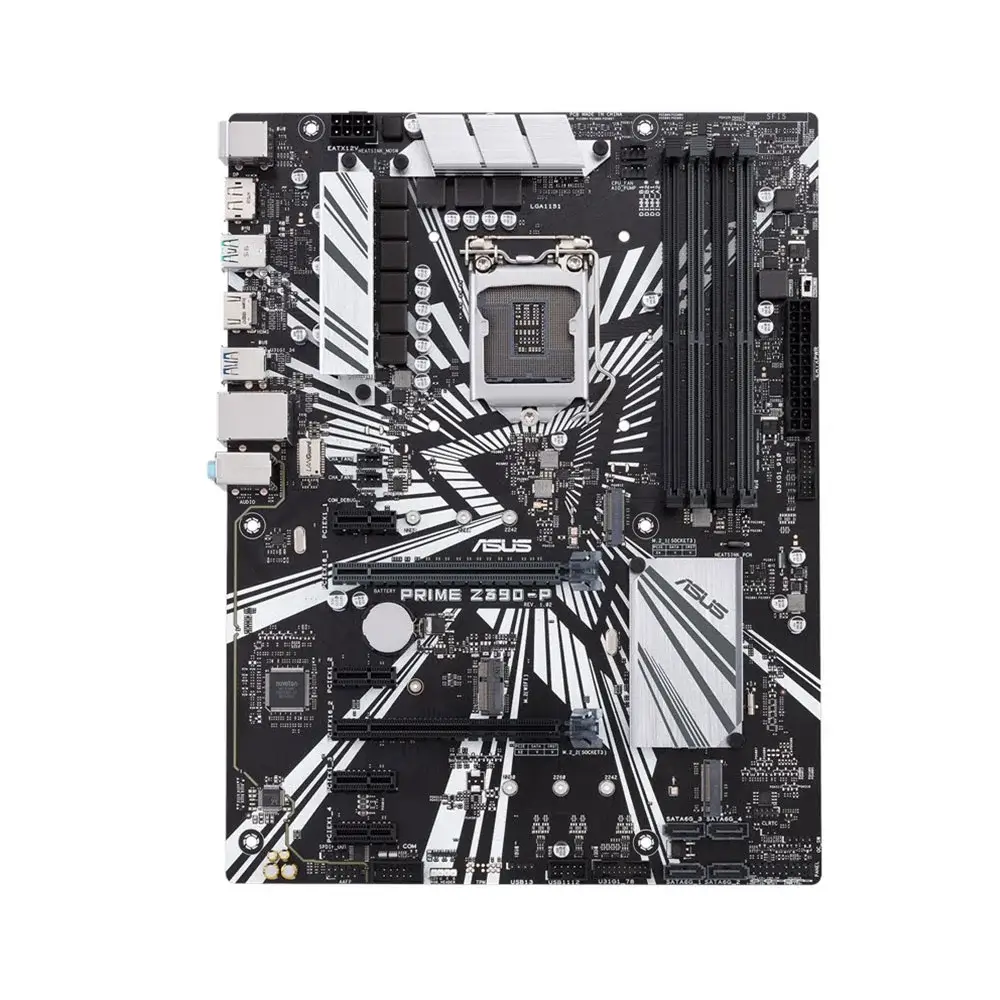
The motherboard is the backbone of a mining rig due to its central circuit board, which links all the components together and acts as the foundation of the mining setup.
Thus, it accommodates the CPU, GPU, ASIC, random access memory (RAM), and other crucial hardware, enabling communication and data transfer among the components.
Remember, when you buy one, it must have the capacity to support all the GPUs or ASICs utilized in the rig.
2. Processor
The processor executes instructions and performs the calculations necessary for mining operations. It can be a CPU, GPU, or ASIC, but as mentioned, using a CPU isn’t recommended.
Thus, as mining algorithms have become more complex, CPU mining has largely fallen out of favor due to its inefficiency compared to other methods. Initially, CPU rigs were the primary systems for mining cryptocurrencies, utilizing the processing power of the central processing units (CPUs) to solve cryptographic puzzles.
Indeed, some beginners may choose to mine with CPUs alone mainly because they are cheaper, so in this case, remember that they must be high-end models capable of handling mining demands.
So, if you’re still considering a CPU, we have a dedicated article highlighting the best CPUs for mining, which you may find helpful. From this point on, we will concentrate exclusively on GPUs and ASICs.
GPU Mining Rigs
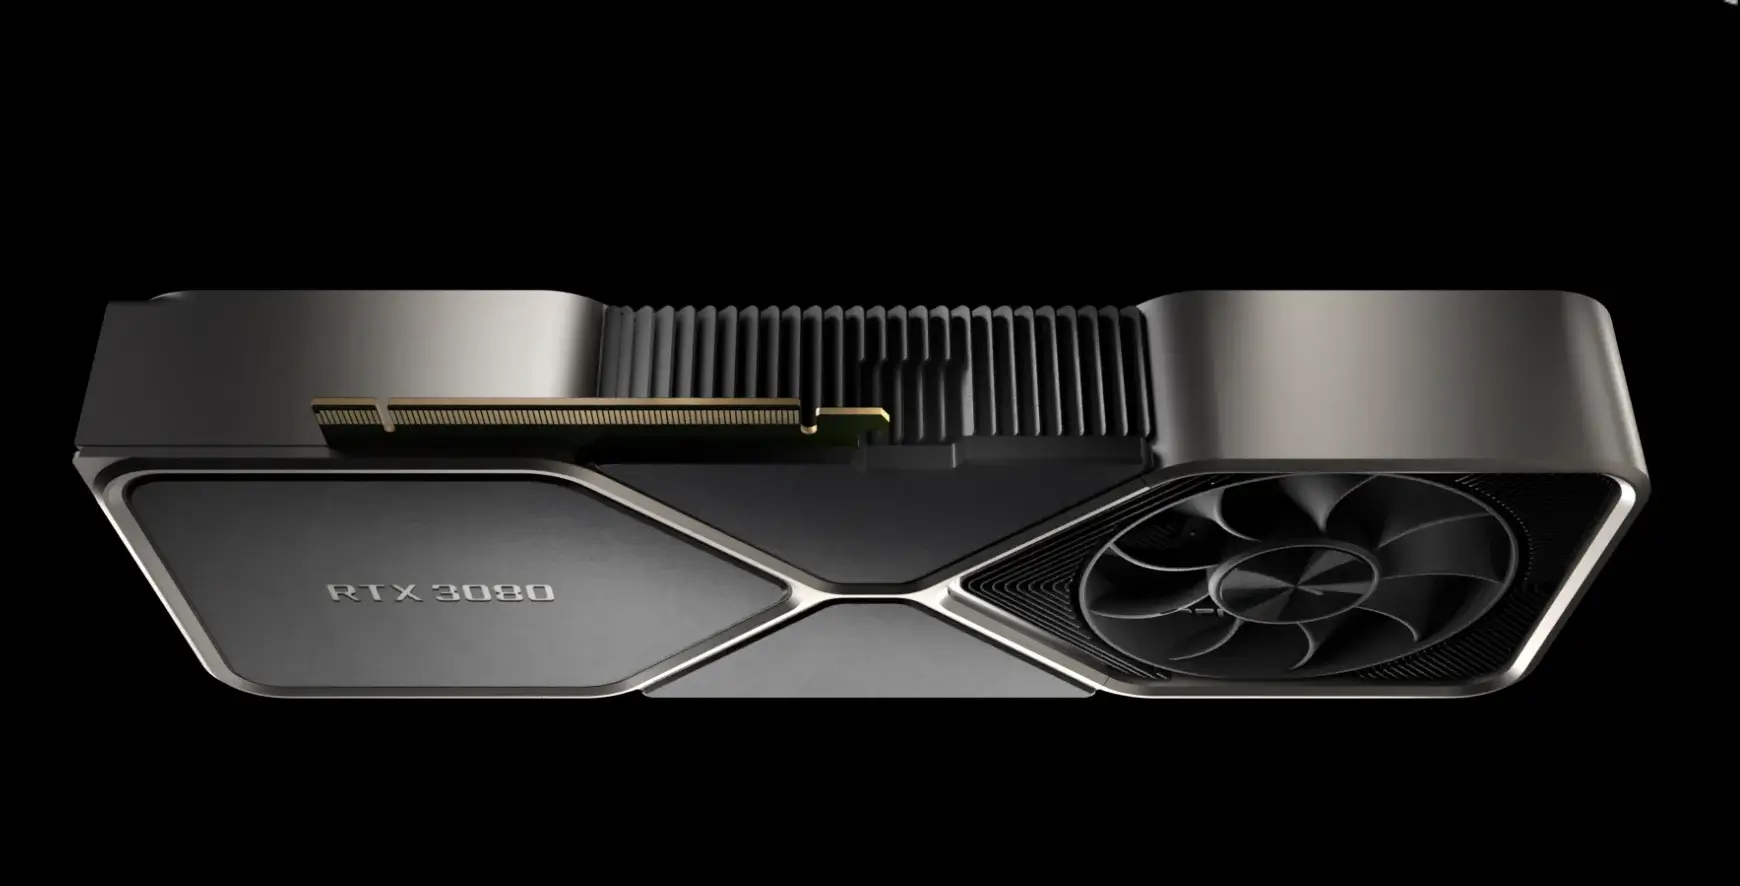
As interest in blockchain and crypto has grown, so has the number of miners, creating stiff competition for mining rewards. Most miners of significant cryptocurrencies have shifted from CPUs to graphics processing units (GPUs) because GPUs are more efficient and offer better hash rates. The first software for GPU mining became available in 2010.
To understand why GPUs are better than CPUs, just remember this: CPUs typically provide hash rates measured in kilohashes per second (KH/s).
In contrast, GPUs are rated in megahashes per second (MH/s), where 1,000 KH equals 1 MH. Many modern GPUs can exceed 10 MH/s, with some top models reaching up to 100 MH/s as of 2024.
To put this in perspective, a GPU miner with a hash rate of 40 MH/s has 2,000 times the power of a 20 KH/s CPU miner. This advantage comes from GPUs being able to perform many operations at once.
Miners often build rigs with 6-12 GPUs to further boost their hashing power. Some enthusiasts run multiple rigs, with setups that can include 24-48 GPUs.
Several graphics cards connect to a single computer in a GPU mining rig, turning each GPU into a powerful mining node. This setup offers impressive processing power and is easy to assemble, making GPU rigs a favorite among smaller miners.
As a beginner, the number of GPUs you need depends on the hash rate you want to achieve. Beginners usually start with just one or two GPUs.
For tips on selecting the best GPUs for mining, check out our article on top GPUs for mining.
ASIC Mining Rigs
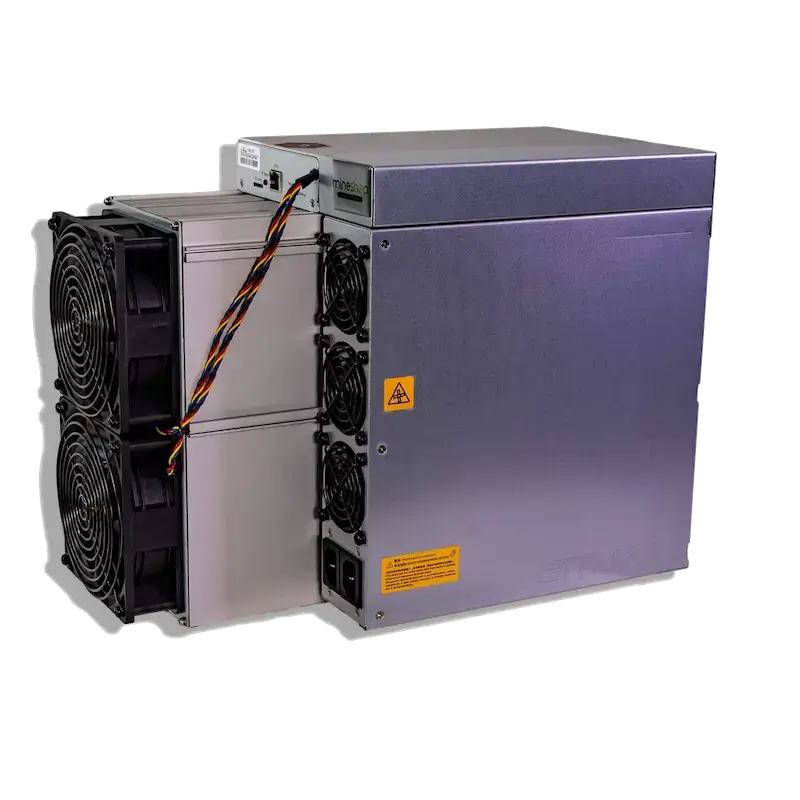
Today, ASICs (Application-Specific Integrated Circuits) are miners’ most widely used tools, especially since they were built to perform a single task—mining cryptocurrencies—making them incredibly efficient and powerful.
The first ASIC miner launched in 2012, delivering around 200 times the performance of standard GPU miners at the time. Unlike GPUs, which are measured in megahashes per second (MH/s), ASICs are measured in terahashes per second (TH/s), with one terahash equal to a trillion hashes.
By 2024, high-end ASIC miners can achieve hash rates between 200 and 300 TH/s, far surpassing even the best GPUs.
However, ASIC miners have significant downsides. They are costly, typically priced between $2,000 and $15,000, and profitability can vary depending on factors like electricity costs and mining difficulty. For smaller operations, reaching a break-even point is not guaranteed, while larger-scale setups—often involving hundreds or thousands of ASICs—are more competitive in the mining space.
Due to their power and efficiency, professionals favor ASIC miners. If you’re considering getting an ASIC miner, check out our guide on the top ASICs for mining for recommendations.
3. Memory (RAM)
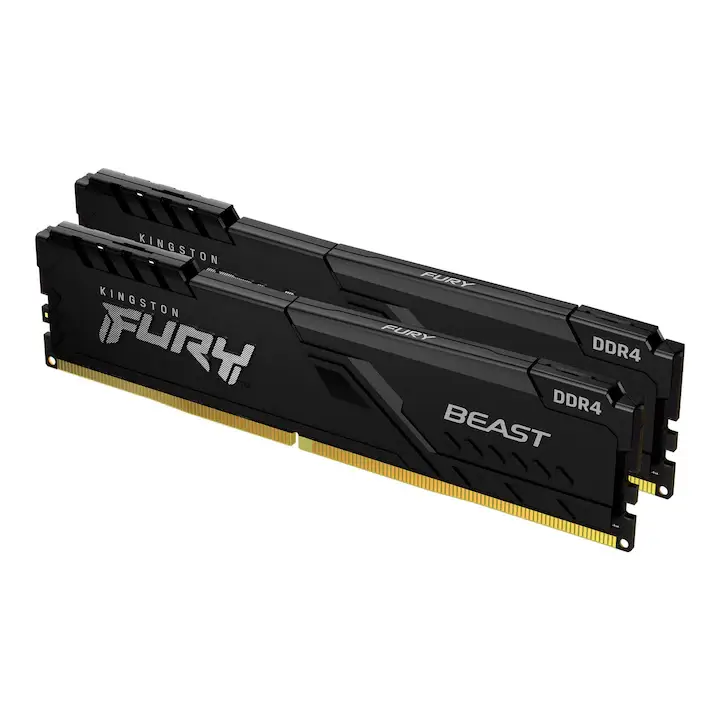
RAM stores data and instructions that the processor uses during mining, and for a crypto mining rig, having enough RAM is crucial to handle all the GPUs.
We recommend between 4GB and 16GB of RAM, depending on the number of GPUs you’re using.
4. Power Supply Unit (PSU)
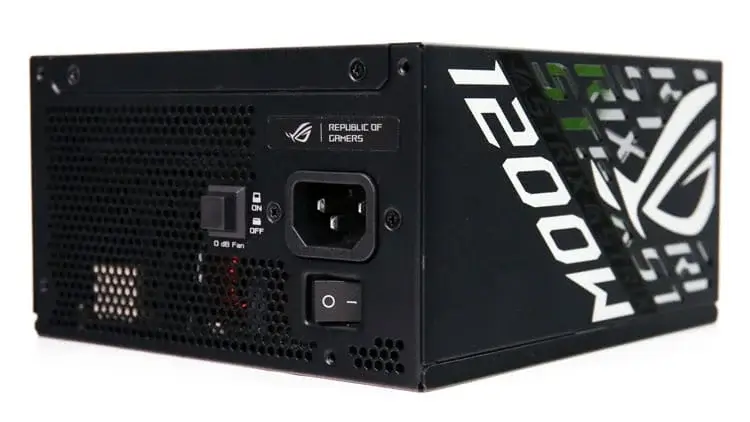
The power supply unit (PSU) provides the necessary power for all the components in the rig. It’s one of the most important parts because it needs to supply enough power to the entire system.
A good rule of thumb is to choose a power supply unit that delivers at least twice the power your rig will require. A 1200W PSU with a platinum rating is generally a solid choice for most setups.
5. Cooling System
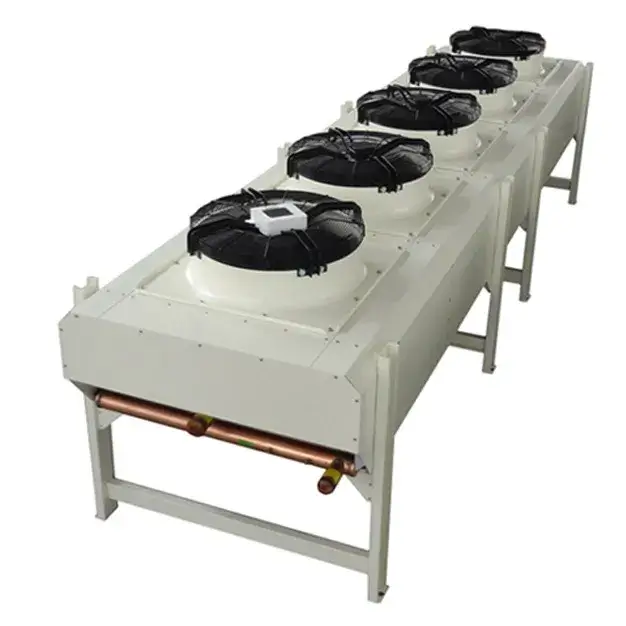
Crypto mining rigs produce a lot of heat due to their constant computational work, so adequate cooling is essential to prevent overheating and damage to components.
Cooling options like fans, heat sinks, and liquid cooling systems help keep temperatures in check and ensure the rig operates efficiently.
6. Storage
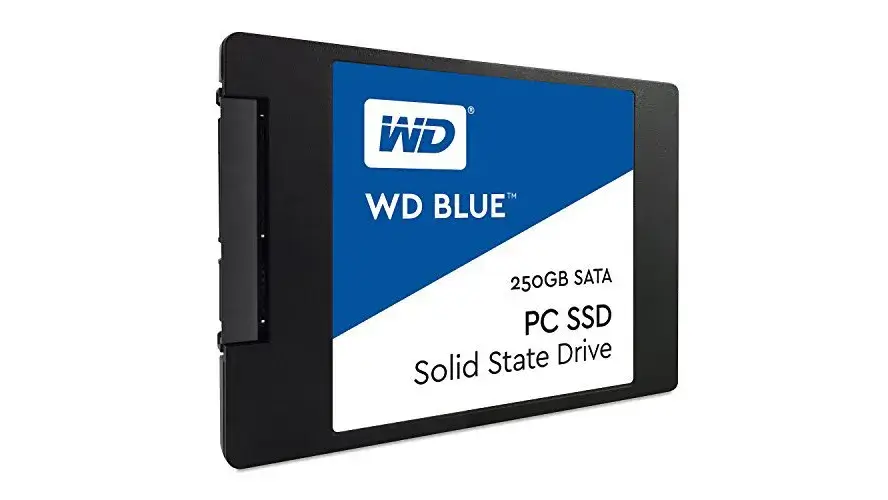
A cryptocurrency mining rig, like any computer, needs storage, which can be either a hard drive or an SSD.
Since the storage holds the operating system, mining software, and other critical files, you can choose either solid-state drives (SSDs) or hard disk drives (HDDs).
While mining’s primary focus is processing power, faster storage can enhance the system’s performance and responsiveness.
For most mining setups, a drive with at least 240 GB of capacity should be sufficient for your storage needs
Additional Requirements
In addition to the hardware components mentioned earlier, there are a few more essentials for building a mining rig. These are:
- Mining software like CGMiner, EasyMiner, or BFGMiner.
- An operating system like Awesome Miner, Rave OS, or Hive OS.
- A crypto wallet to securely store the coins you mine.
- A riser to lift your GPU, promoting better airflow.
- A reliable internet connection.
- A flash drive with a minimum capacity of 5GB.
Questions to Ask Yourself BEFORE You Build a Mining Rig
- Will you be mining from home?
- Are you prepared for higher electricity bills, and does your electrical setup support it?
- Do you have enough space for a mining rig, and will it disturb you or your neighbors?
- How much are you willing to invest in mining equipment?
- What level of knowledge do you have about the components needed for building a rig?
- Which specific cryptocurrencies do you plan to mine?
- What level of mining profitability are you aiming to achieve?
How to Build a Mining Rig: Step-by-Step Guide
Now that you understand the basics of crypto mining rigs, from how they work to the key components involved, let’s dive into the step-by-step process of building one.
Disclaimer. The steps for building a crypto mining rig may differ slightly based on your specific choices and components. However, the essential steps will generally remain the same.
Step 1. Research and Purchase the Right Hardware
Before you start building your mining rig, it’s crucial to do thorough research. Look into mining hardware, the components available, and the algorithms you plan to mine, ensuring they align with your budget and mining goals.
As mentioned, building a rig requires carefully selecting compatible parts, assembling them correctly, installing mining software, and configuring the necessary settings.
Once your research is done, you can choose high-quality hardware that balances performance, energy efficiency, and cost.
Step 2. Assemble the Mining Rig
Once you’ve gathered all the necessary components, it’s time to start putting your mining rig together.
First, attach the motherboard. Ensure that the processor socket lever is in the released position. To avoid damaging it, place the motherboard on a static-free surface, like a foam box or anti-static bag.
Next, install the processor. Be careful when aligning and inserting the processor pins into the motherboard, as they are delicate and easily bent. Mark the GPU/ASIC and motherboard sockets to quickly identify them later.
Inserting the RAM is straightforward. Open the side brackets on the motherboard’s RAM slot and gently push the RAM module into place, ensuring the correct orientation since it only fits one way.
Securely connect the PSU (power supply unit) to the motherboard. The 8-pin GPU power connector should go into the slot nearest the processor. If not connected properly, the rig won’t power up.
Attach the cooler to the motherboard and secure it with the provided mounting screws. Connect the cooler’s fan to the motherboard or PSU. Also, install the liquid cooling radiator and pump according to the manufacturer’s instructions. Connect the tubing to the GPU/ASIC block and radiator.
Further, install the storage. If you’ve opted for a SSD, connect it to the motherboard’s SATA or M.2 slot. Connect it to the motherboard’s SATA port if you opted for HDD.
If using USB risers for your GPUs, insert them into the PCI slots on the motherboard. Attach your GPUs to the mining frame using the risers, and then plug in the PCI-e power connectors to each GPU.
Finally, double-check that all connections are secure and cables are correctly plugged in before powering up the rig for the first time.
Step 3. Configure Hardware and Software
After assembling the mining rig, it’s time to power it up and configure the system. To do so, start by accessing the BIOS/UEFI settings by pressing the Del or F2 key during startup.
Adjust critical settings like boot order, power management, and overclocking to ensure your mining rig runs smoothly. Once done, save the changes by pressing F10 and exit the BIOS with the ESC key.
Next, install your operating system (OS). Windows is recommended for its ease of use.
After installing the OS:
- Ensure all your GPUs/ASICs are detected, and update their drivers if needed.
- Set the computer’s Sleep option to “Never” so it won’t go idle during mining.
- Adjust system performance settings to optimize for mining.
Now, install the mining software. Cryptocurrencies may require different mining programs, so choose one that matches the coin you want to mine.
Configure the software by entering the mining pool address, your username, password, and details about the GPUs/ASICs in use.
Finally, click “Start Mining” to begin earning cryptocurrency.
Step 4. Maintain Your Rig
Once your mining rig is up and running, ongoing maintenance is essential to ensure its long-term performance and reliability.
Clean your rig regularly, ideally every month or two, to remove dust and debris that can lead to overheating.
FAQs
Is Crypto Mining Profitable?
Crypto mining can be profitable, but it depends on several factors. The price of the cryptocurrency you’re mining, the difficulty of mining, the cost of your hardware and energy consumption, and the competition from other miners all play a role in determining whether mining is profitable.
Are Crypto Mining Rigs Profitable?
Crypto mining rigs can be profitable, but it depends on the factors mentioned above. The profitability of a mining rig depends on its efficiency, power consumption, and the cryptocurrency it is mining.
Are Mining Rigs Illegal?
Mining rigs themselves are not illegal. However, cryptocurrency mining may be regulated or restricted in some jurisdictions. For example, China and Iran have banned cryptocurrency mining. It’s important to be aware of the laws and regulations in your area before you start mining.
Should I Mine Cryptocurrency Solo or Join a Mining Pool?
If you’re new to mining or have a small rig, joining a mining pool is usually a better option. Pools share the rewards among all members, making you more likely to earn something regularly. If you have a powerful rig, solo mining might be more profitable but riskier because you might not find a block for a long time.
Conclusion
We hope this article has given you a clearer understanding of a mining rig, how it functions, and whether this type of activity suits you. If the answer is yes, we’ve also outlined how to build one to help you get started.
Lastly, keep in mind that assembling a mining rig involves some trial and error, with plenty of fine-tuning along the way. Patience and persistence will be essential throughout the process.


