Table of contents
If we know something, we know that USDT tokens are one of the most established in the crypto world. And if you’re here, you probably have some USDT, and you’re interested in keeping them on a safe wallet like MetaMask.
That’s why, in this article, we will introduce how to add USDT to MetaMask in a maximum of 5 minutes to send your USDT tokens to your MetaMask Wallet.
Let’s dive in!
What is MetaMask Wallet?
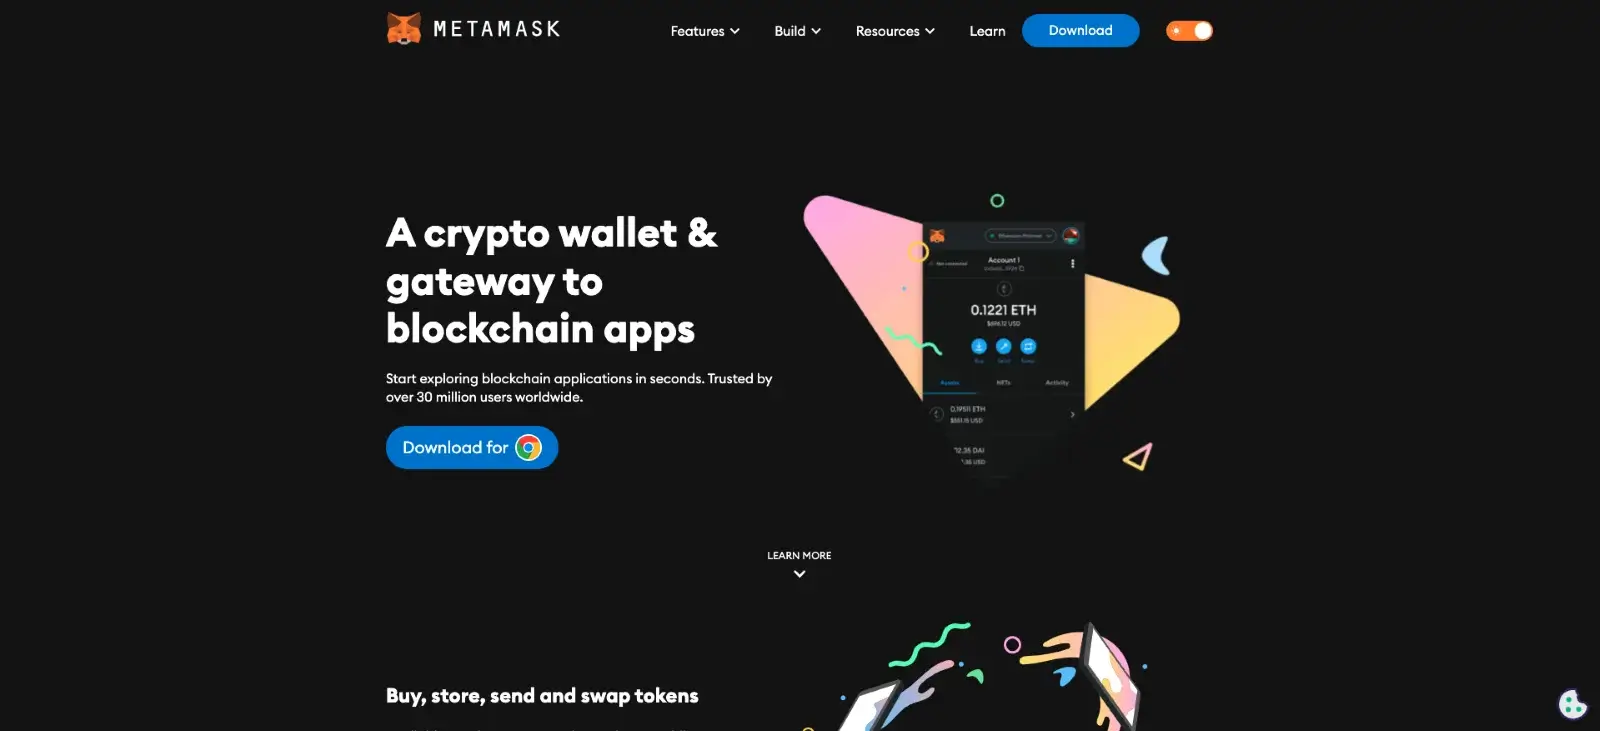
MetaMask is one of the leading and widely embraced crypto wallets in the crypto market. Available as a dedicated app for both iOS and Android, it also functions as a web extension compatible with Chrome, Brave, Edge, Opera, and Firefox.
Since its launch in 2016, MetaMask has rapidly gained popularity, boasting over 30 million monthly active users as of 2023. Its success can be attributed to its robust security features and exceptionally user-friendly interface, positioning MetaMask as a preferred choice for those seeking an online cryptocurrency wallet.
MetaMask operates as a self-custodial wallet, granting users complete control over their digital assets stored within the wallet. Additionally, it offers support for various cryptocurrencies, encompassing all ERC-20 tokens.
What is Tether (USDT)?
USDT, also known as Tether, represents a digital dollar and operates as a fiat-backed stablecoin using blockchain technology. This stablecoin is designed to maintain a 1:1 peg to the USD, providing a decentralized and robust method for individuals and organizations to exchange value while using a familiar accounting unit.
As one of the early pioneers, USDT was among the first stablecoins introduced and has consistently held the position of the largest stablecoin by crypto market cap since its inception in 2014. Its development is attributed to Brock Pierce, Reeve Collins, and Craig Sellars; Tether Limited Inc. currently manages it.
Tether’s mission is to revolutionize the traditional financial system by embracing a more contemporary approach to money. Through its platform, Tether facilitates transactions with conventional currencies over the blockchain, addressing the typical volatility and complexity of digital currencies.
Can You Add USDT to MetaMask Wallet?
Yes, you can add USDT to your MetaMask wallet. However, in order to add USDT to MetaMask, you must use only layer-1 and layer-2 blockchain networks accepted by MetaMask.
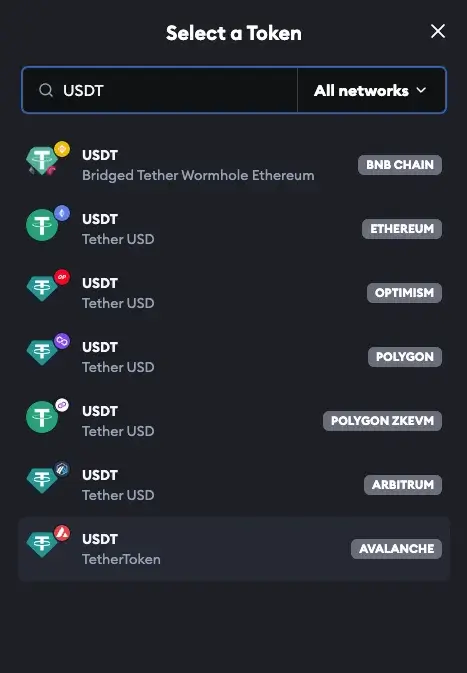
At the time of writing, the networks you can use to add USDT to MetaMask are Binance Smart Chain (BNB Chain), Ethereum, Optimism, Polygon, Polygon zkEVM, Arbitrium, and Avalanche.
How to Add USDT to MetaMask Wallet: Step-by-Step Guide
Adding USDT to MetaMask is a pretty straightforward process. No matter your experience with crypto, it should be easy to add your USDT tokens to your MetaMask account in no time.
In order to make it simple for you, we will guide you step-by-step through the entire process, even if you’re using the MetaMask browser extension or mobile app. In our step-by-step guide, we will use the Ethereum network, but you can use any other compatible network because the process is similar.
Before getting started, remember that you need to have an active MetaMask account to add a USDT token. So, if you don’t have one, first things first, create a MetaMask account.
How to Add USDT to MetaMask Wallet Using Browser Extension
Step 1. Copy the Tether (USDT) Contract Address
If you want to add USDT (Tether) with MetaMask, you’ve got to copy its address first. MetaMask won’t add it automatically, so you must import it as a custom token.
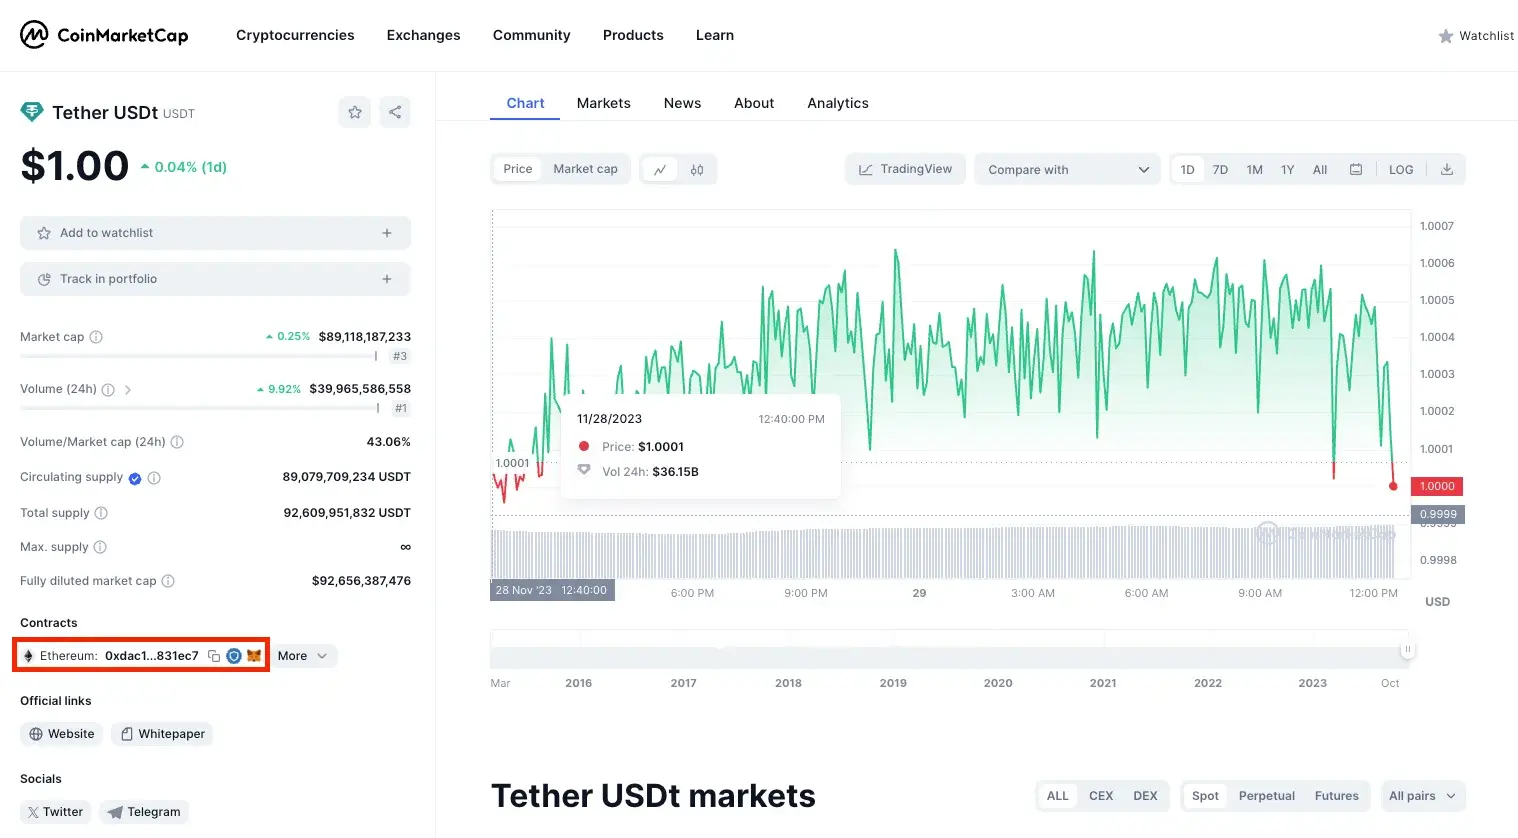
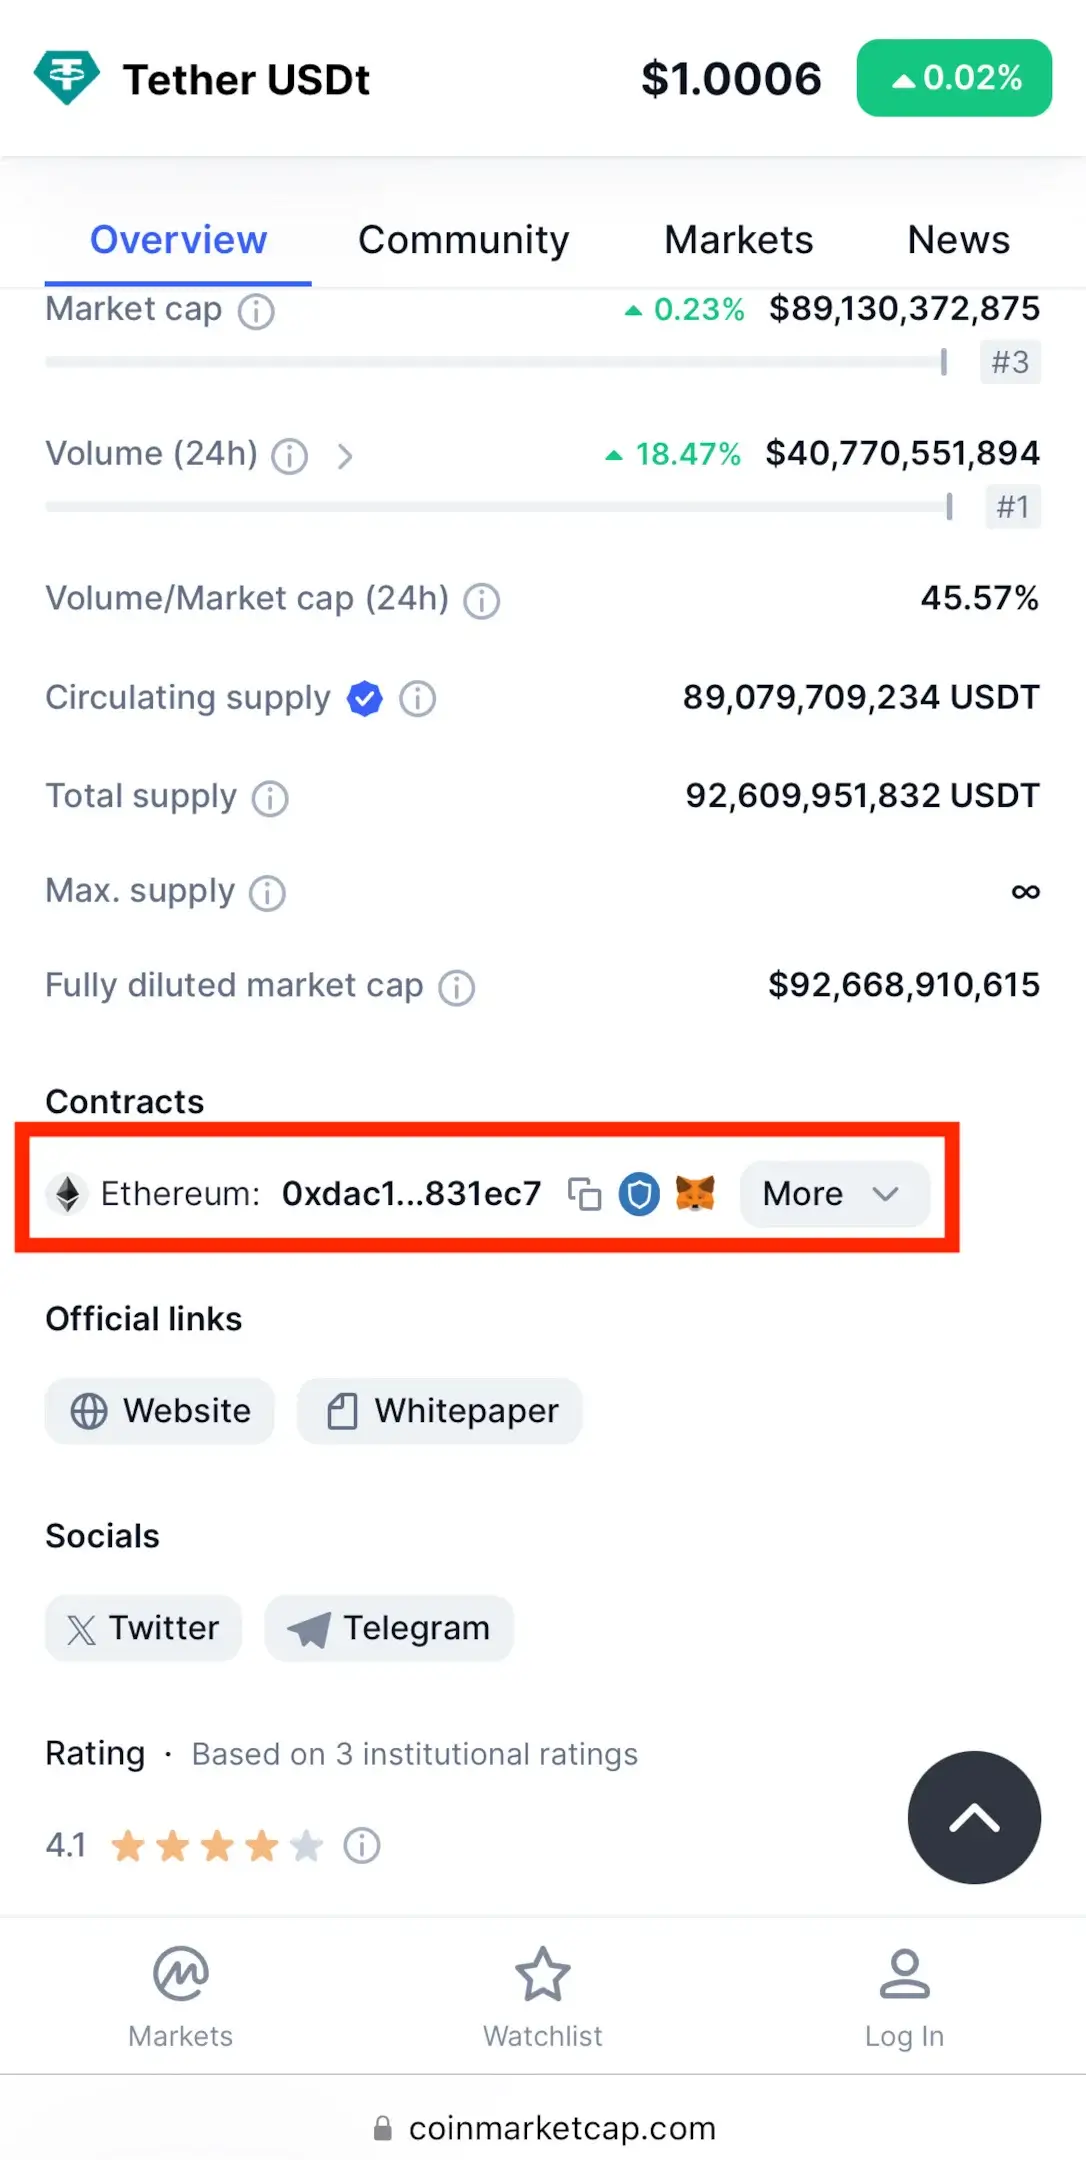
To do this, go to CoinMarketCap, find “USDT,” and under “Contracts,” hit the copy icon. Make sure you copy the correct contract address. For instance, if you’re adding USDT on the Ethereum Mainnet, copy the Ethereum address of USDT. If it’s for a different network, hit “More” to see all addresses and choose the right one.
Step 2. Connect to Your MetaMask Wallet Account
Once you’ve got the USDT contract address copied, you’re set to bring it into MetaMask.
If you already have a MetaMask wallet, there are two ways to do it. You can either type in your password or import it using your secret recovery phrase.
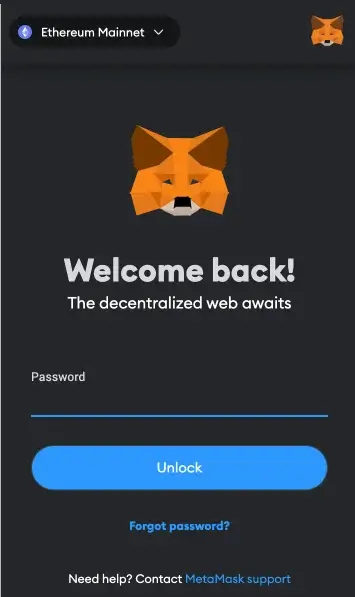
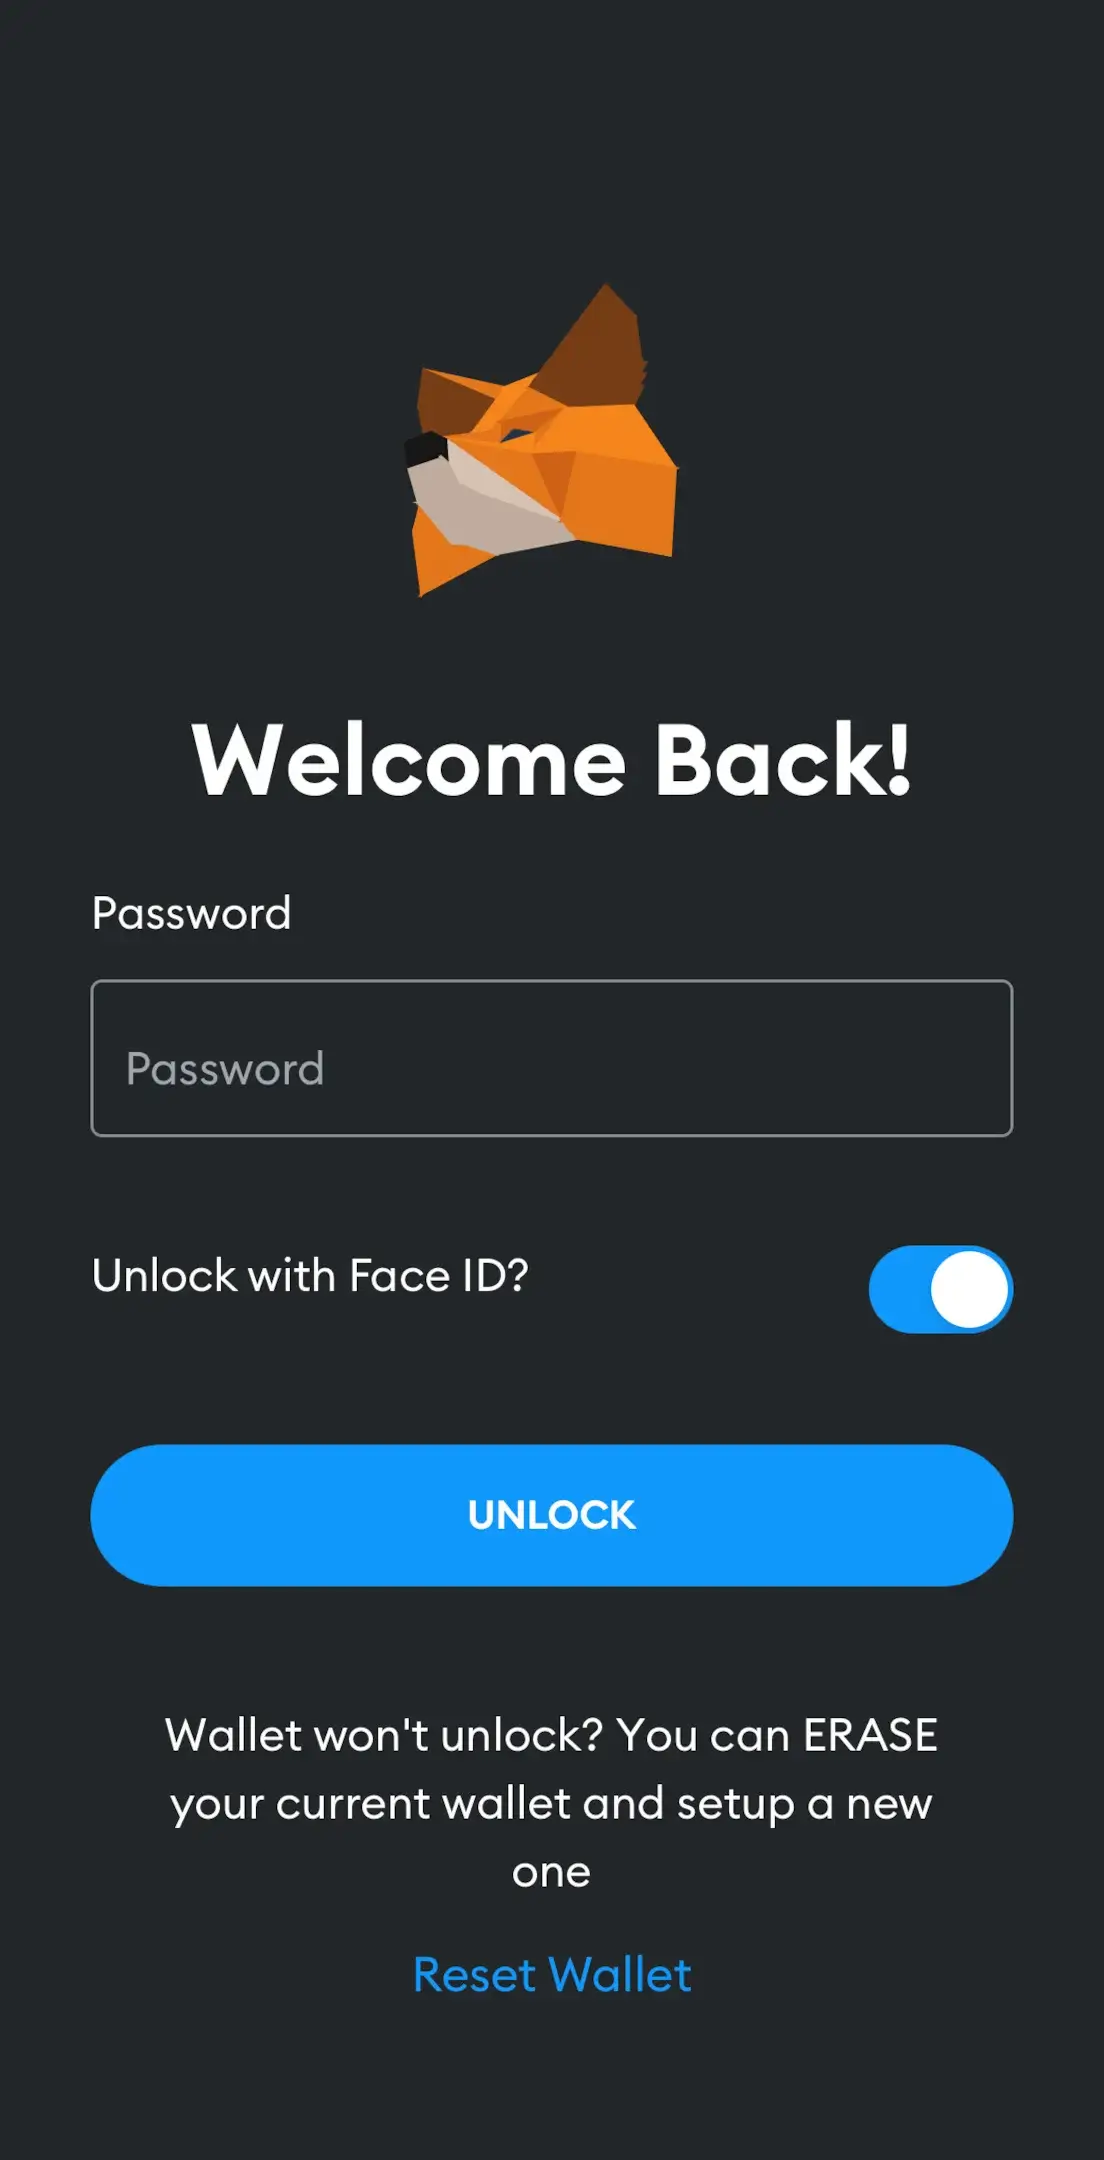
To get into your MetaMask wallet, click the MetaMask extension, type in your password, and press the “Unlock” button.
Step 3. Choose the Proper Network and Press the “Import Tokens” Button
Once your MetaMask wallet is unlocked, the next step is to import USDT.
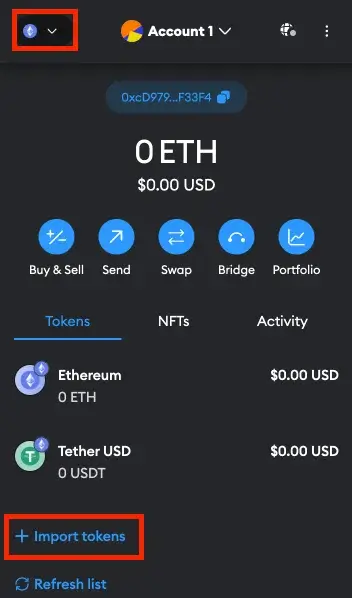
Before that, check that the “Ethereum Mainnet” network (or your preferred network) is chosen. Typically, “Ethereum Mainnet” is the default network fixed on MetaMask, but if you want another network, look at the token symbol in the upper left corner. Click on that token symbol and pick your desired network from the dropdown box.
After that, press “Import tokens” to kick off the USDT import process.
Step 4. Import USDT Token to Your MetaMask Wallet
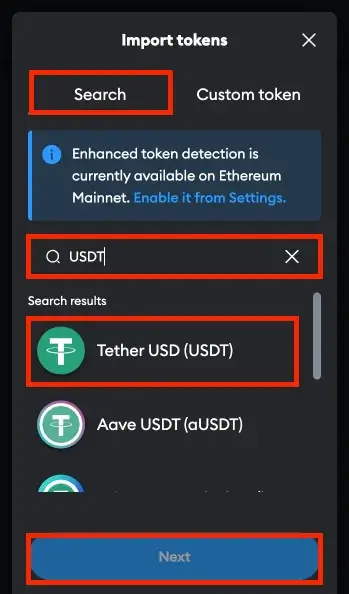
After you click the “Import tokens” button, you’ll be on the “Search” tab. Here, you can search for “USDT” and add it as a token.
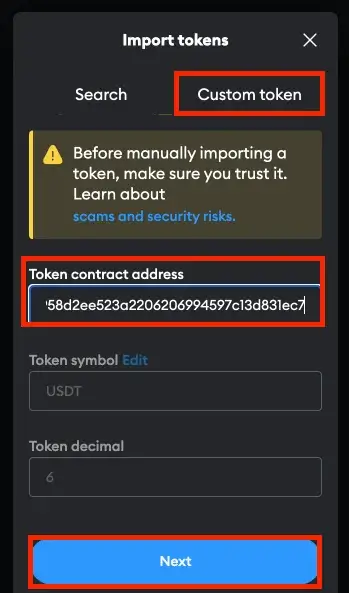
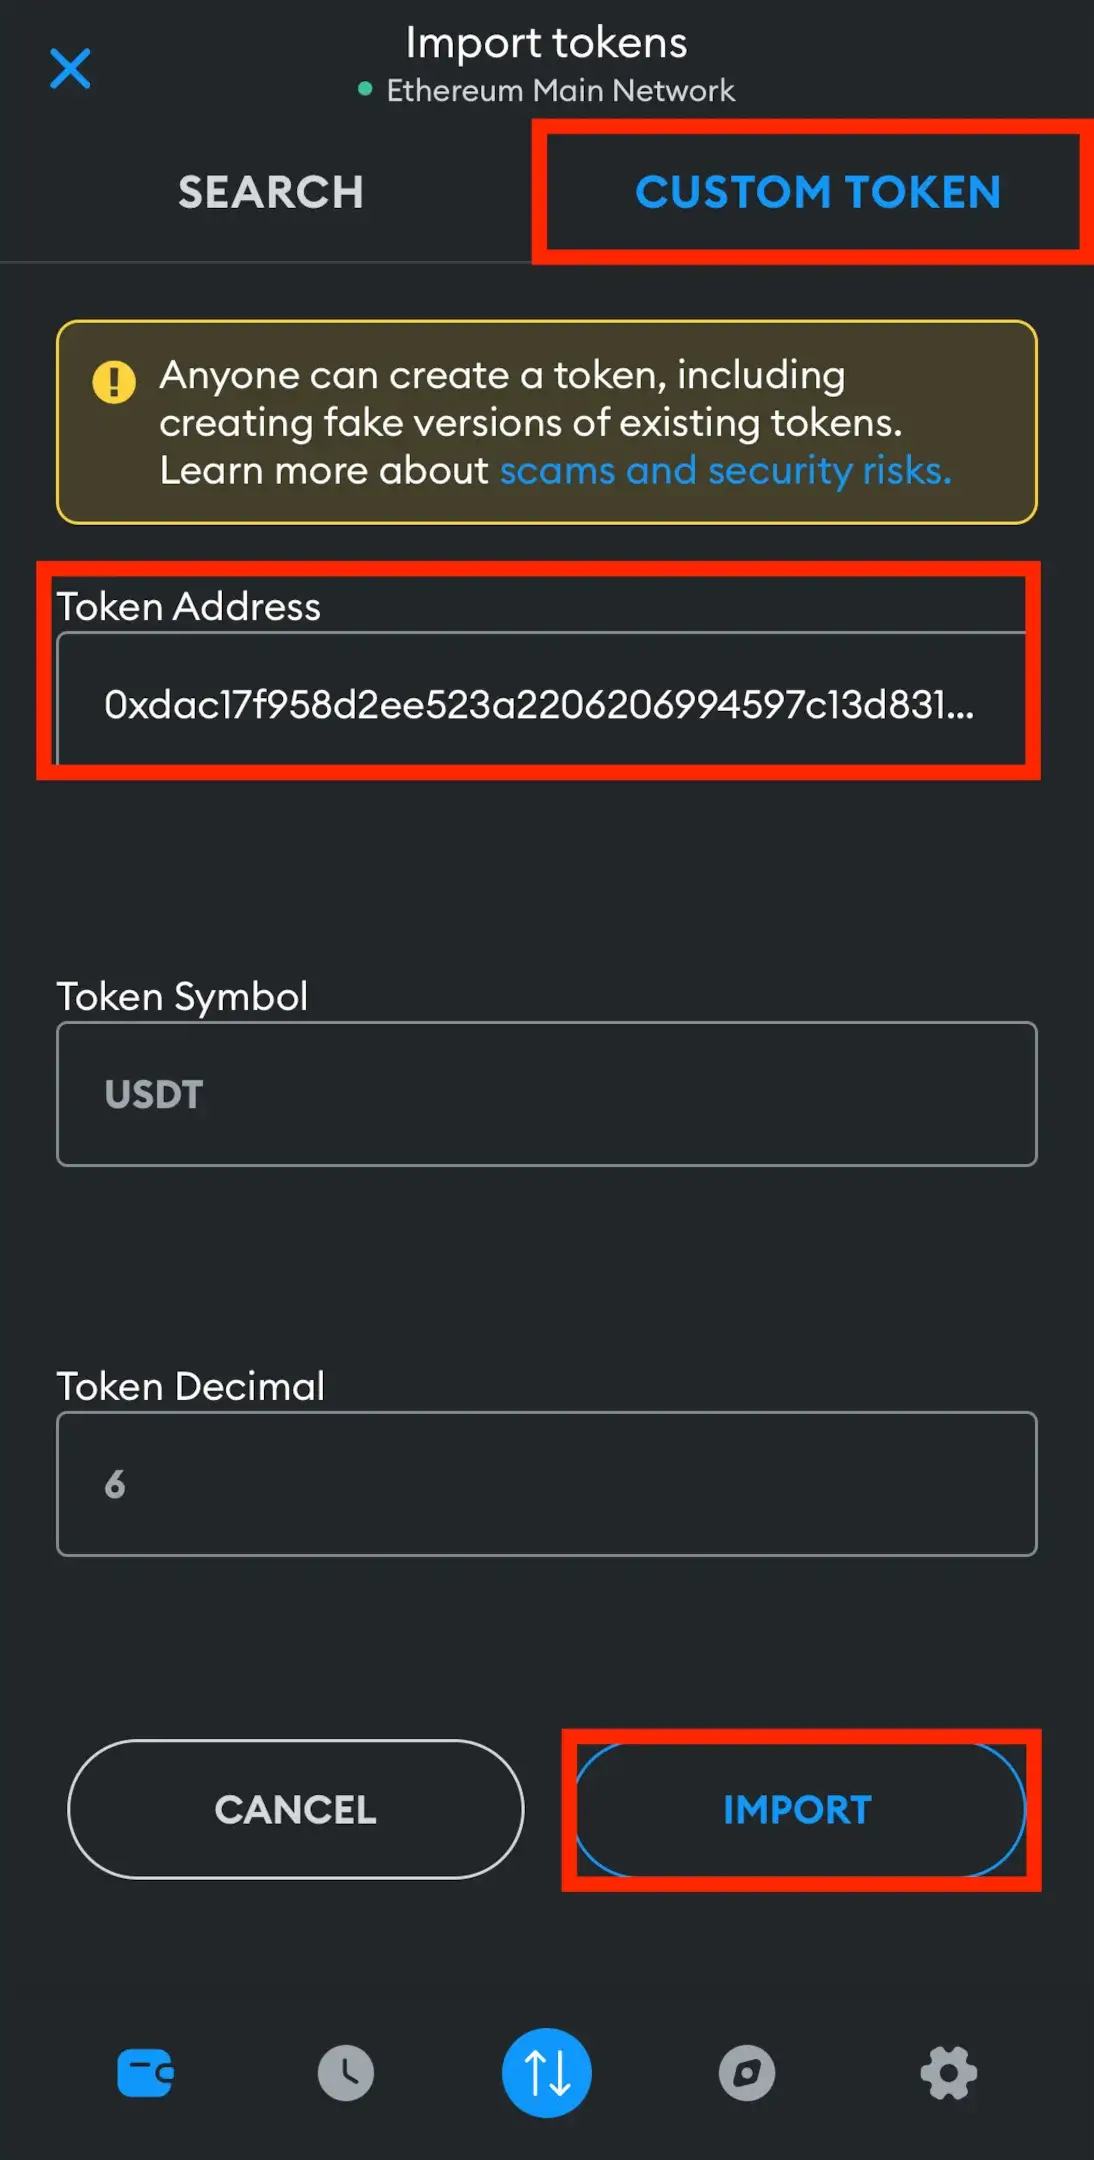
However, if you want to be sure you add the correct token, it’s even better to add it as a custom token. To do that, click on “Custom Token.” Now, you’ll see three fields: Token Contract Address, Token Symbol, and Token Decimal.
Paste the USDT contract address into the “Token Contract Address” field. Once you do that, the other fields will fill in automatically. After that, click on the “Next” button to add USDT to your MetaMask wallet.
Step 5. Confirm You Want to Add USDT to Your MetaMask Wallet
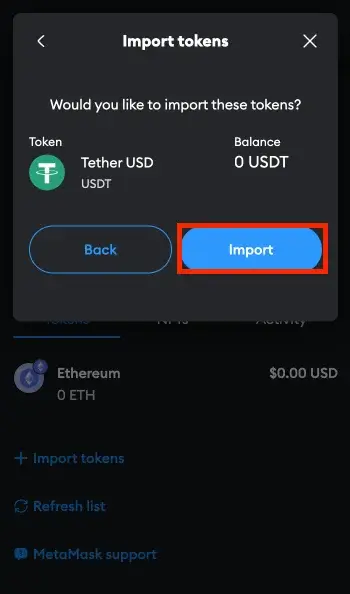
After you click “Next,” a pop-up will show up, telling you to confirm the import of USDT (Tether) to MetaMask. Press the “Import” button, and USDT will become part of your MetaMask wallet.
Now, you can spot the token under the “Assets” tab, allowing you to send or receive USDT. To send USDT, click on the token, press “Send,” and paste the receiver’s address. To receive USDT, copy your wallet address by clicking the duplicate icon under “Account 1” and share it with the sender.
How to Add USDT to MetaMask Wallet Using the Mobile App
Step 1. Copy the Tether (USDT) Contract Address
First things first, if you want to add Tether USDT to MetaMask, open any preferred browser app on your phone and go to CoinMarketCap. Because MetaMask won’t add USDT automatically, you must import it as a custom token, and on CoinMarketCap, you can find the correct USDT contract address.
Locate “USDT,” and underneath “Contracts,” press the copy icon. Ensure you copy the correct contract address (if you’re adding USDT on the Ethereum Mainnet, copy the Ethereum address of USDT, but if it’s for another network, press “More” to see all addresses and choose the proper one).
Step 2. Import Your MetaMask Wallet on the Mobile App
After copying the Tether contract address, you’re ready to integrate it with MetaMask.
Proceed to open the MetaMask app on your mobile device. You can import your MetaMask account by entering your secret recovery phrase or, if you’ve linked your account before, simply unlock your wallet using your password.
Step 3. Select the Correct Network and Click on the “Import Tokens” Option
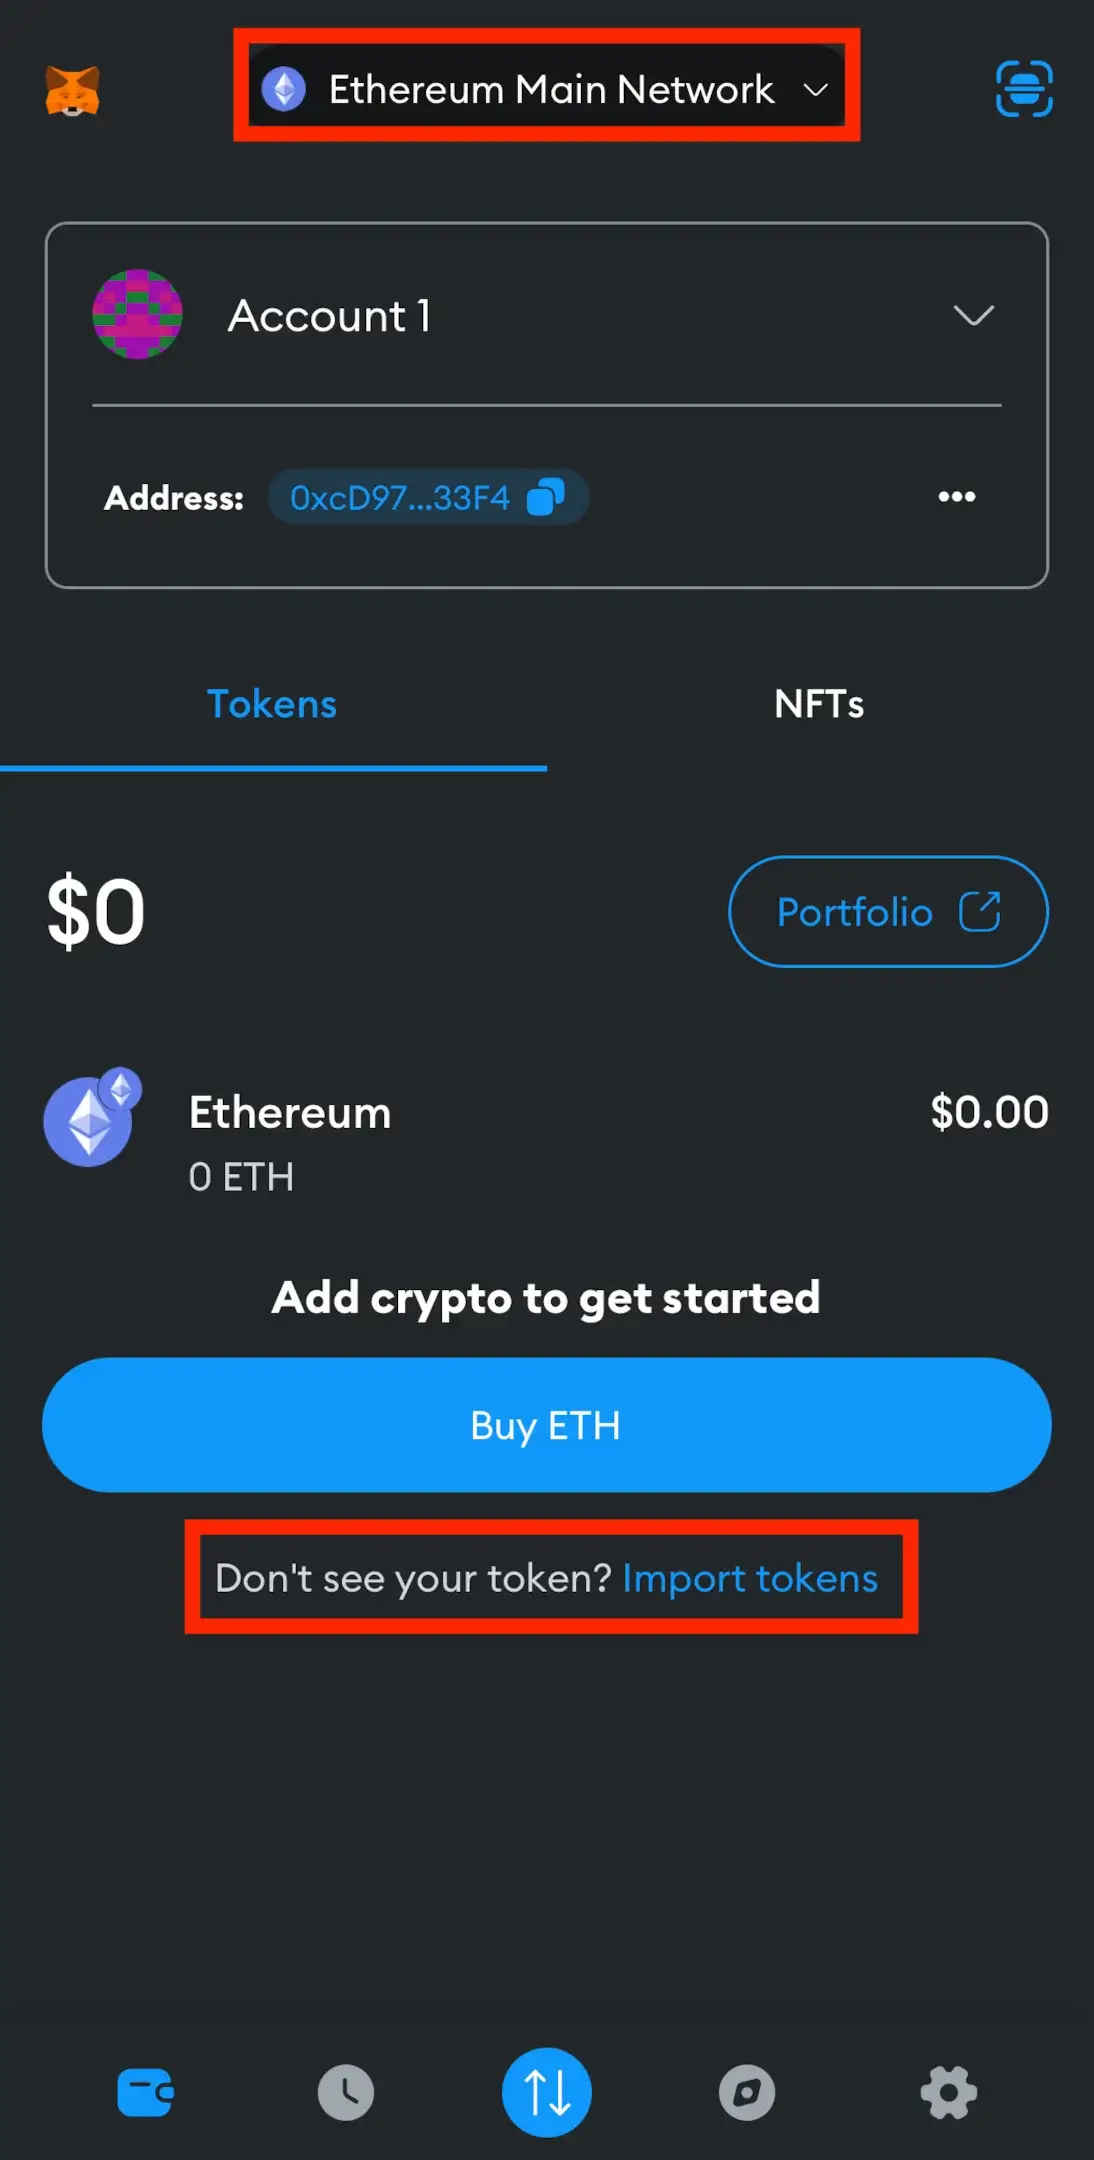
Ensure you’re on the “Ethereum Mainnet” network (or your chosen network). If you need to change the network with a different one, locate the token sign in the header. Click on it and select your preferred chain from the network dropdown box.
Following that, click “Import tokens” to initiate the USDT import process.
Step 4. Import USDT to MetaMask Wallet App
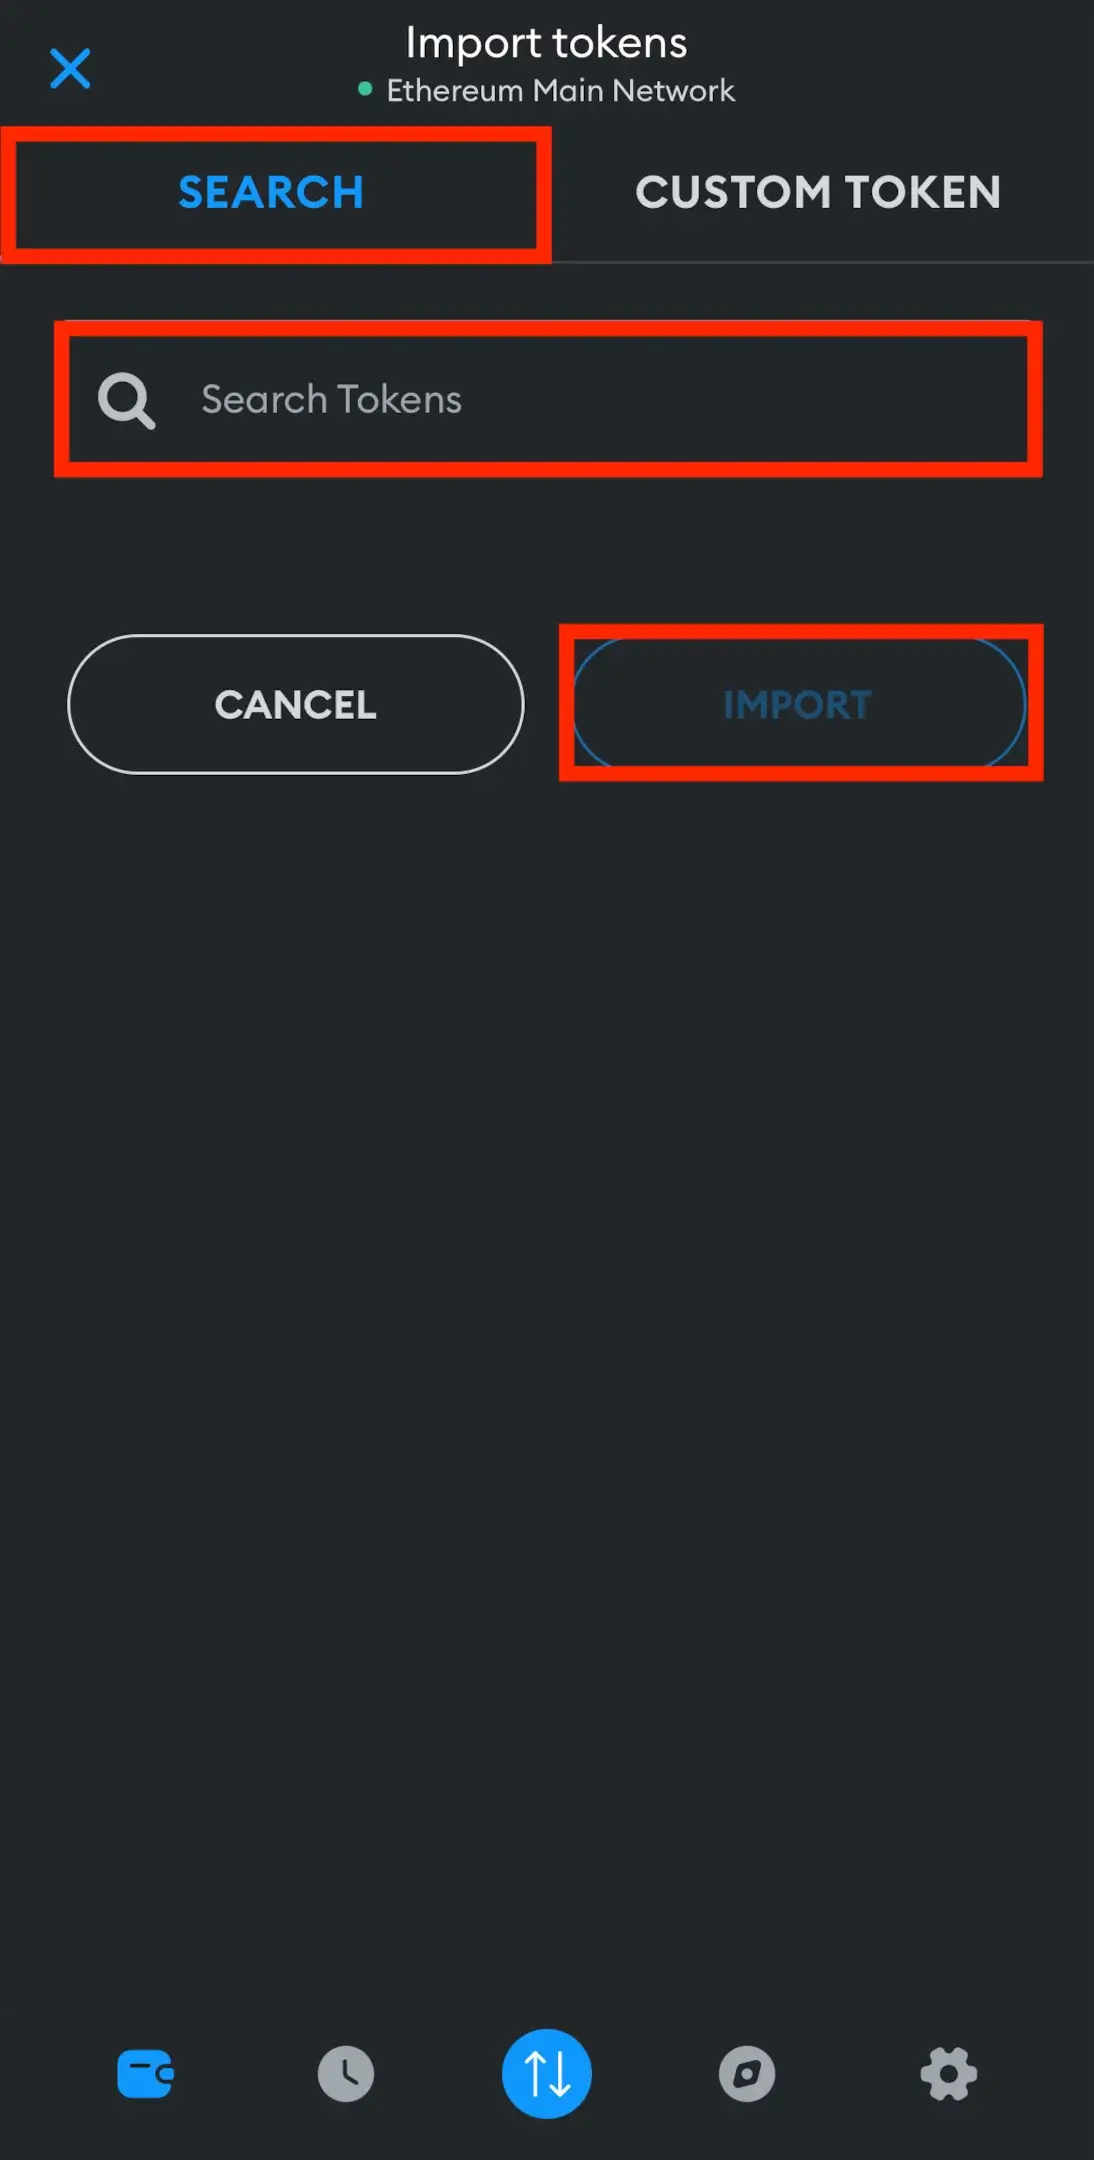
After tapping “Import tokens,” you’ll land on the “Search” page. You can look up “USDT” and include it as a token.
However, to ensure you’re adding the right one, regarding the Tether (USDT) token, we recommend using the “add custom token” function.
Click on “Custom Token” and paste the Tether contract address into the “Token Contract Address” field. Once you’ve done that, the other fields will fill in automatically. Afterward, tap the “Next” button to add USDT to MetaMask, and that’s it.
You successfully added USDT to MetaMask.
FAQ
Can I Add the BEP20 USDT to MetaMask?
Yes, you can. In order to add BEP20 USDT to MetaMask, visit the CoinMarketCap, tap on “USDT,” find the “Contracts” section, and from the “More” menu, select Binance Smart Chain. Click the MetaMask logo to automatically copy the contract address, and do the same steps we showed you above, but in MetaMask Wallet, use the BSC Chain network and paste the valid BSC contract address in the “Custom Tokens” menu.
Is Holding USDT on MetaMask Safe?
Yes, MetaMask is a great option to keep your USDT tokens safe and secure. To ensure this level of protection, ensure your device is always up-to-date with the latest software version, use a hard password, and enable two-factor authentication if available.
Also, knowing about phishing scams and dealing with trustworthy websites and contracts is essential.
Is Tether (USDT) a Safe Digital Asset?
Yes, USDT is a safe stablecoin, but we do not consider it the safest. While Tether is the most popular stablecoin and presented measures to improve its transparency, concerns continue regarding its reserves and past legal issues. USDC is often considered a safer alternative.
Conclusion Adding USDT Token to MetaMask Wallet
Now, you can securely store and add your USDT on MetaMask. Even if you are curious about the process or want to transfer your USDT to your MetaMask, our article is your answer in both cases.
However, remember to be careful when transferring your crypto to a crypto wallet because if something goes wrong (like introducing an incorrect address), you can lose your assets forever.
That being said, good luck, and may your crypto go to the moon!