By far, Bitcoin is one of the most traded cryptocurrencies in 2024. Whether you wish to diversify your digital assets through a crypto exchange, are a novice considering investing in cryptocurrency, or are interested in buying and selling Bitcoin, eToro could be a good starting point.
For those who don’t know already, eToro is a trading platform that allows you to invest in all major cryptocurrencies, such as Ethereum (ETH), Cardano (ADA), and, most importantly, Bitcoin (BTC).
Also, you need to know that eToro charges aren’t hidden, thus making it an excellent option for investors, offering an array of stocks, currencies, commodities, crypto-assets, ETFs, and indices through its innovative investment platform.
However, before leaping without looking at the cryptocurrency world, it is necessary to understand the market in all its glory, as it can also be highly volatile.
In today’s article, we discuss everything you need to know when buying Bitcoin on eToro, as this is the most awaited step-by-step guide. So, without further ado, let’s jump in!
The Advantage of Buying Bitcoin With eToro
Now that we have discussed the eToro platform, it’s time to uncover the advantages of buying Bitcoin on eToro. We can all say that it all comes down to personal preferences since there is no difference in Bitcoin’s price or value.
1. eToro’s Ease of Use
First, eToro is an easy-to-use platform integrating exchange and online brokerage features. You can interact with other traders and even buy Bitcoin using your PayPal account as a payment method.
Another important aspect is the eToro wallet, which gives you easy access to crypto trading using the same login credentials as your main platform account.
2. eToro Offers High-Security Features
The security features offer peace of mind when buying BTC:
- 2FA verification;
- Cold storage;
- FDIC-insured USD balances;
- Multi-signature facilities;
- Private keys;
- KYC;
Also, the financial instrument, eToro, obeys the strict regulations of several authorities, such as:
- FCA (UK);
- ASIC (Australia);
- CySec (Cyprus);
- GFSC (Gibraltar);
- FinCen;
- FINRA (United States);
3. Advanced Cryptocurrency Charting
Nonetheless, the eToro site offers advanced charts and analysis tools to follow when swapping Bitcoin and real-time insights into the latest cryptocurrency market news.
Given all the benefits of the above, we can say that eToro is one of the most suitable platforms for novice investors looking to jumpstart their investment careers through social trading features.
Experienced traders will also value the broad spectrum of tradable assets and the ability to interact using the platform’s social network features.
Buy Bitcoin on eToro: Step-by-Step Guide for 2024
Upon embarking on this journey to purchase Bitcoin, you must create your eToro account. However, this process might vary depending on your chosen platform, and it is best to check your bank’s stance on cryptocurrency before creating an account.
The setup is pretty straightforward, with no management fees, and in 3 easy steps:
- Create your account;
- Deposit capital by choosing from multiple methods;
- Start buying BTC simply and securely;
Step 1: Visit the Official Website to Create Your Account
The process is straightforward, and you must follow the on-screen instructions to create your eToro account.
At this point, you need an email address, username, and a strong password. Once you have added all the necessary details, you will receive an account activation key via the email address you used to create your account.
Also, eToro will need your details, including your first and last name, date of birth, and ID or passport.
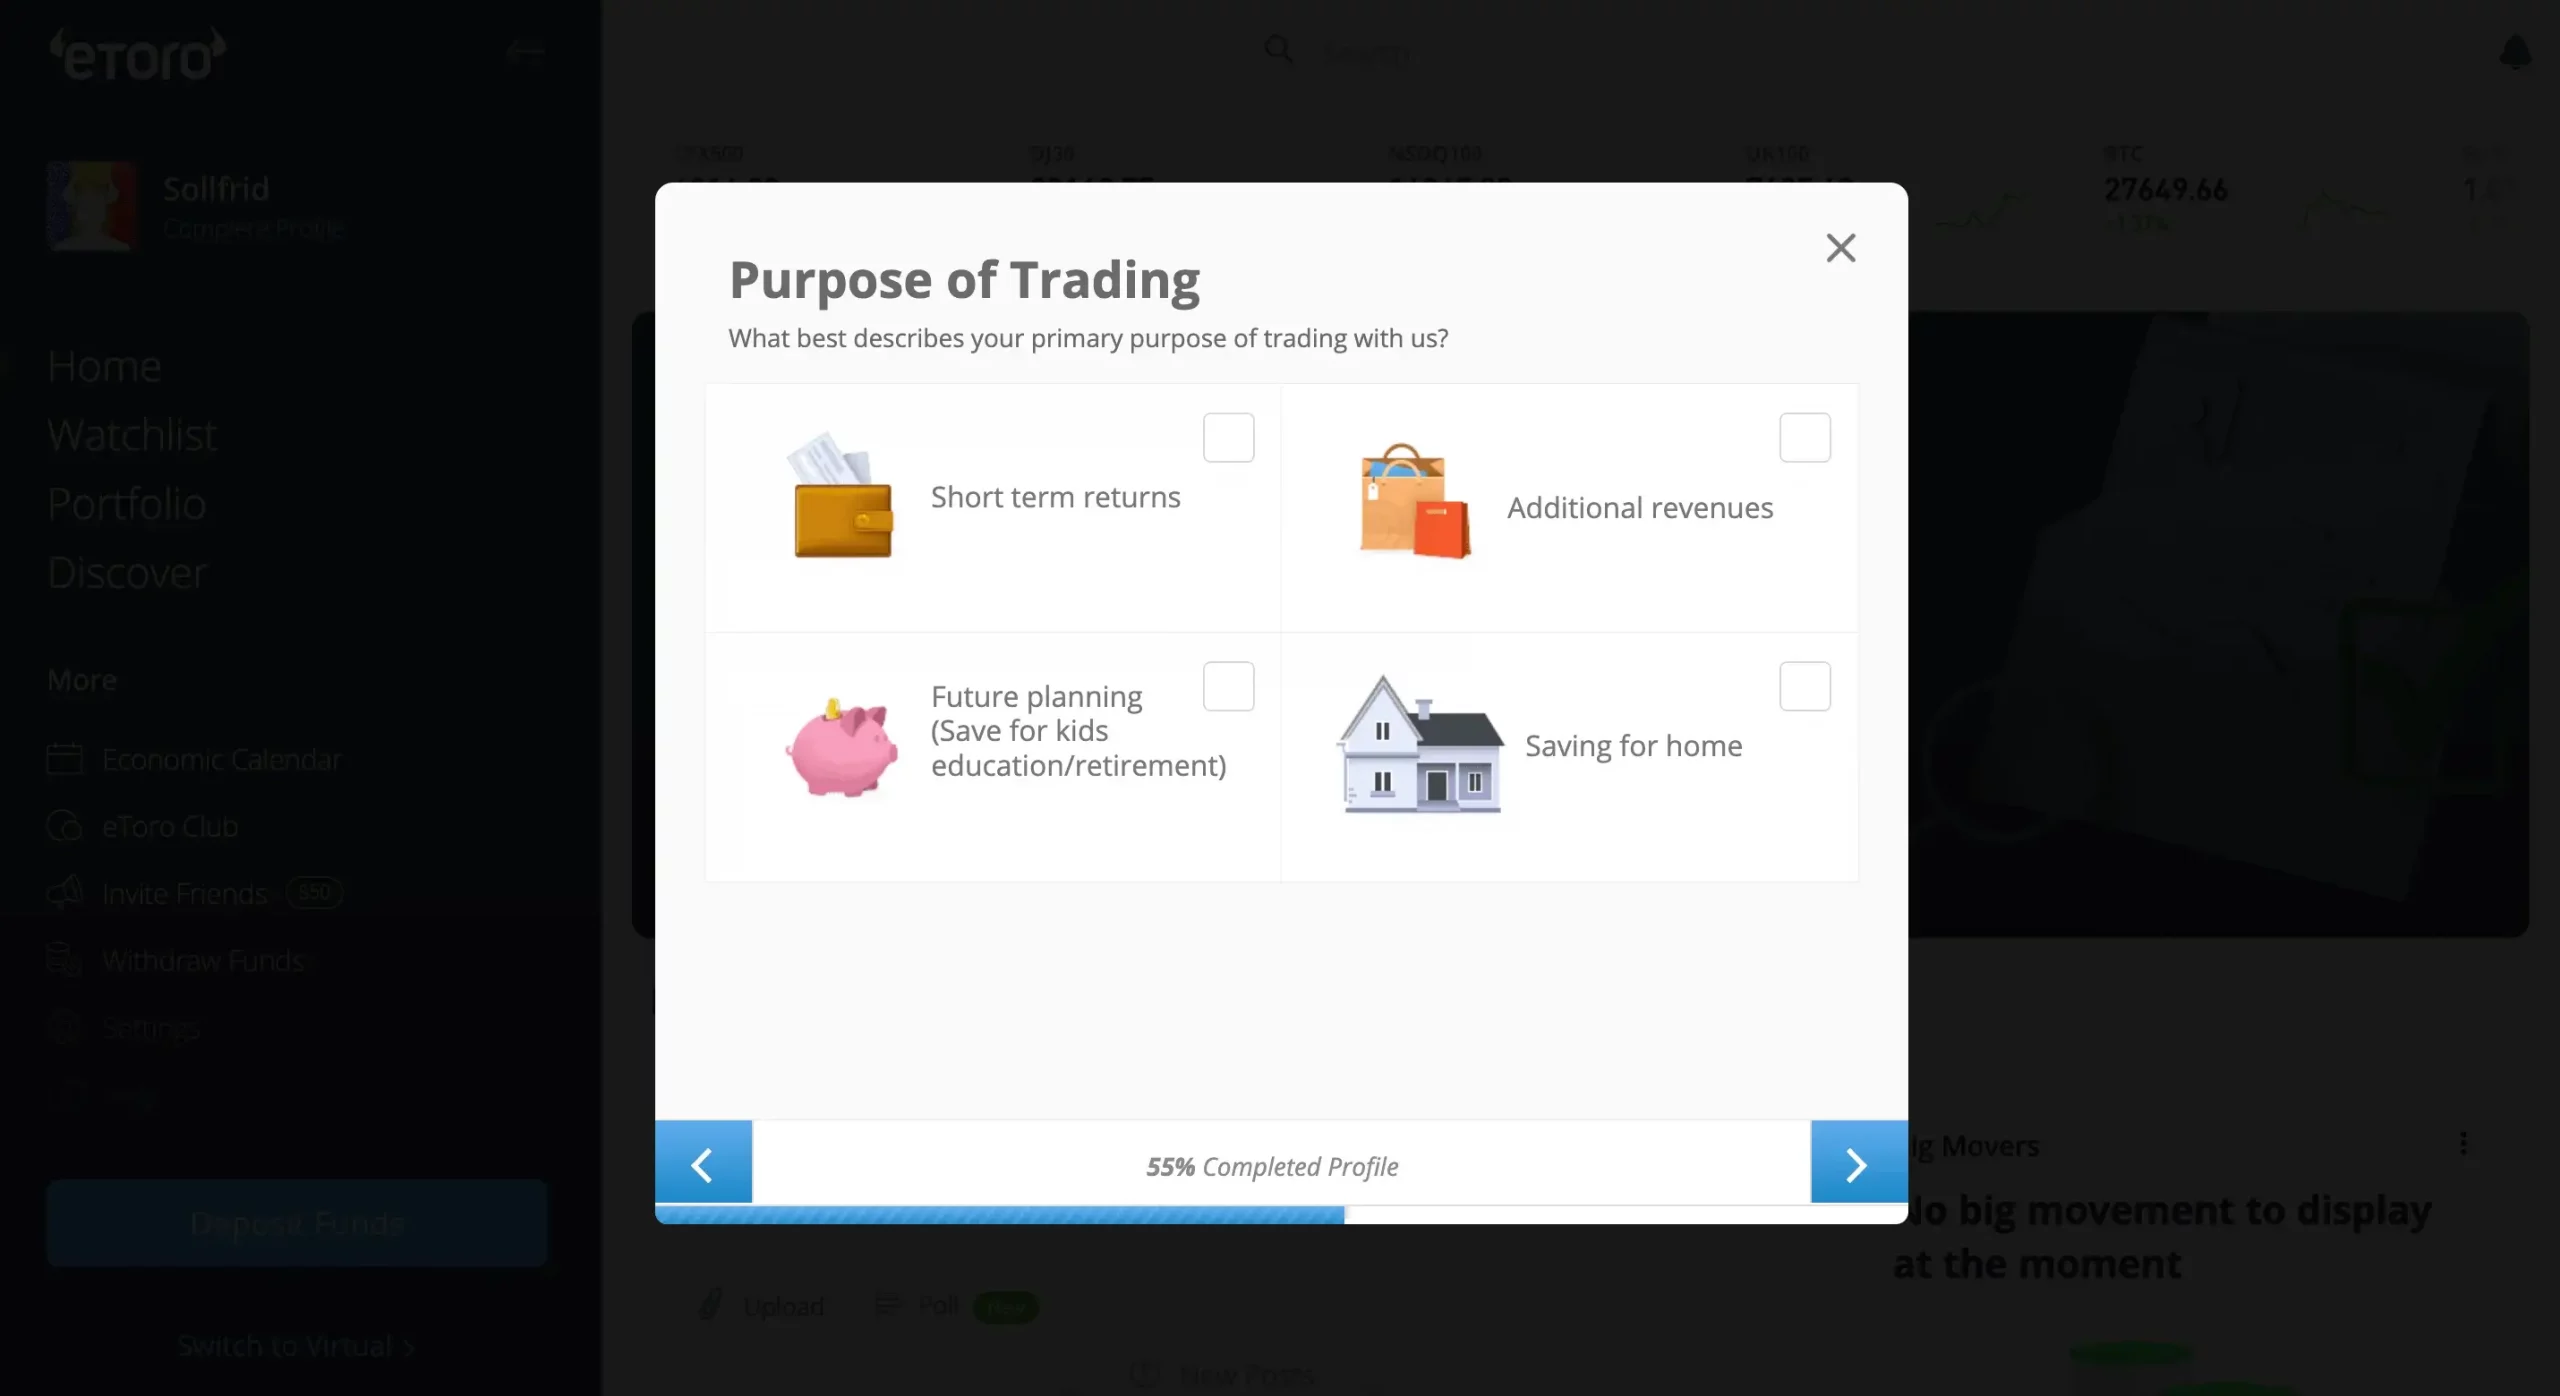
Then, you will select your stock investing experience, the level of your cryptocurrency investing experience, your leveraged investing experience, and others to better personalize your eToro account from the beginning, depending on your level of expertise.
Step 2: Deposit Funds into your eToro account
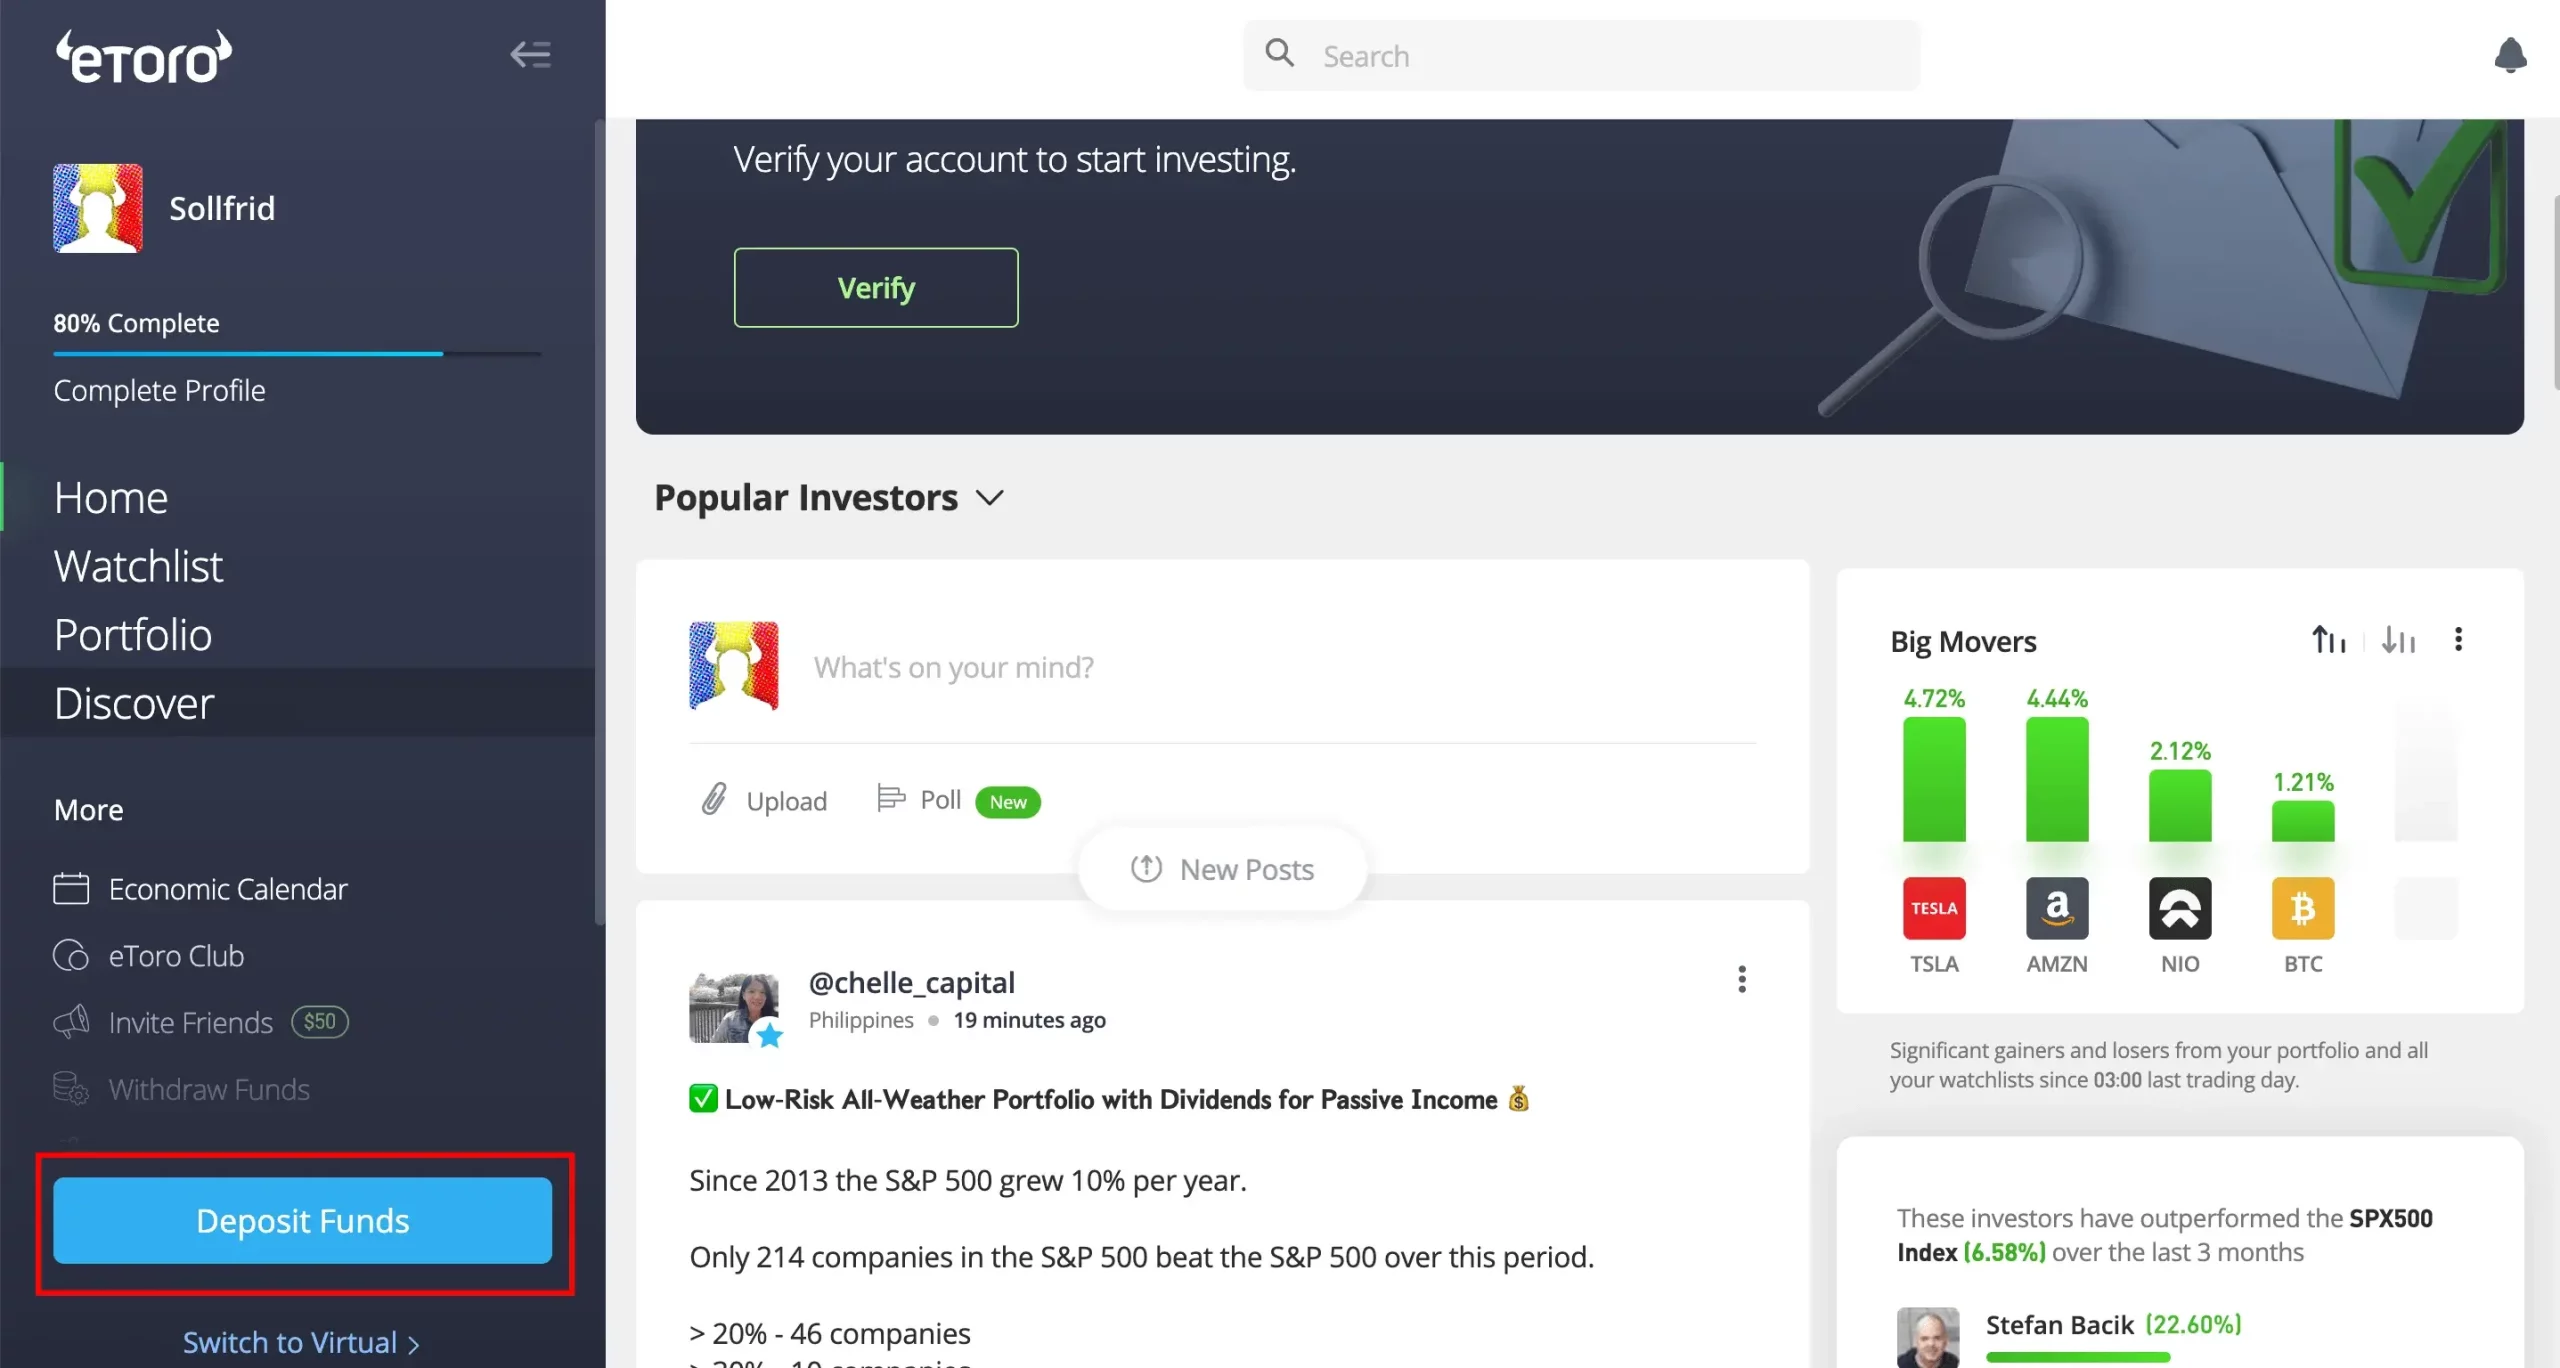
Once you are on the homepage and logged in, you’ll see the Deposit Funds button in the left-down corner.
Please complete all the required details and hit the Deposit button. Also, note that the minimum deposit amount in fiat money is 95 € or $100, and you can choose your preferred payment procedure, including credit, debit card, or a regular bank transfer from your bank account. Moreover, PayPal is only available after making the 1st deposit.
Your deposit is processed immediately, and the money will be shown instantly in your account. However, ACH bank transfers can sometimes take longer, depending on the bank.
Step 3: Buy Bitcoin
Write and select Bitcoin from your homepage in the search bar, navigate to the Bitcoin page, and click Invest to purchase at the current market price.
You’ll see two options: Trade or Order. Bitcoin Trade represents a specified amount at the current price, and Bitcoin Order sets a BTC price target and how many coins to purchase.
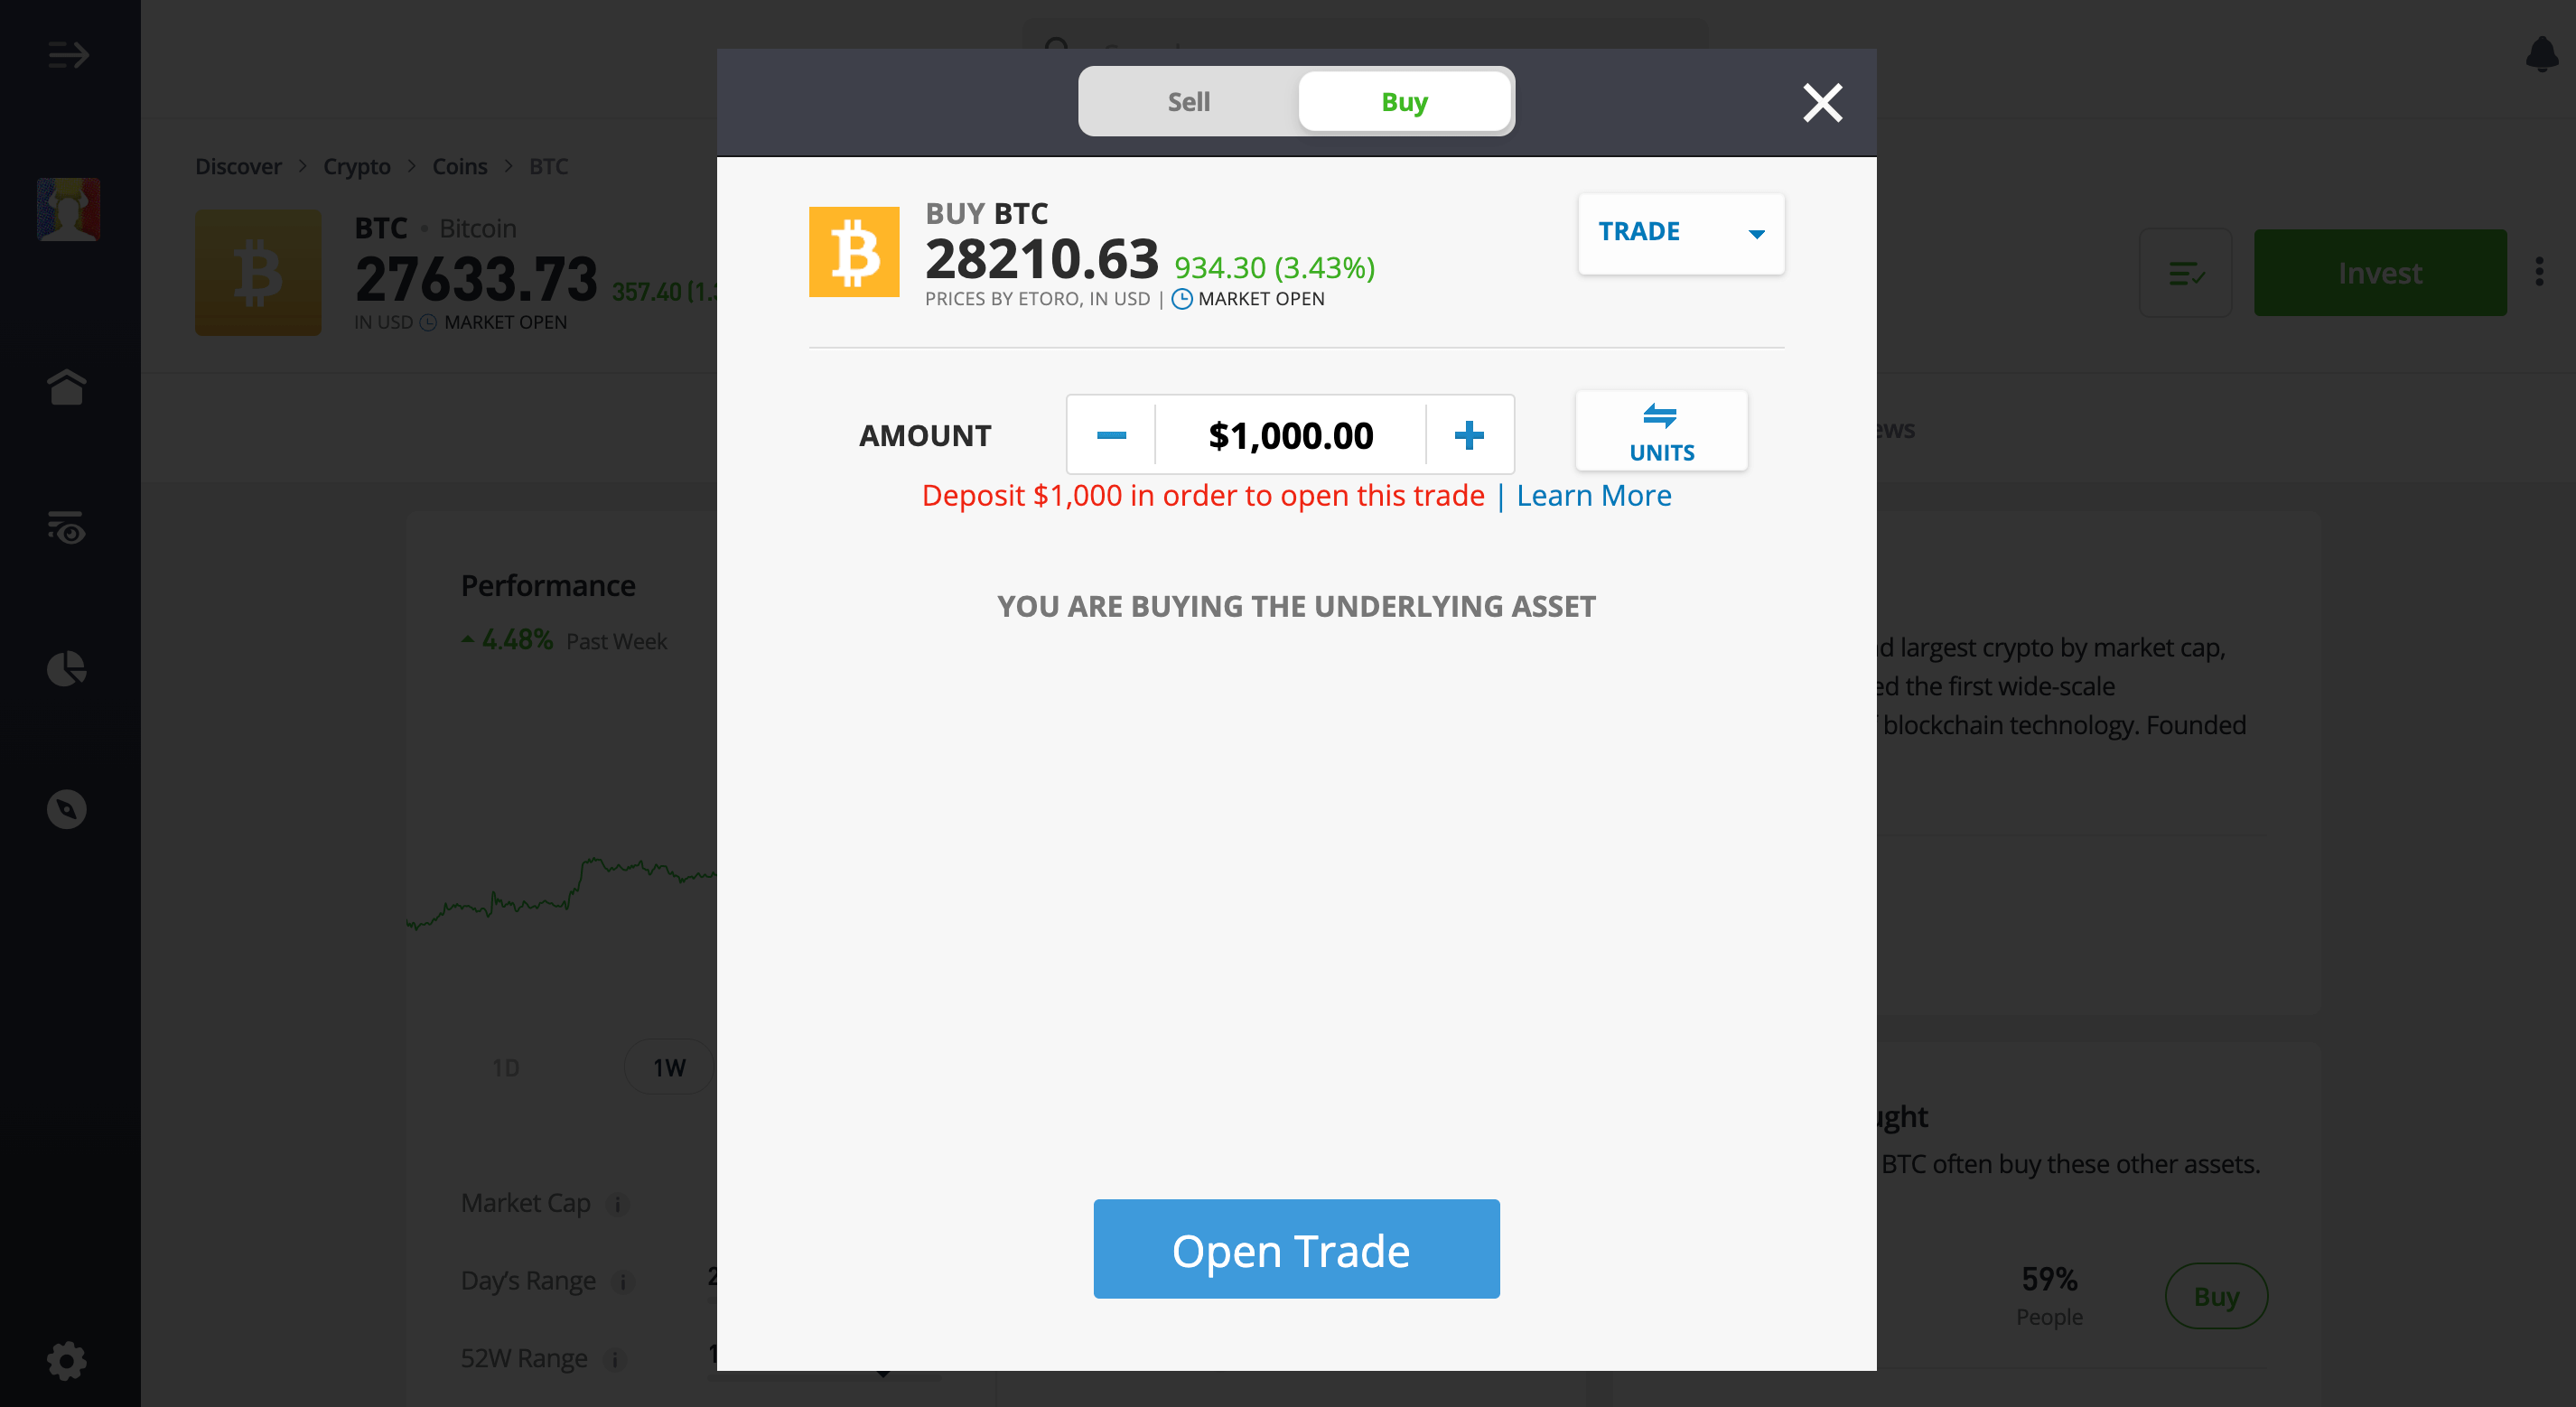
Your order will be executed once the price hits your target, and take note of the 1% Bitcoin bid/ask spread trading fees. Once you buy Bitcoin from eToro, you can connect your eToro wallet and the mobile app and view your trades.
Step 4: Set Up a Cryptocurrency eToro Wallet
When you buy Bitcoin with eToro, you can securely store your coins in your eToro account or adhere to the eToro crypto wallet. Even though, unlike other trading platforms, you are not required to have a crypto wallet, we highly recommend one.
However, crypto wallets are highly secure and allow you to use your Bitcoin for various applications. eToro offers its cryptocurrency wallet, eToro Money, that you can download for free on iOS or Android devices or use the already owned wallets.
With the eToro wallet, you can easily trade crypto or perform a swap. Send Bitcoin or any other digital currency supported by eToro and receive cryptocurrency from other wallets while maintaining security with several high-level security features to protect against unauthorized access, including DDoS protection and standardization protocols.
How to Buy Bitcoin on the eToro App
As we’ve bought Bitcoin on the eToro platform, it’s time to move further and discover how to buy BTC on the eToro app. So, the first account setup steps are the same for the mobile app, so we’ll jump over.
Step 1: Deposit Capital;
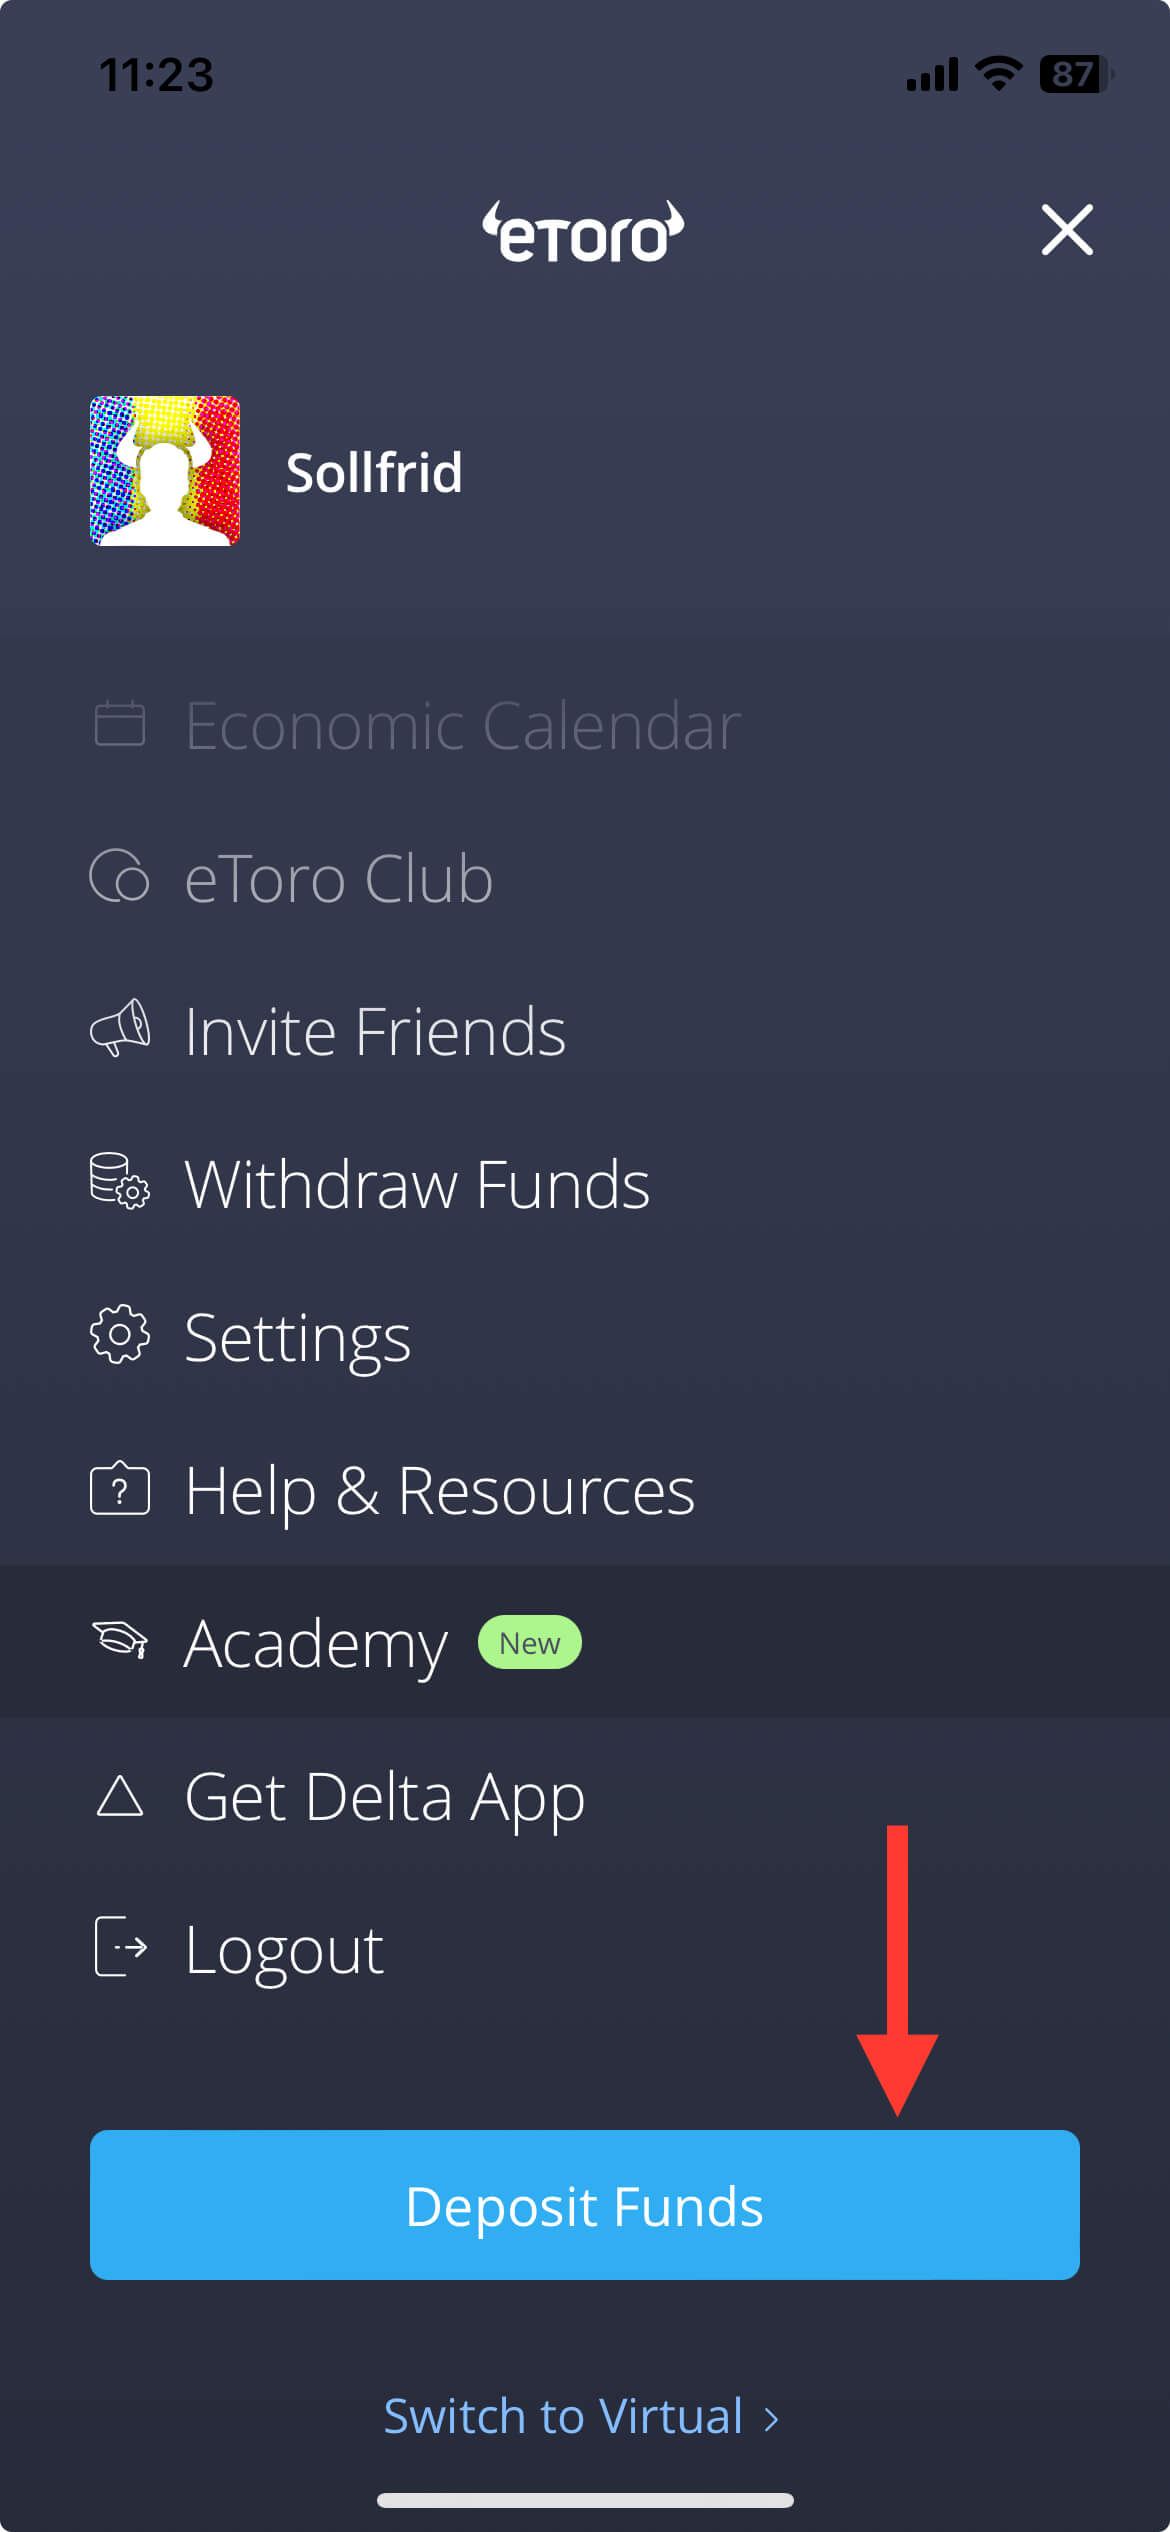
From your eToro app, access the general menu from the top, left-hand side, scroll to the bottom, and click on Deposit Funds. Please select the payment method that best fits you: credit/ debit card or bank transfer.
Step 2: Search for Bitcoin BTC;
Click on Discover at the bottom of the app and search for Bitcoin BTC.
Step 3: Buy Bitcoin from eToro App;
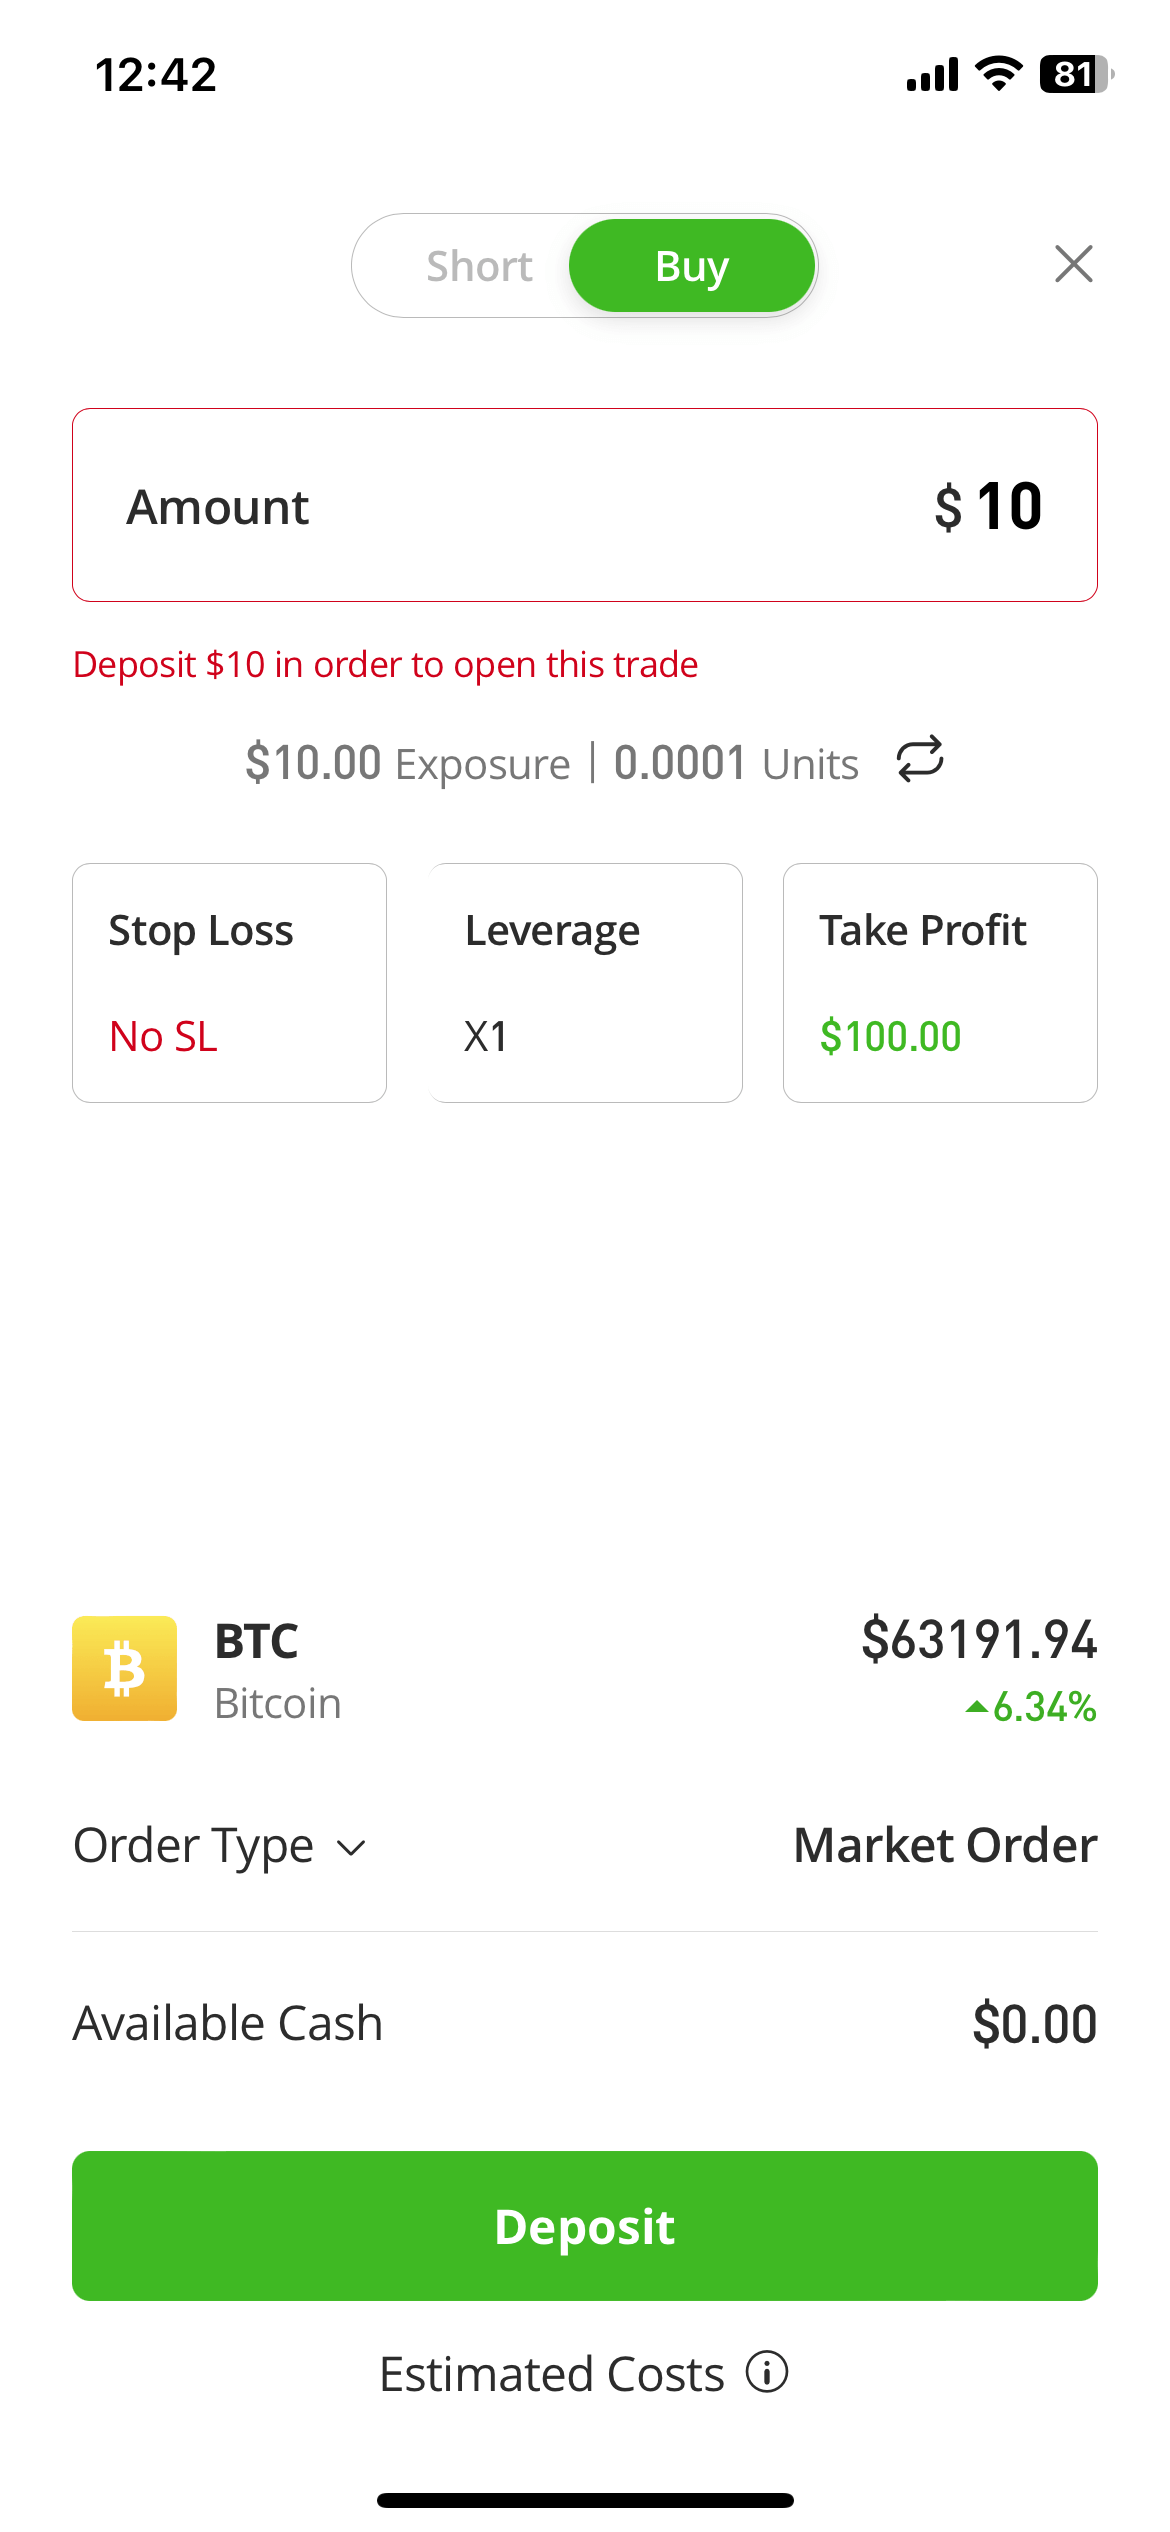
Click on Trade – you’ll be prompted with a new window where you must choose the amount in fiat or units. You can also set stop-loss and take-profit orders to manage your risk, yet it’s optional.
Once done, you can view all your trades within your crypto wallet.
Buy Bitcoin With eToro: 3 Things to Be Careful About
Since cryptocurrency holdings are growing in popularity and more and more people start investing, you must understand that the crypto market is highly volatile and has a market risk.
1. Do Your Research
Before embarking on such an adventurous journey, it is necessary to do your research on which crypto you wish to invest in. There are many digital currencies but also a high potential for fraud.
In today’s digital era, there are also many resources to learn more about how to transfer Bitcoin, what an exchange is, the underlying asset, and so on.
A good source of knowledge that can kickstart your journey could be Coindoo. We provide one of the most educational guides, reviews, and blockchain technologies, trusted by many, to help you get started in crypto.
2. Invest What You Are Willing to Lose
This could be a general rule that applies to the crypto world. Only invest what you are willing to lose, as the crypto space is already volatile, and here we’re referring to fiat money, crypto exchanges, loans, and many other financial investments. At any point, a negative outcome could appear; even though you thoroughly research the coin, there is always a risk to crypto trading.
3. Expand Your Crypto Portfolio
Remember the saying, don’t put all your eggs in one basket. We might say investing in at least two other coins in cryptocurrency before starting your investment strategy is necessary.
It doesn’t matter how well-researched your financial plan is, as the crypto market is already volatile; having different options to boost or sustain your investment is the key to success.
The Bottom Line
In conclusion, we hope we answered all of your questions regarding buying BTC on eToro, and this step-by-step guide helped you make your first cryptocurrency transaction on eToro.
Be sure to research before investing thoroughly, follow other cryptocurrency communities, and whenever you need help, find our guides and tutorials for a well-researched decision.
FAQ on Buying Bitcoin on eToro
How to buy Bitcoin on eToro?
Upon buying on eToro, there are three simple steps: create your eToro account, deposit capital by choosing from your preferred payment method, and then you can start buying BTC, simply and securely.
Is eToro suitable for buying Bitcoin?
eToro is a safe trading platform where you can easily buy and sell Bitcoin. Moreover, eToro provides 2FA verification, cold storage, FDIC-insured USD balances, multi-signature facilities, private keys, and KYC.
What is the minimum deposit on eToro?
Depending on the country of residence and the payment methods chosen, one must deposit between $10 and $10,000.