Ethereum is the second most traded cryptocurrency and continues to amaze us with its implications within various sectors, being a leading player in the digital asset world. If you are intrigued by the potential of ETH and want to be part of this growing community, you have come to the right place.
Whether you are new to crypto or an experienced trader, in this comprehensive guide, you will learn how to buy Ethereum on eToro, a trusted exchange platform that offers a straightforward and secure way to acquire and manage your Ethereum investments.
So, fasten your seatbelts, and embark on this journey into the realm of one of the most popular cryptocurrencies! By the end of this comprehensive guide, you’ll know how to navigate the eToro platform, purchasing Ethereum holding. Let’s dive in!
The Role of Ethereum in the Crypto World
The Ethereum ecosystem is growing daily, as it is the second-largest cryptocurrency by market capitalization. At this point, it’s no doubt that Ethereum stands at the core of blockchain and decentralized applications, having implications within many sectors, such as finance through decentralized finance or DeFi (Decentralized Finance) apps, art collectibles through NFTs (Non-Fungible Tokens), gaming, and technology.
Within Decentralized Applications (dApps), Ethereum aims to provide a platform for developing and deploying dApps. Also, it introduced the concept of self-executing contracts that operate in an automatic system to execute transactions and agreements when the conditions are met, thus eliminating intermediaries.
Moreover, Ethereum future developments are strongly intertwined with the industry by being an open-source software platform for blockchain apps.
What is the eToro Platform?
eToro is a user-friendly and straightforward brokerage and social trading platform that comes to the aid of many crypto enthusiasts, regardless of their trading skill level.
On eToro, you can choose your favorite crypto from the other 80 currencies and start trading immediately, without hassle, and in a secure environment. And speaking of security, eToro integrates multi-level security features, such as 2FA (2 Factor Authentication) verification, cold storage, FDIC-insured USD balances, multi-signature facilities, private keys, and KYC (Know Your Customer).
It is striking that the eToro user base has grown exponentially since its inception, and fast forward to the third quarter of 2022, the platform experienced exponential growth, reaching a staggering 31 million users.
These figures highlight the significant increase in eToro’s user base, demonstrating the platform’s popularity and the growing interest in cryptocurrencies and trading.
The Advantage of Buying Ethereum on eToro
Besides the security measures, which say much about the trading platform, we could only move further by mentioning that eToro offers nonstop trading, even for fractional purchases, with minimal fees.
As the platform is easy to use and has a friendly interface, we could say that it’s suitable for everyone, especially the new starters, which have two different bonus experiences to strengthen their skills further: demo trading and copy trading, which allow users to test their trading strategy with practice funds, and mimic the trades of other crypto investors.
Also, eToro has no hidden fees, so transparency is the way to go. With a trading fee of 1% and a crypto conversion (minimum 0.3 ETH) of 0.006 units, eToro has managed to keep its users appeased.
How to buy Ethereum on eToro | Your Comprehensive Guide
Before joining million other users, be sure to create your eToro account. If you already have your account in place, please skip to step number two. For the rest of the newcomers, we have only one piece of advice: to take your time with the account setup, as we wanted to offer you one of the best guides on buying Ethereum on eToro.
Also, to buy Ethereum or any other coin on eToro, you will need fiat money; thus, checking your bank’s stance on cryptocurrency before creating an account is best.
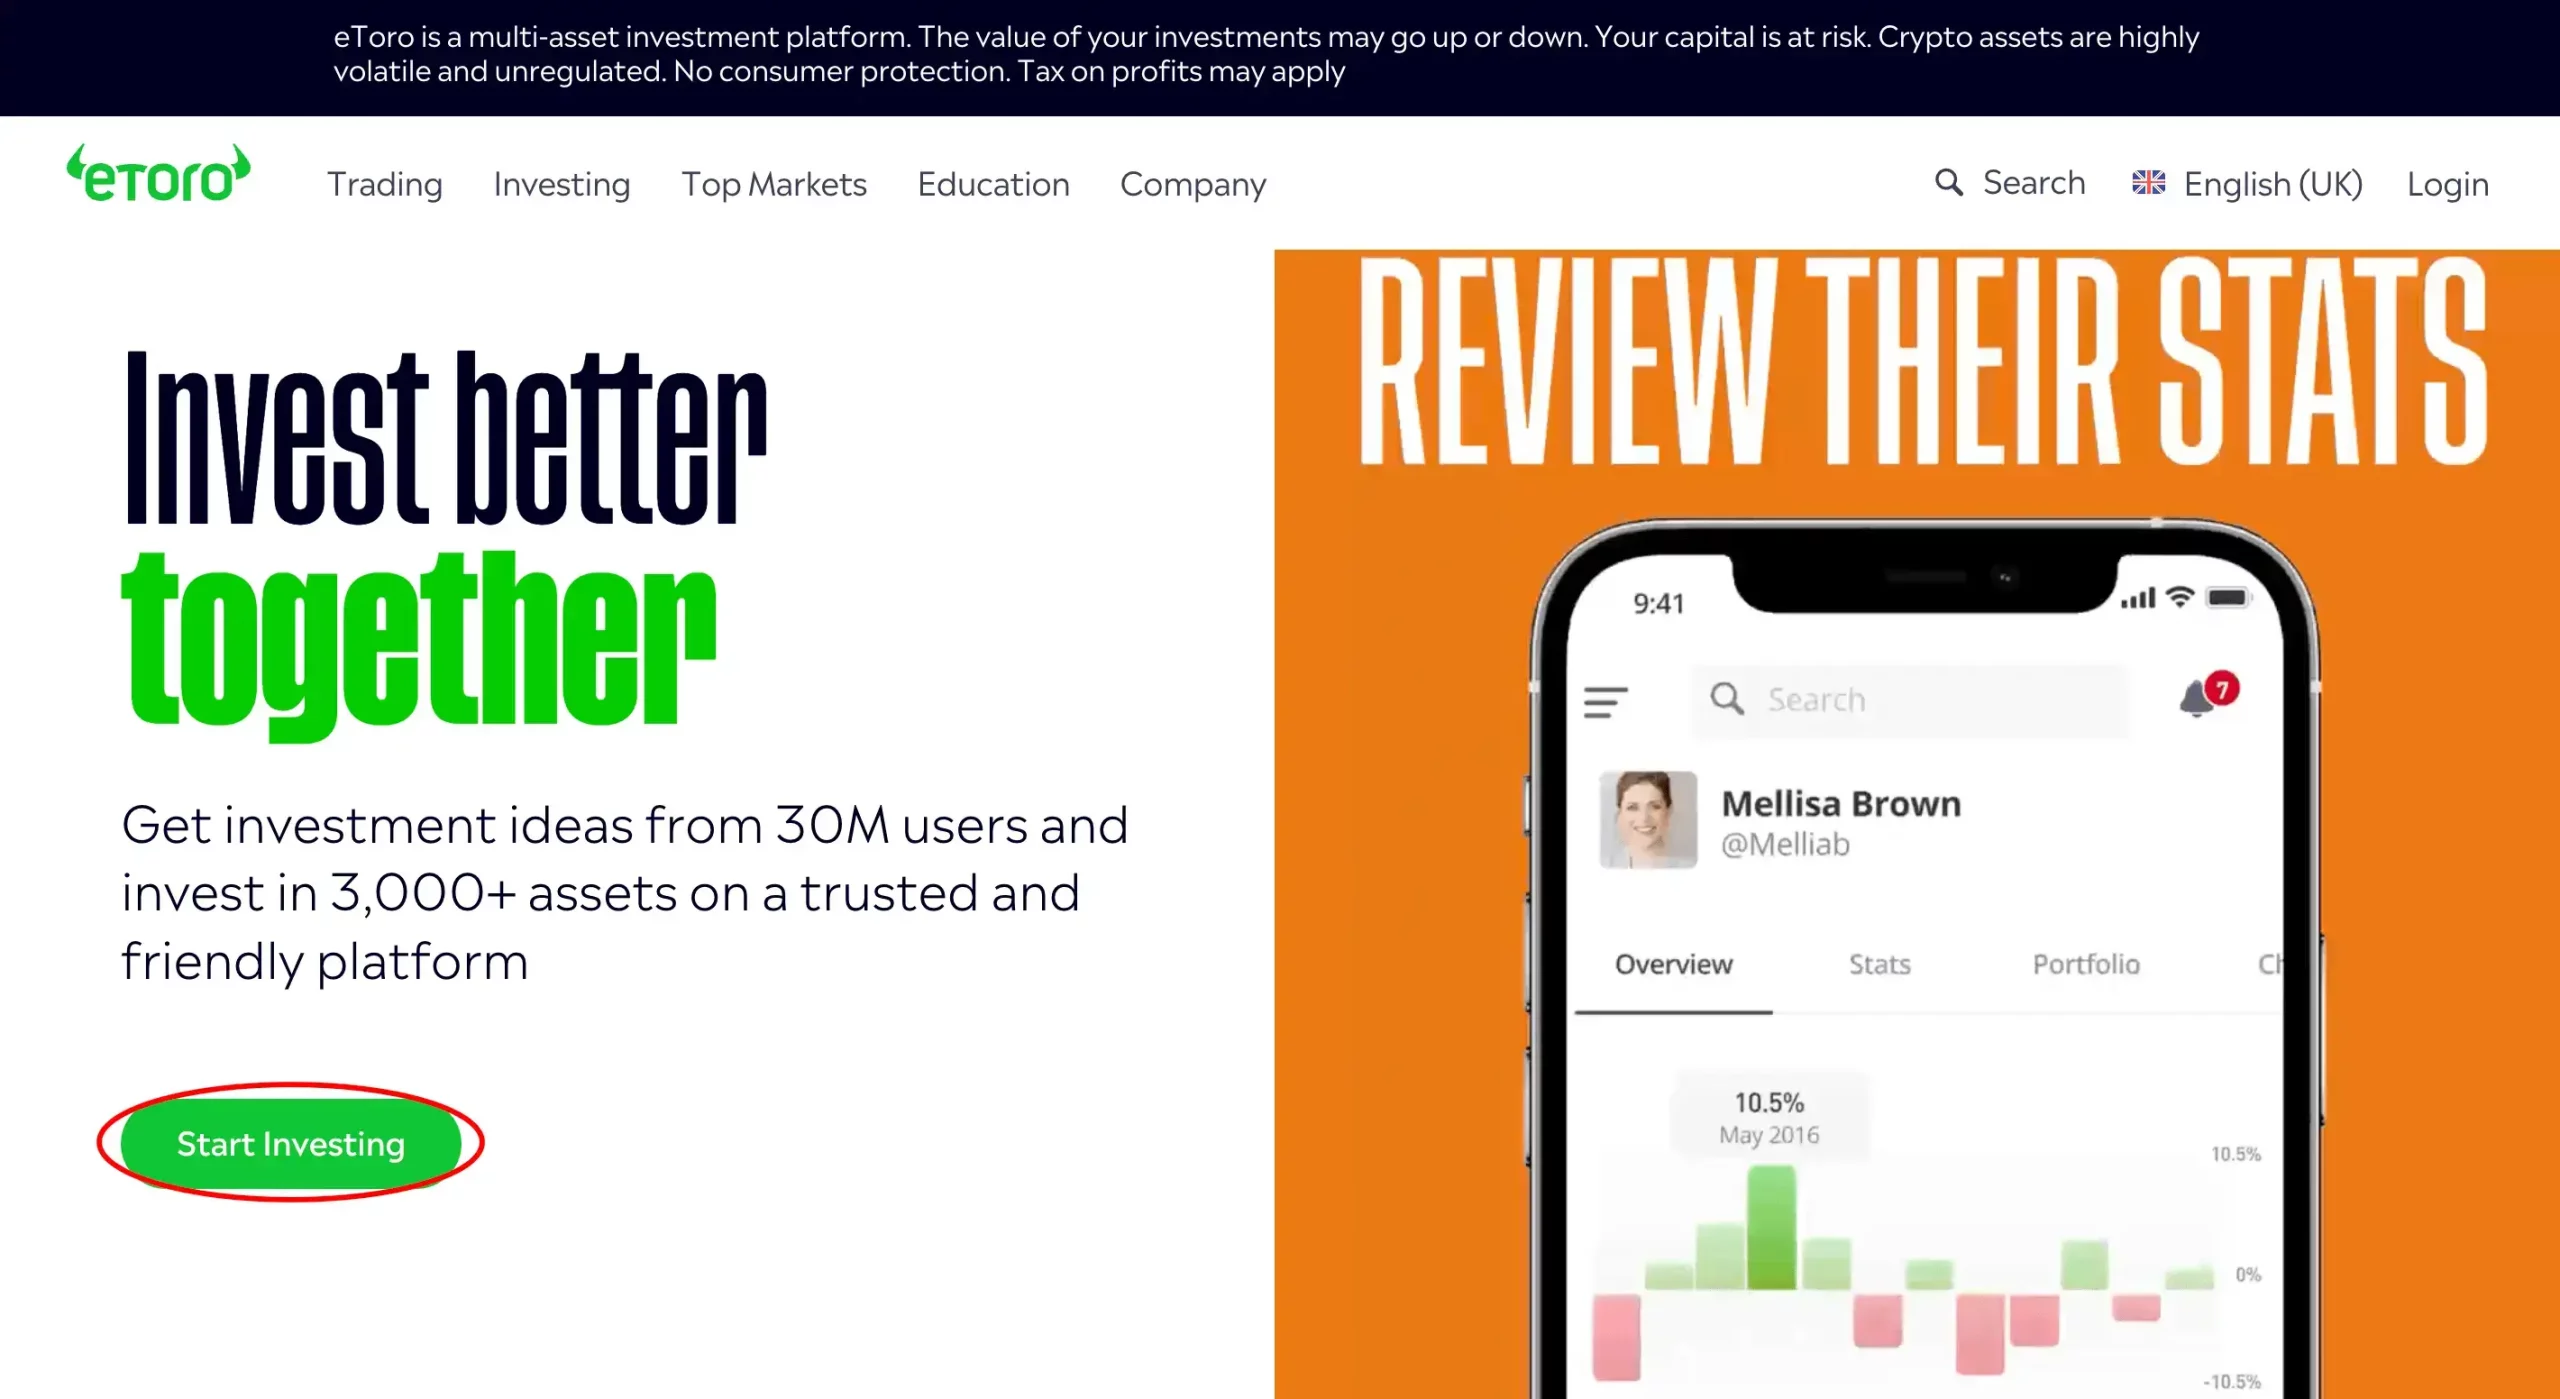
Step 1: Visit the official website to create your account

Step 1.2: Create an eToro account
Step 1.3: Follow the on-screen instructions
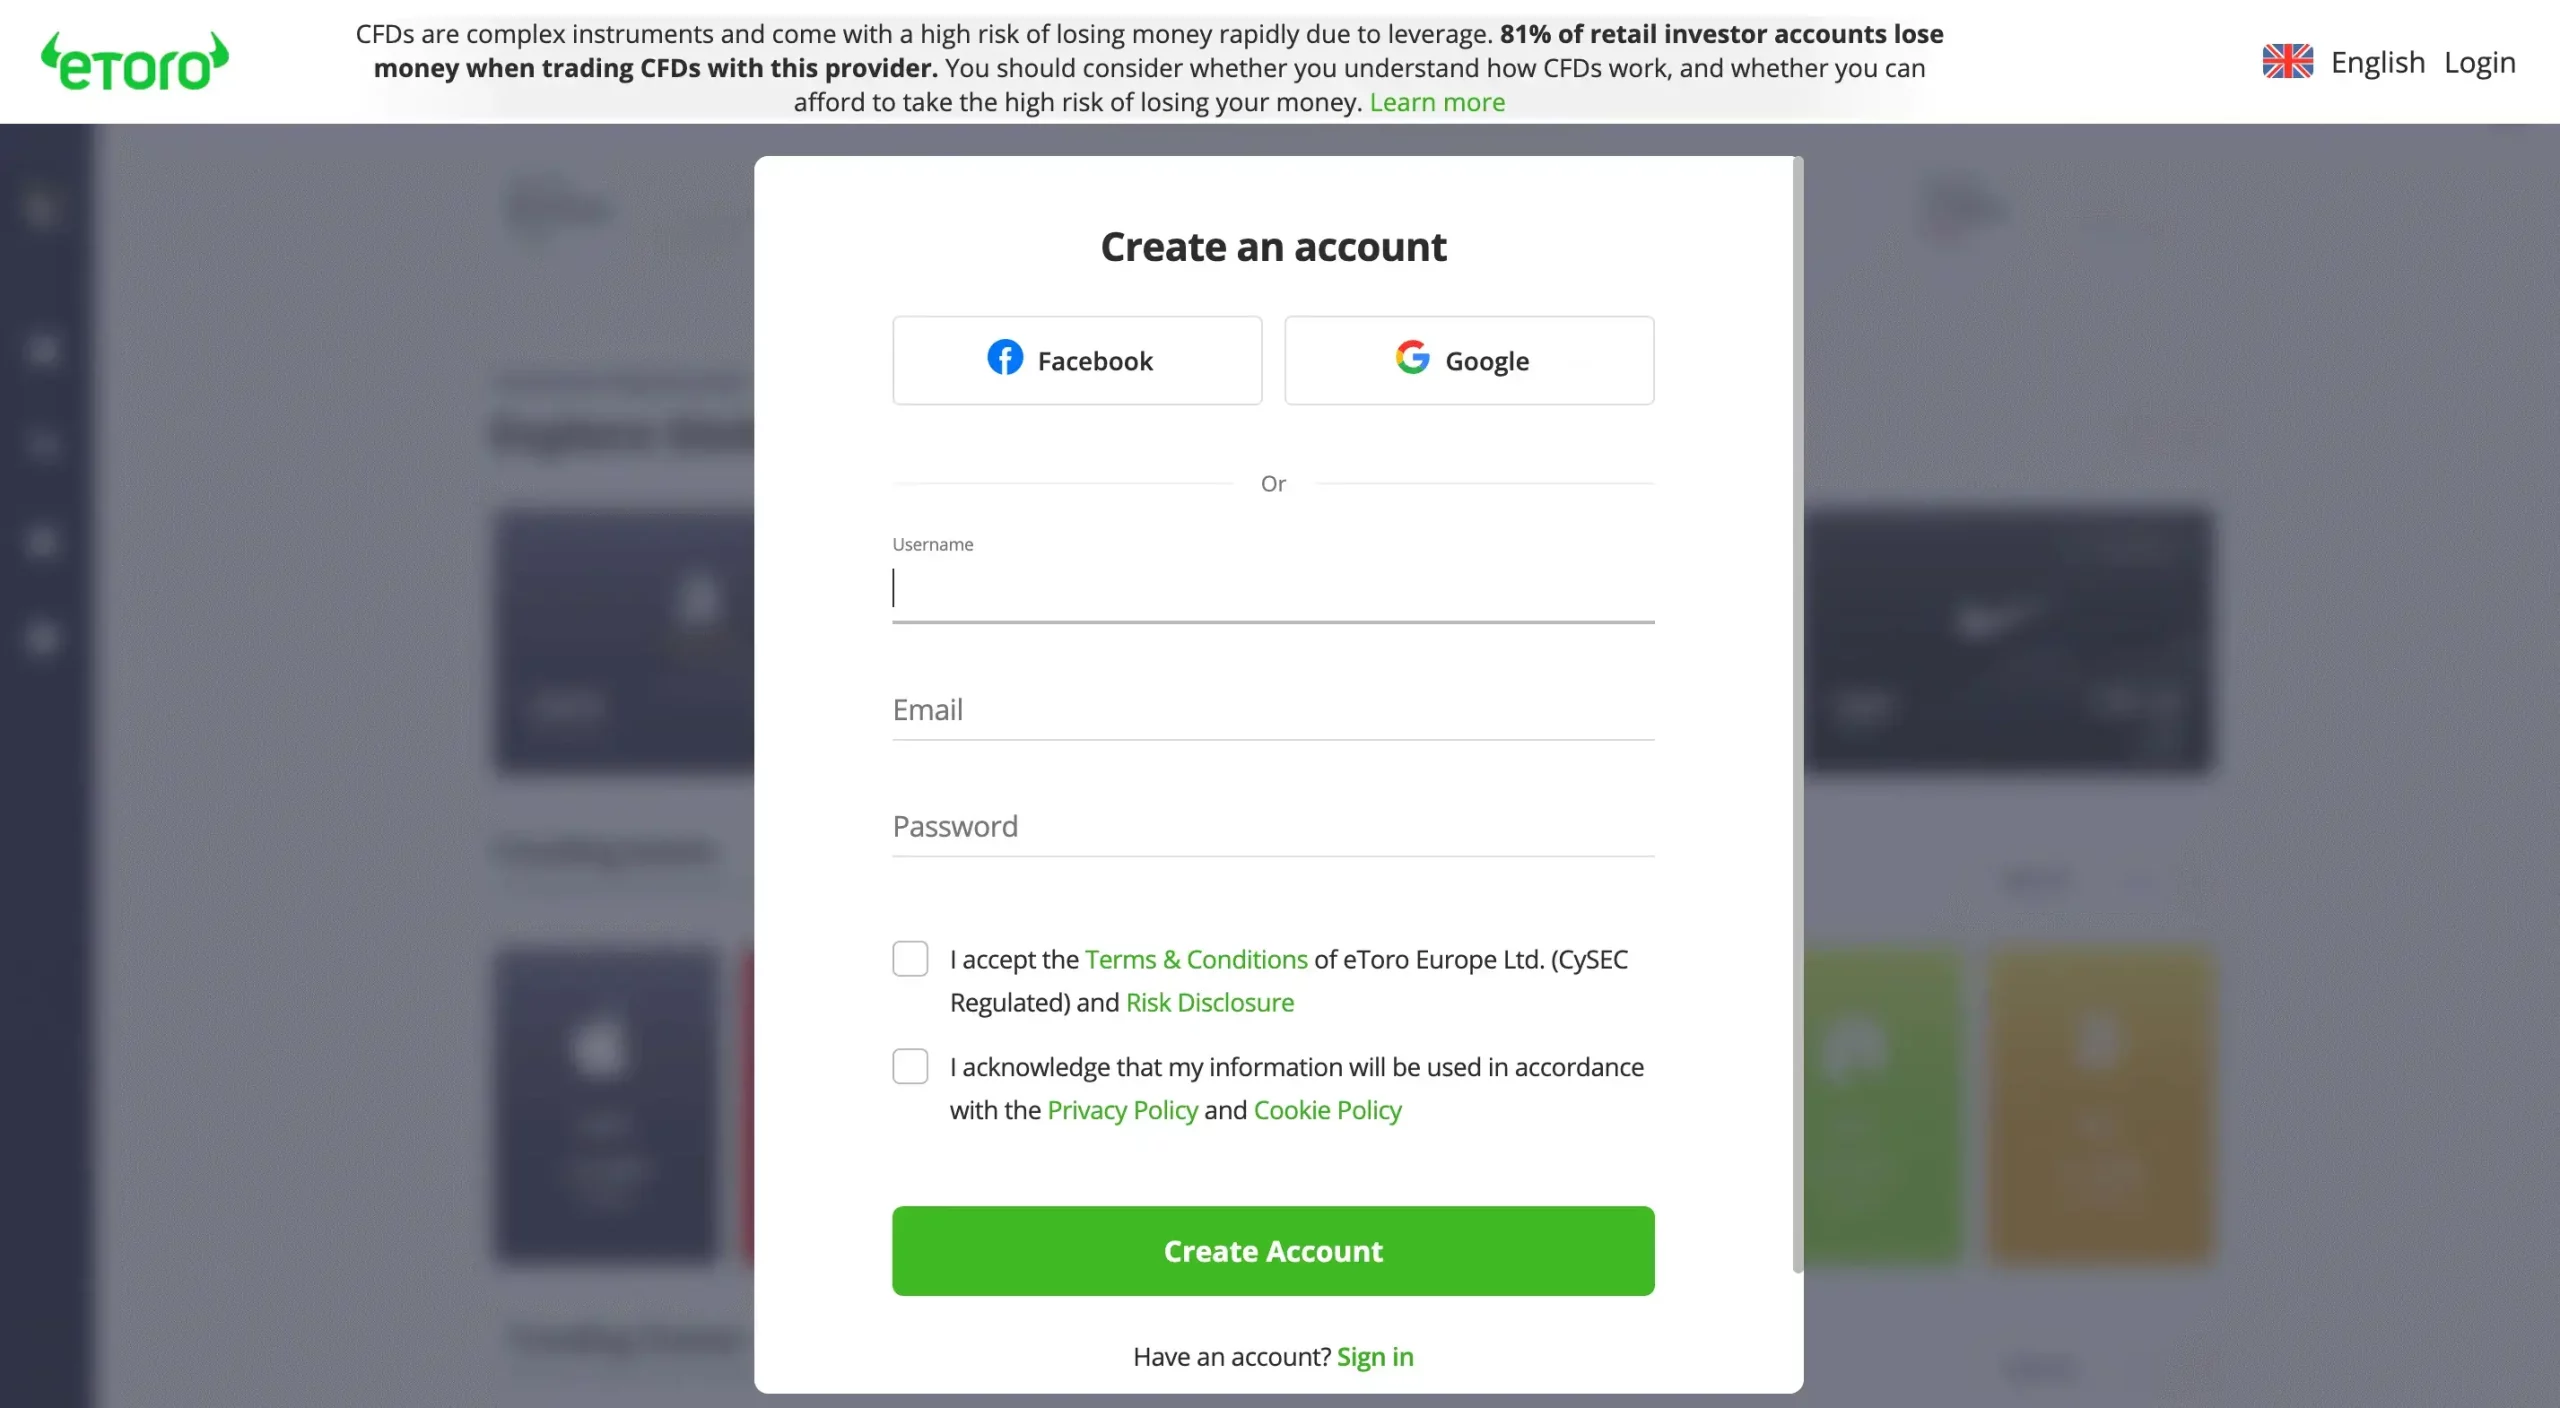
Step 1.4: Read eToros’ Terms of Service and Privacy Policy
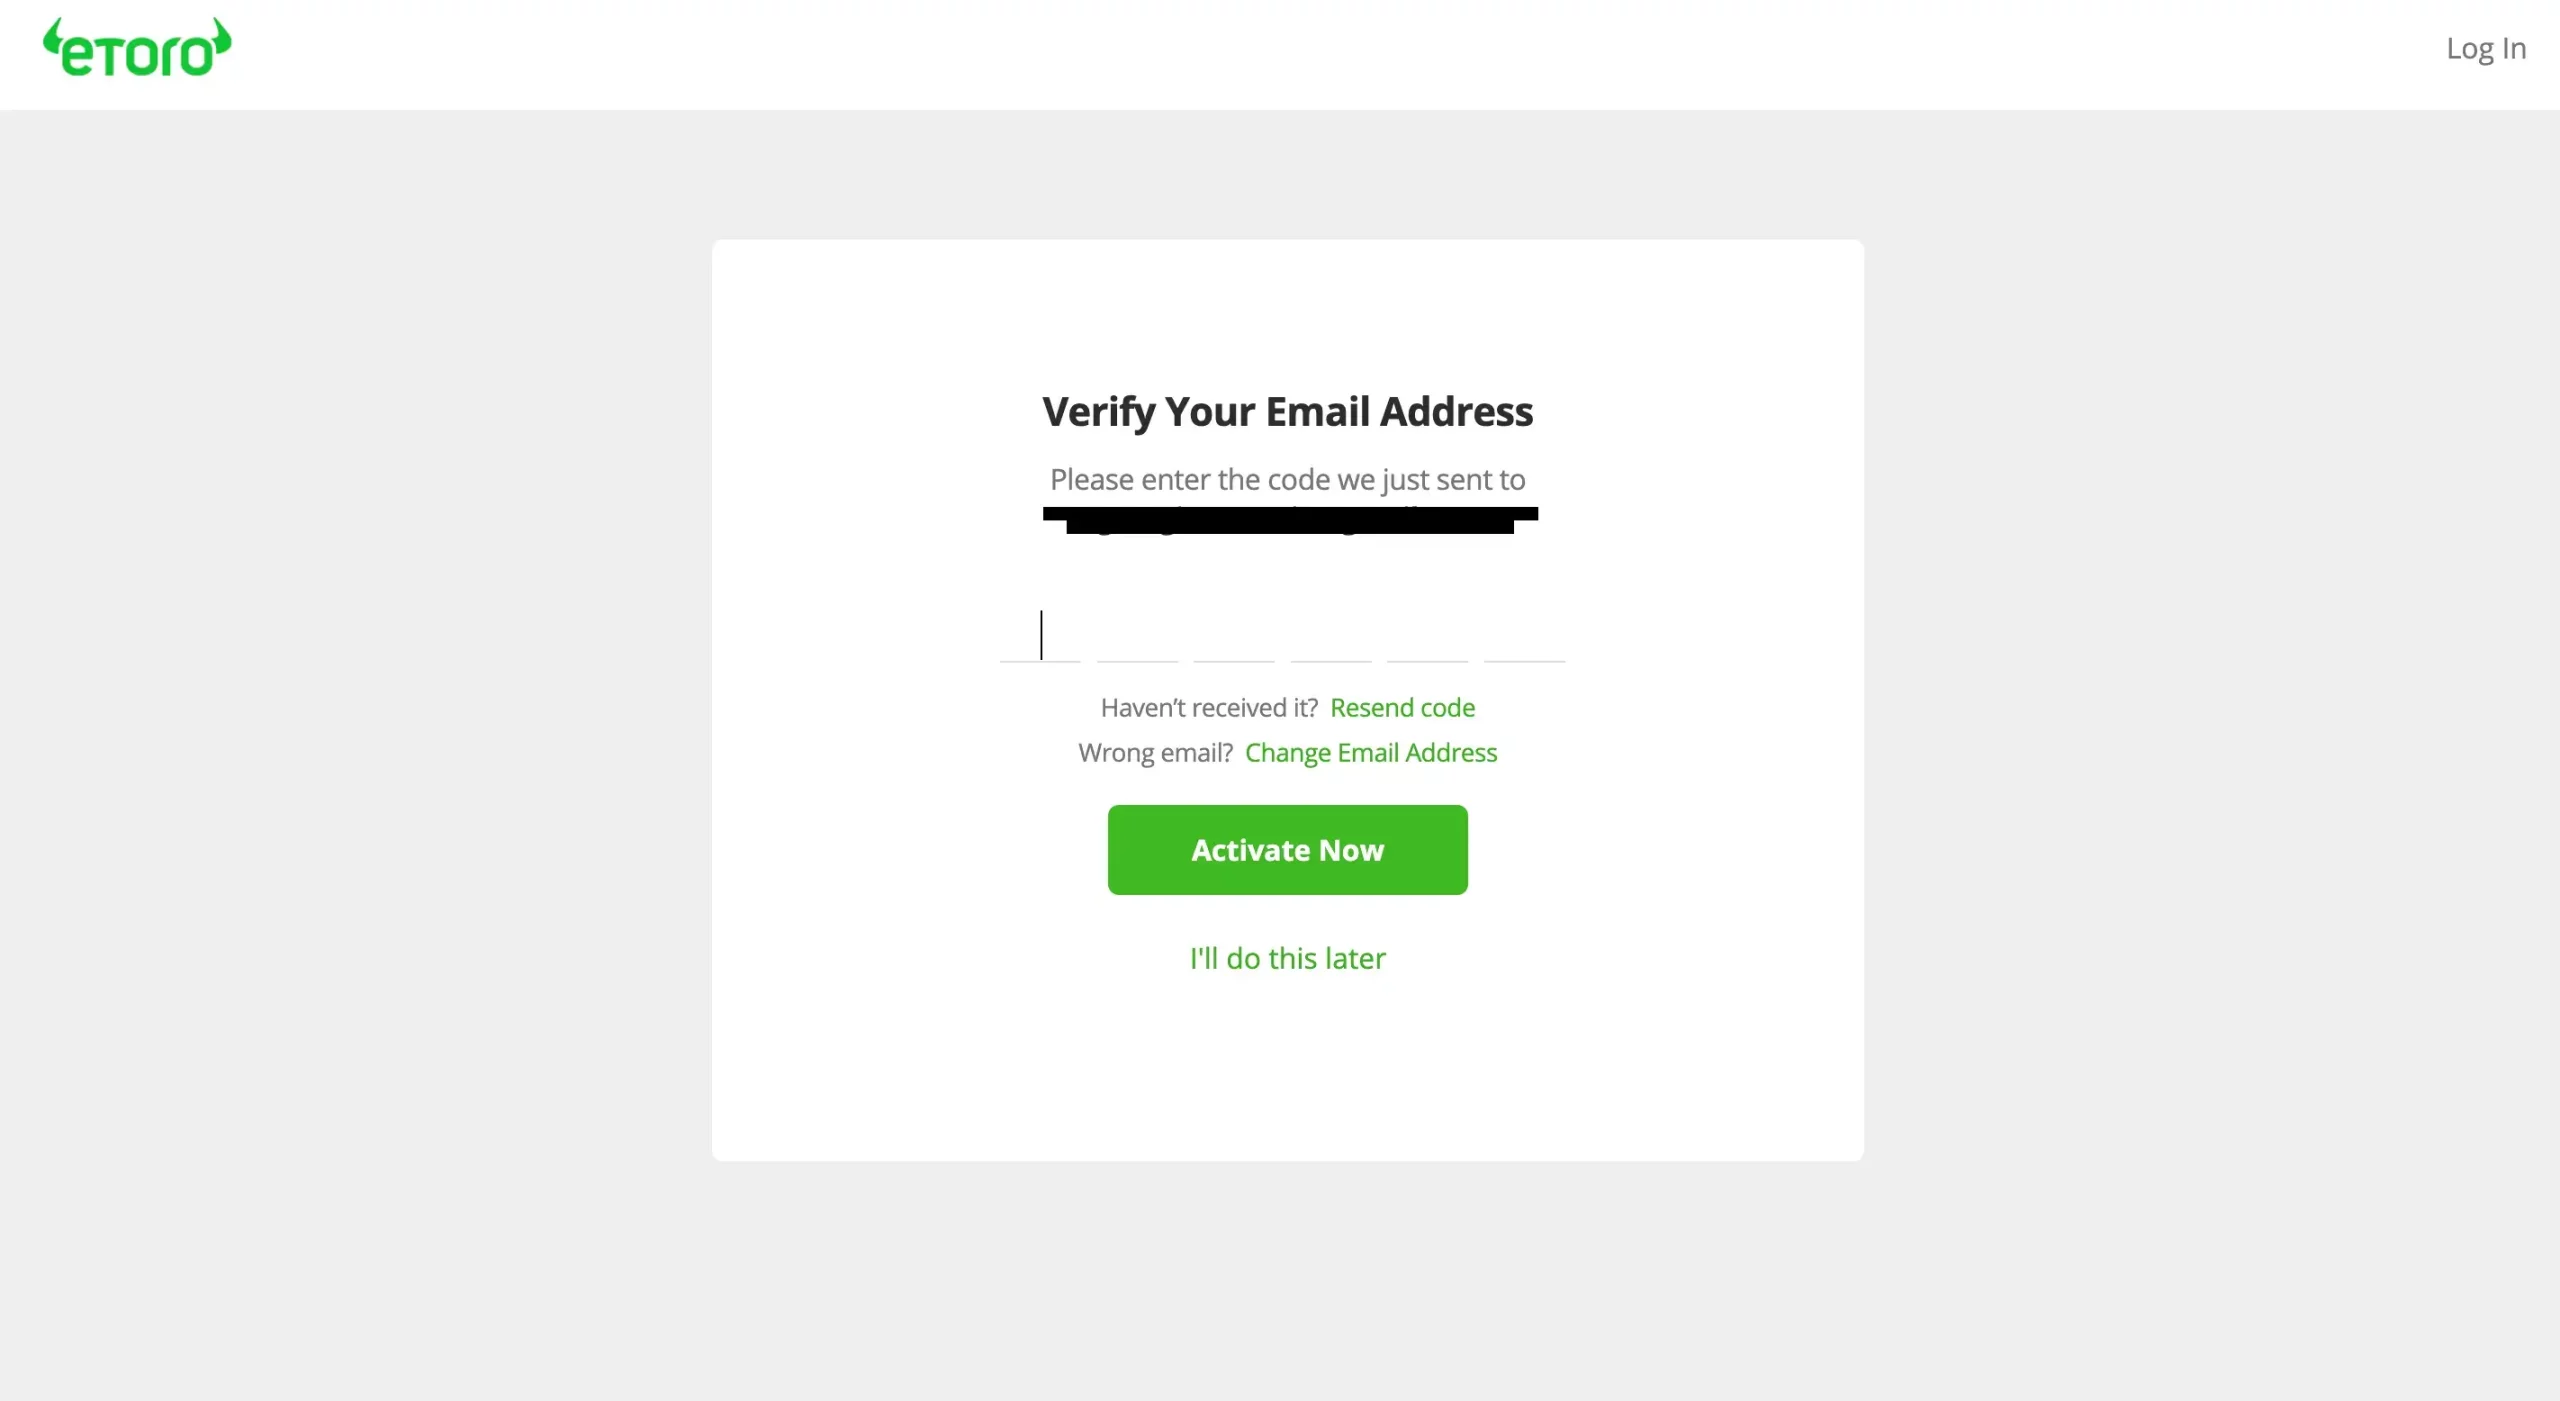
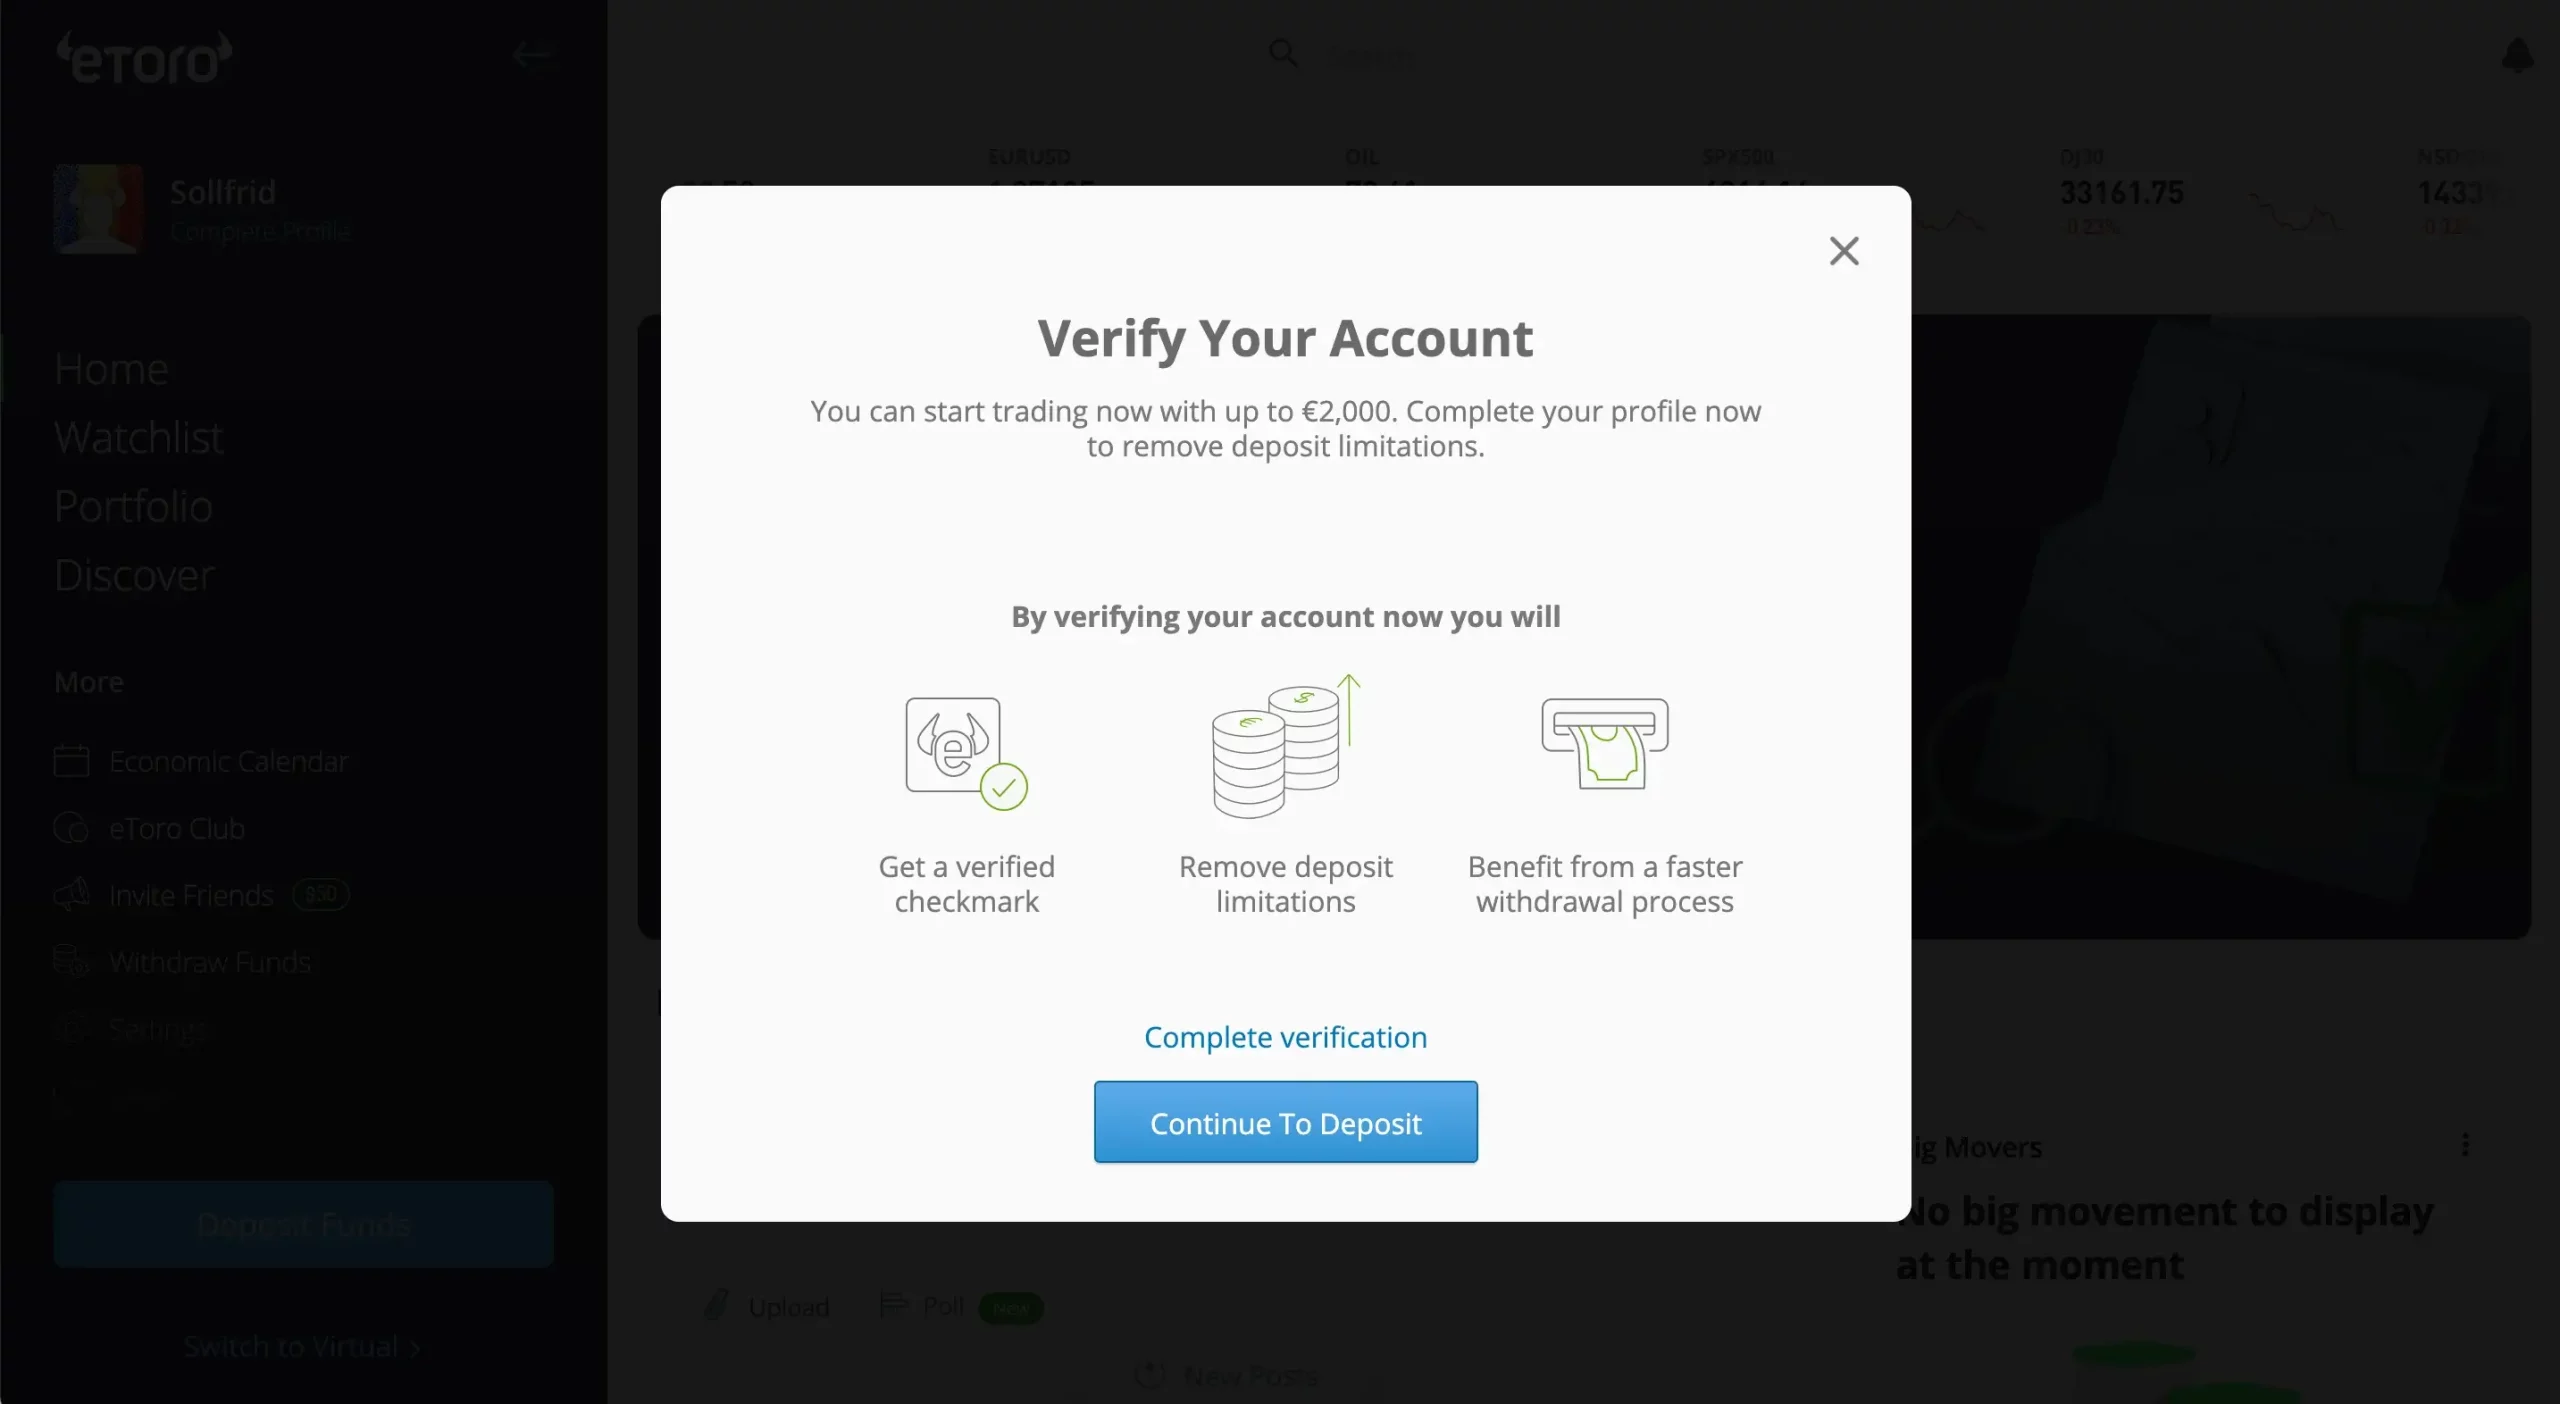
Step 1.5: Verify your eToro account
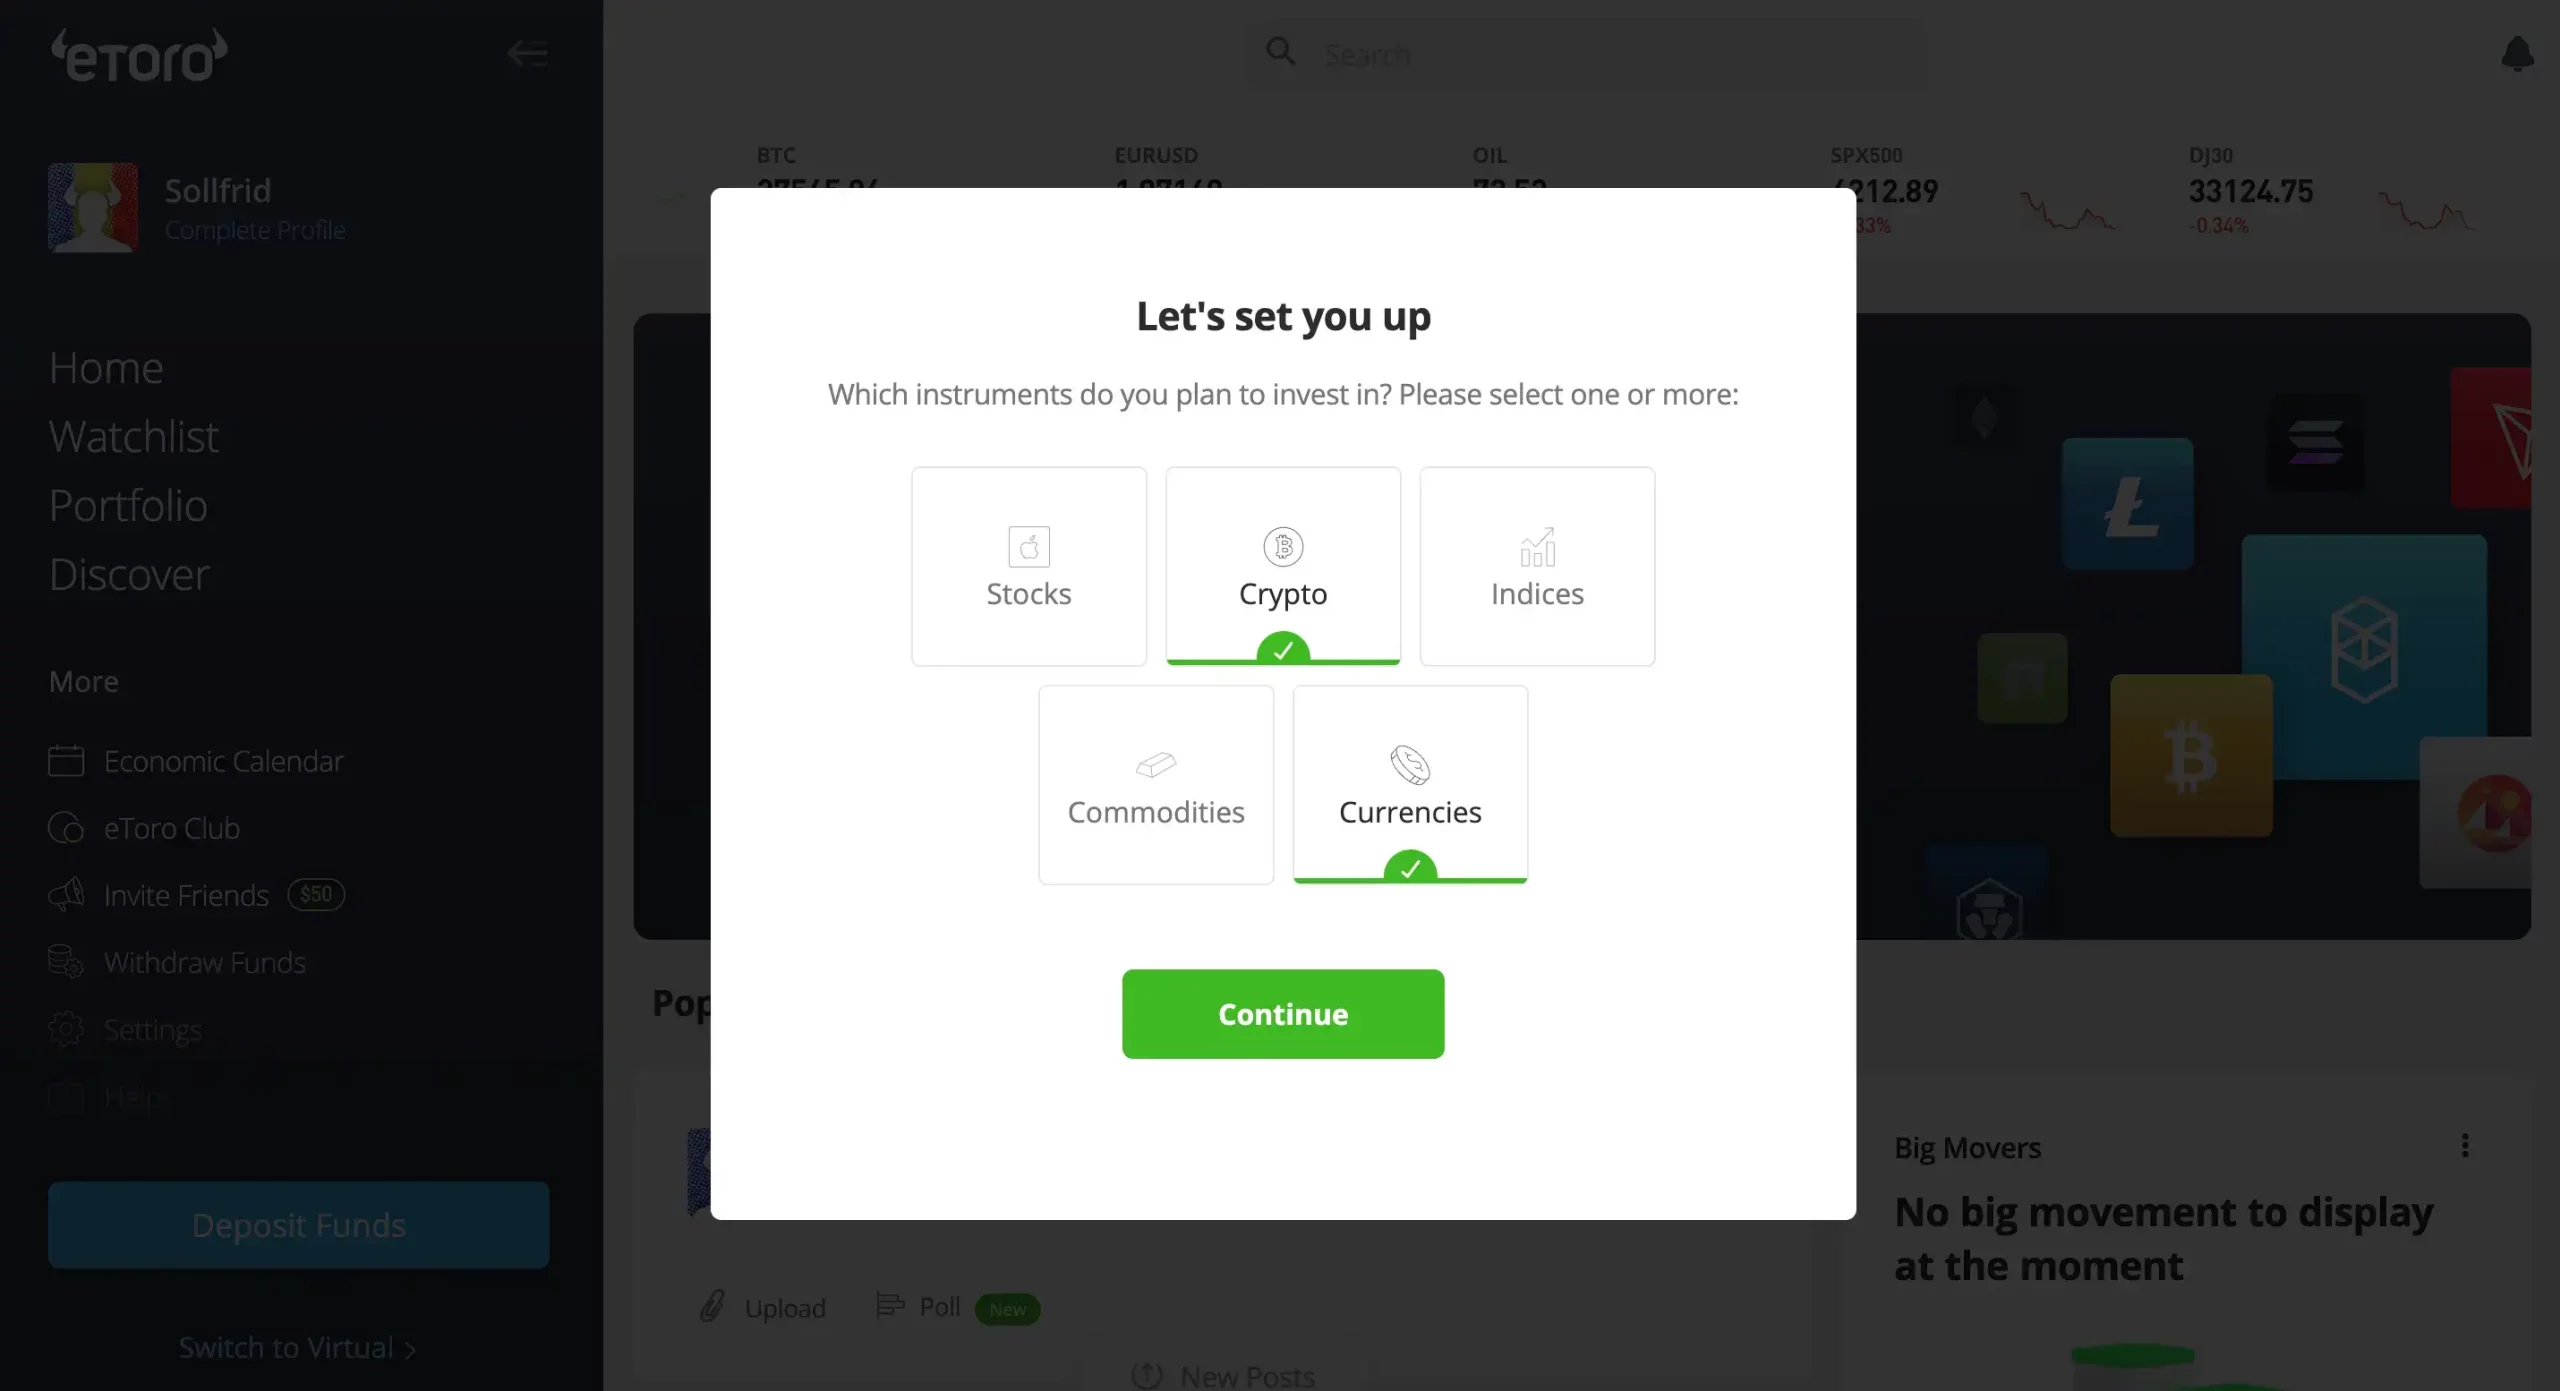
Step 1.6: Select the financial instruments
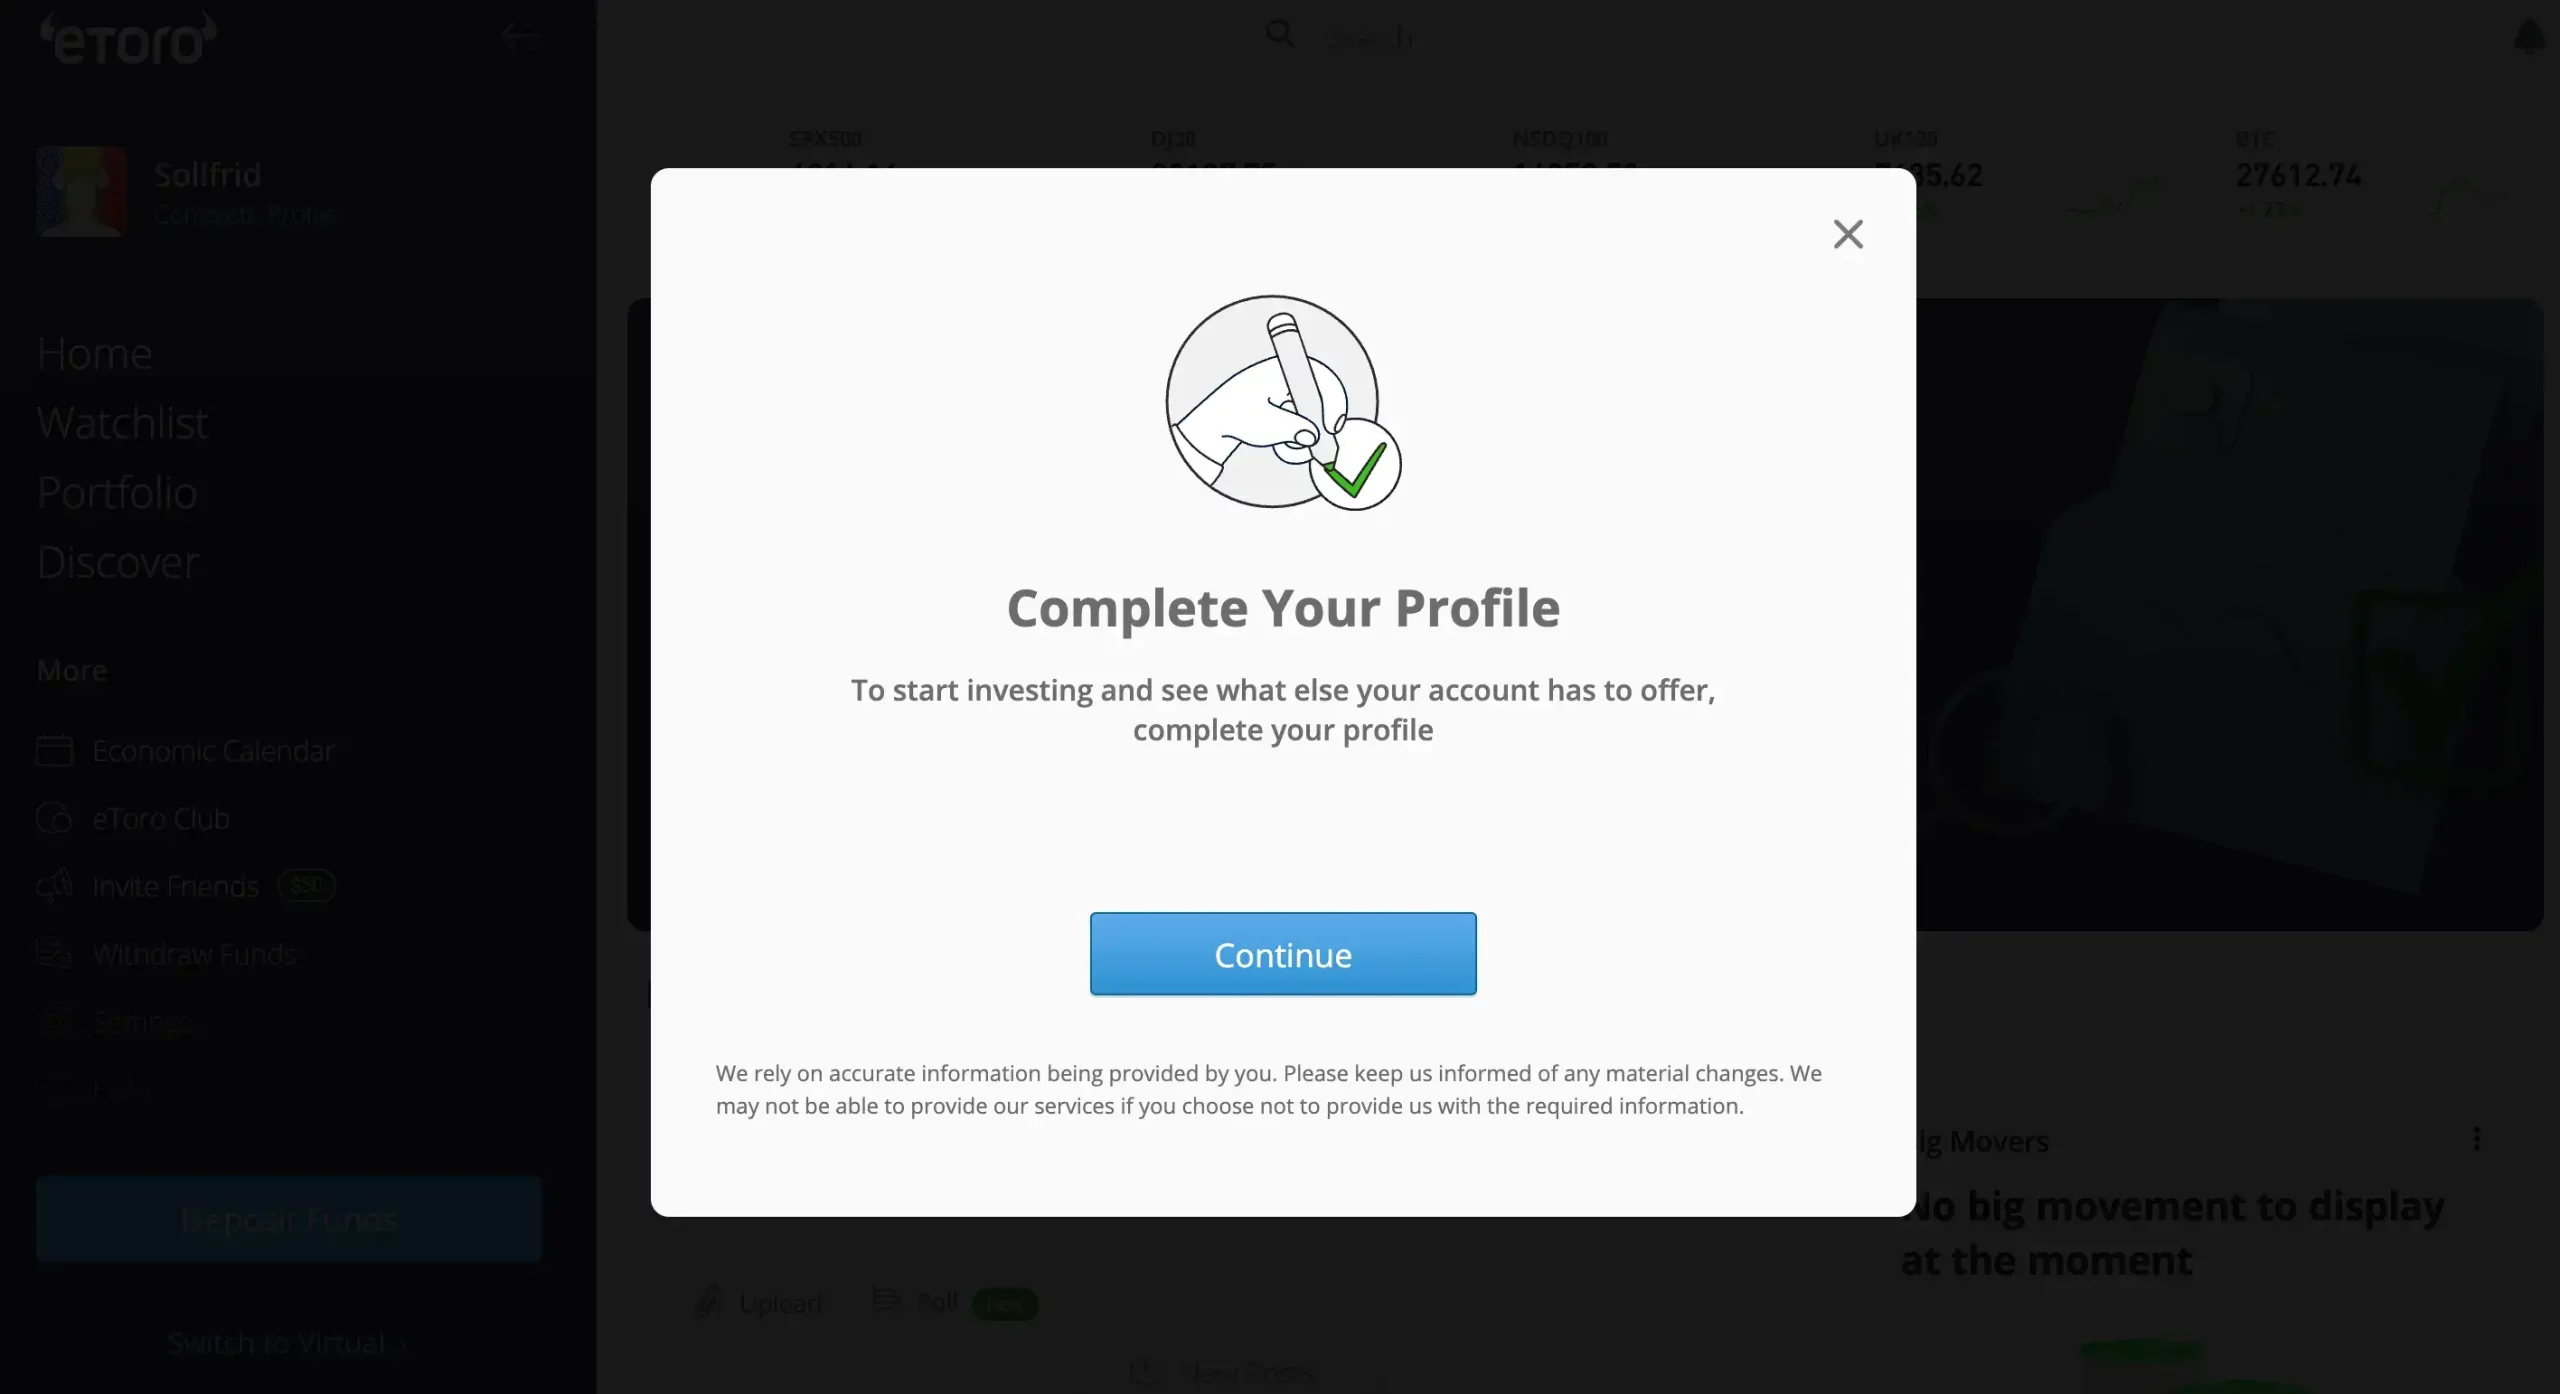
Step 1.7: Complete your eToro account
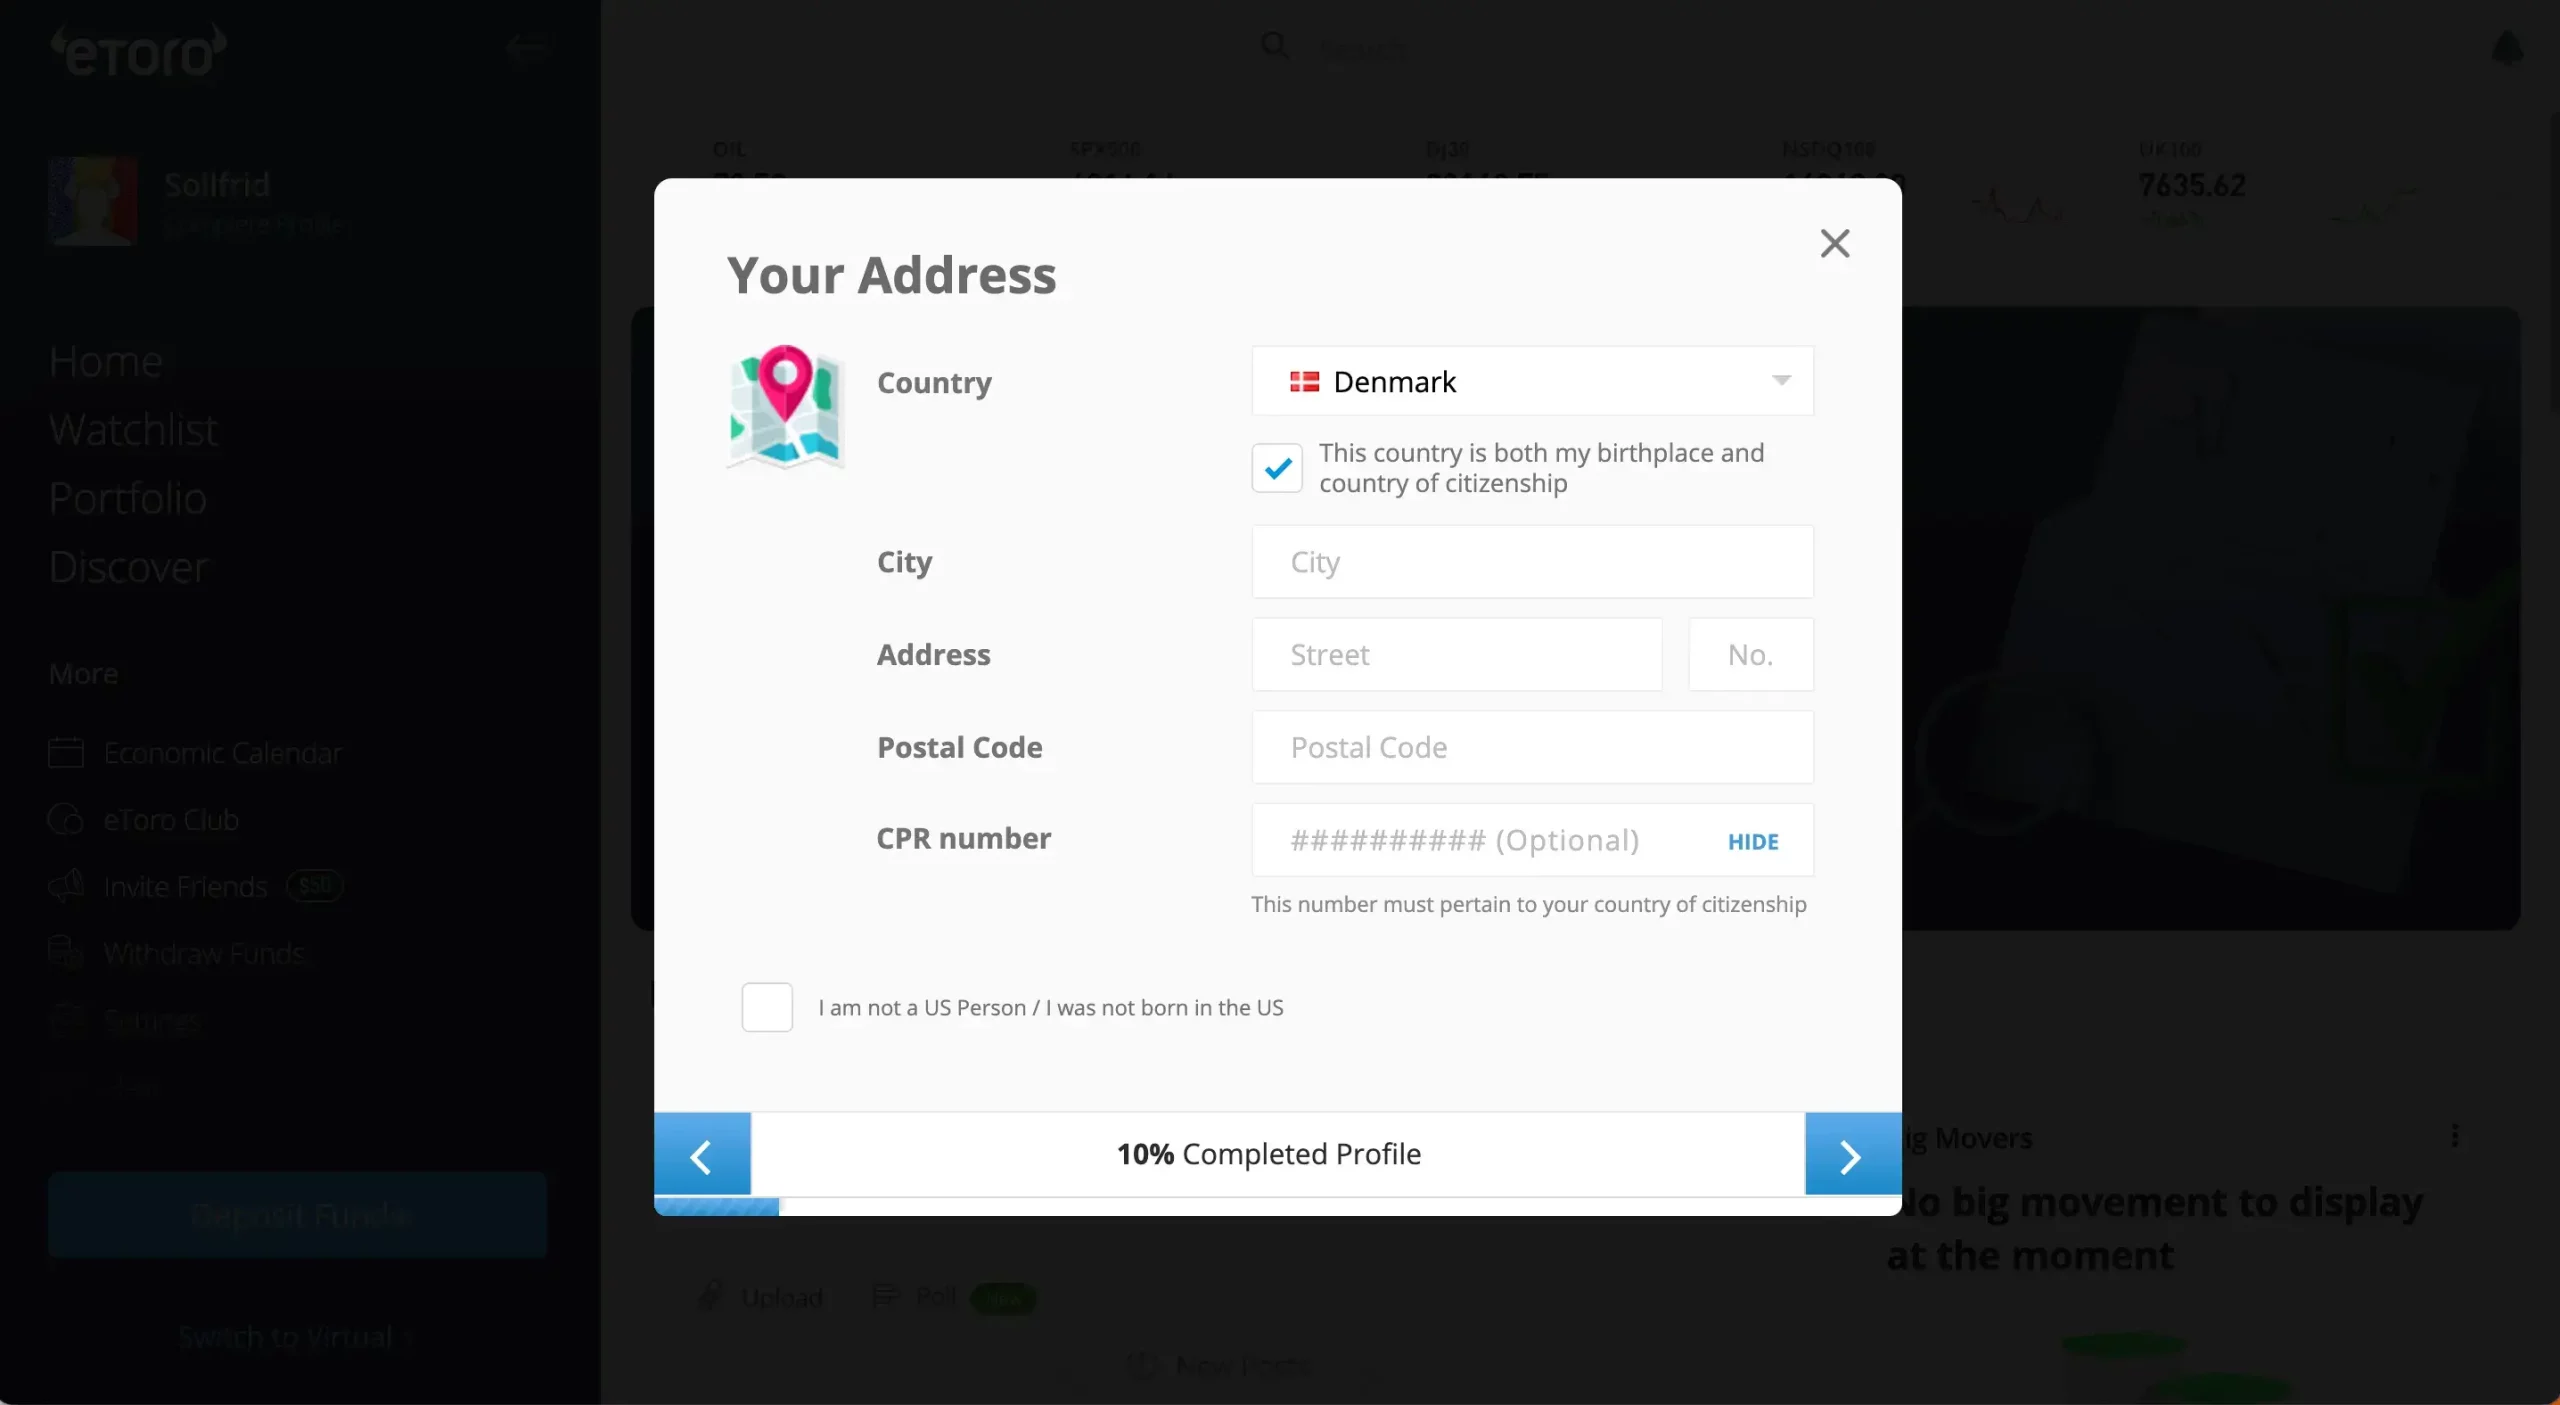
Step 1.8: Complete your address
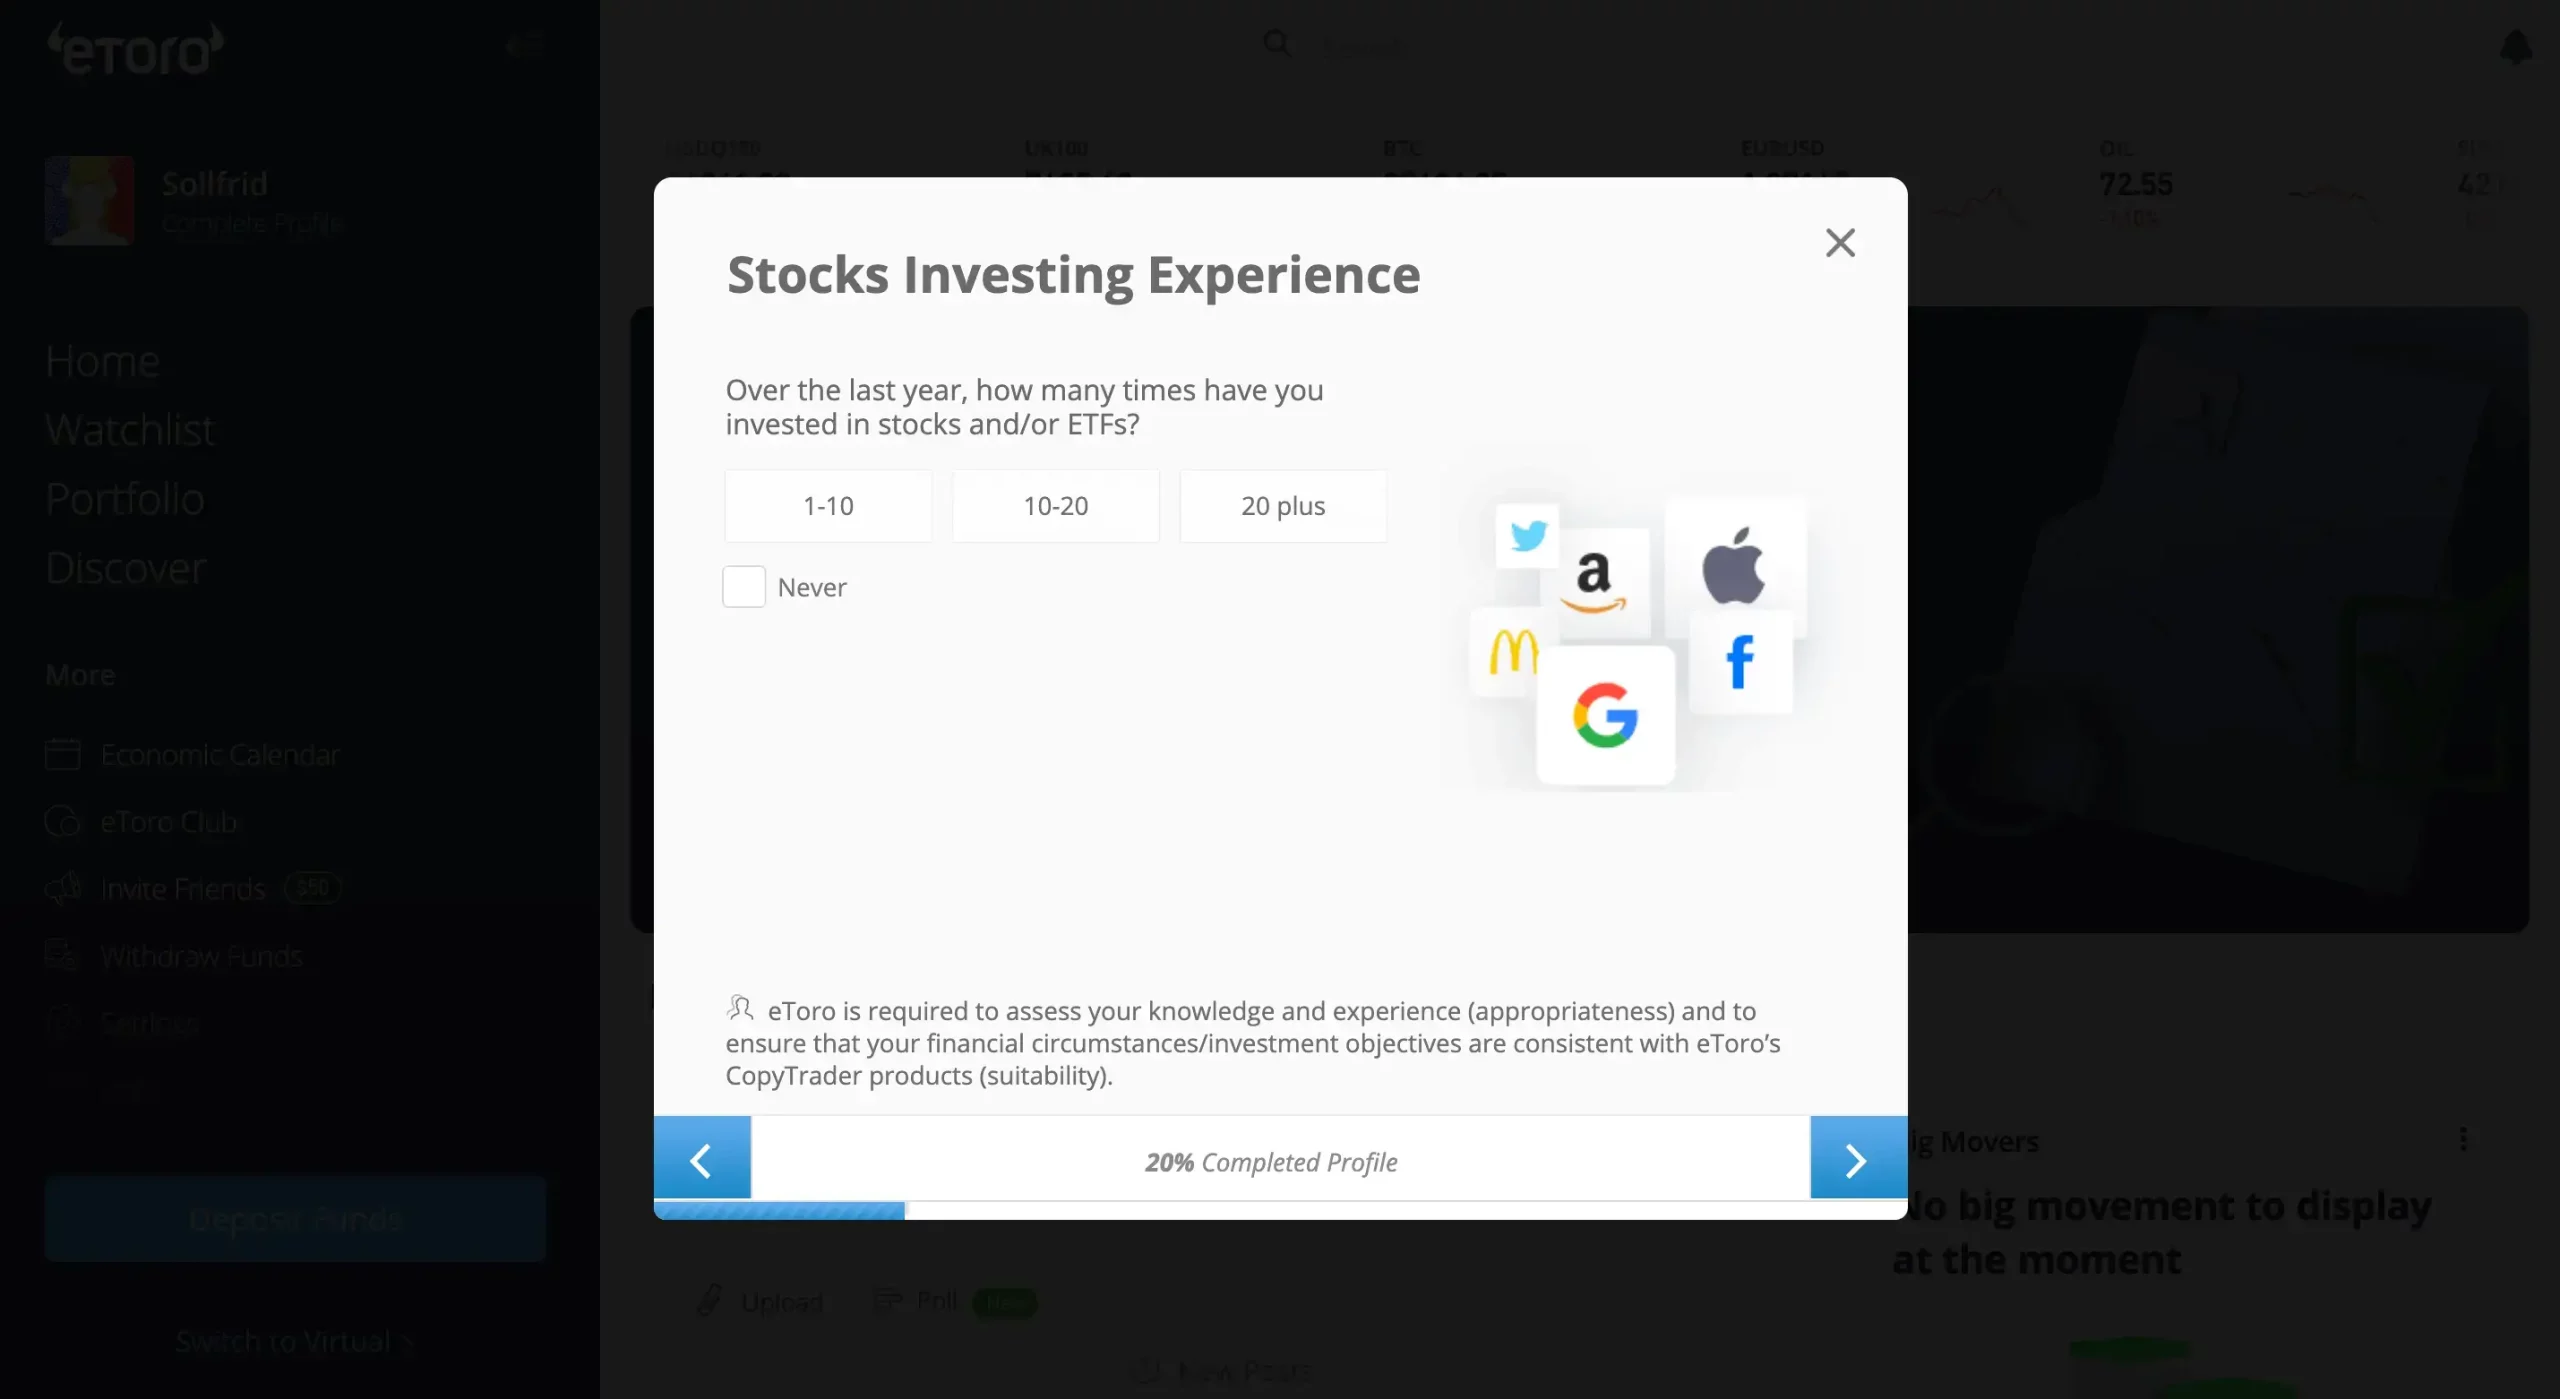
Step 1.9: Select your stock investment experience
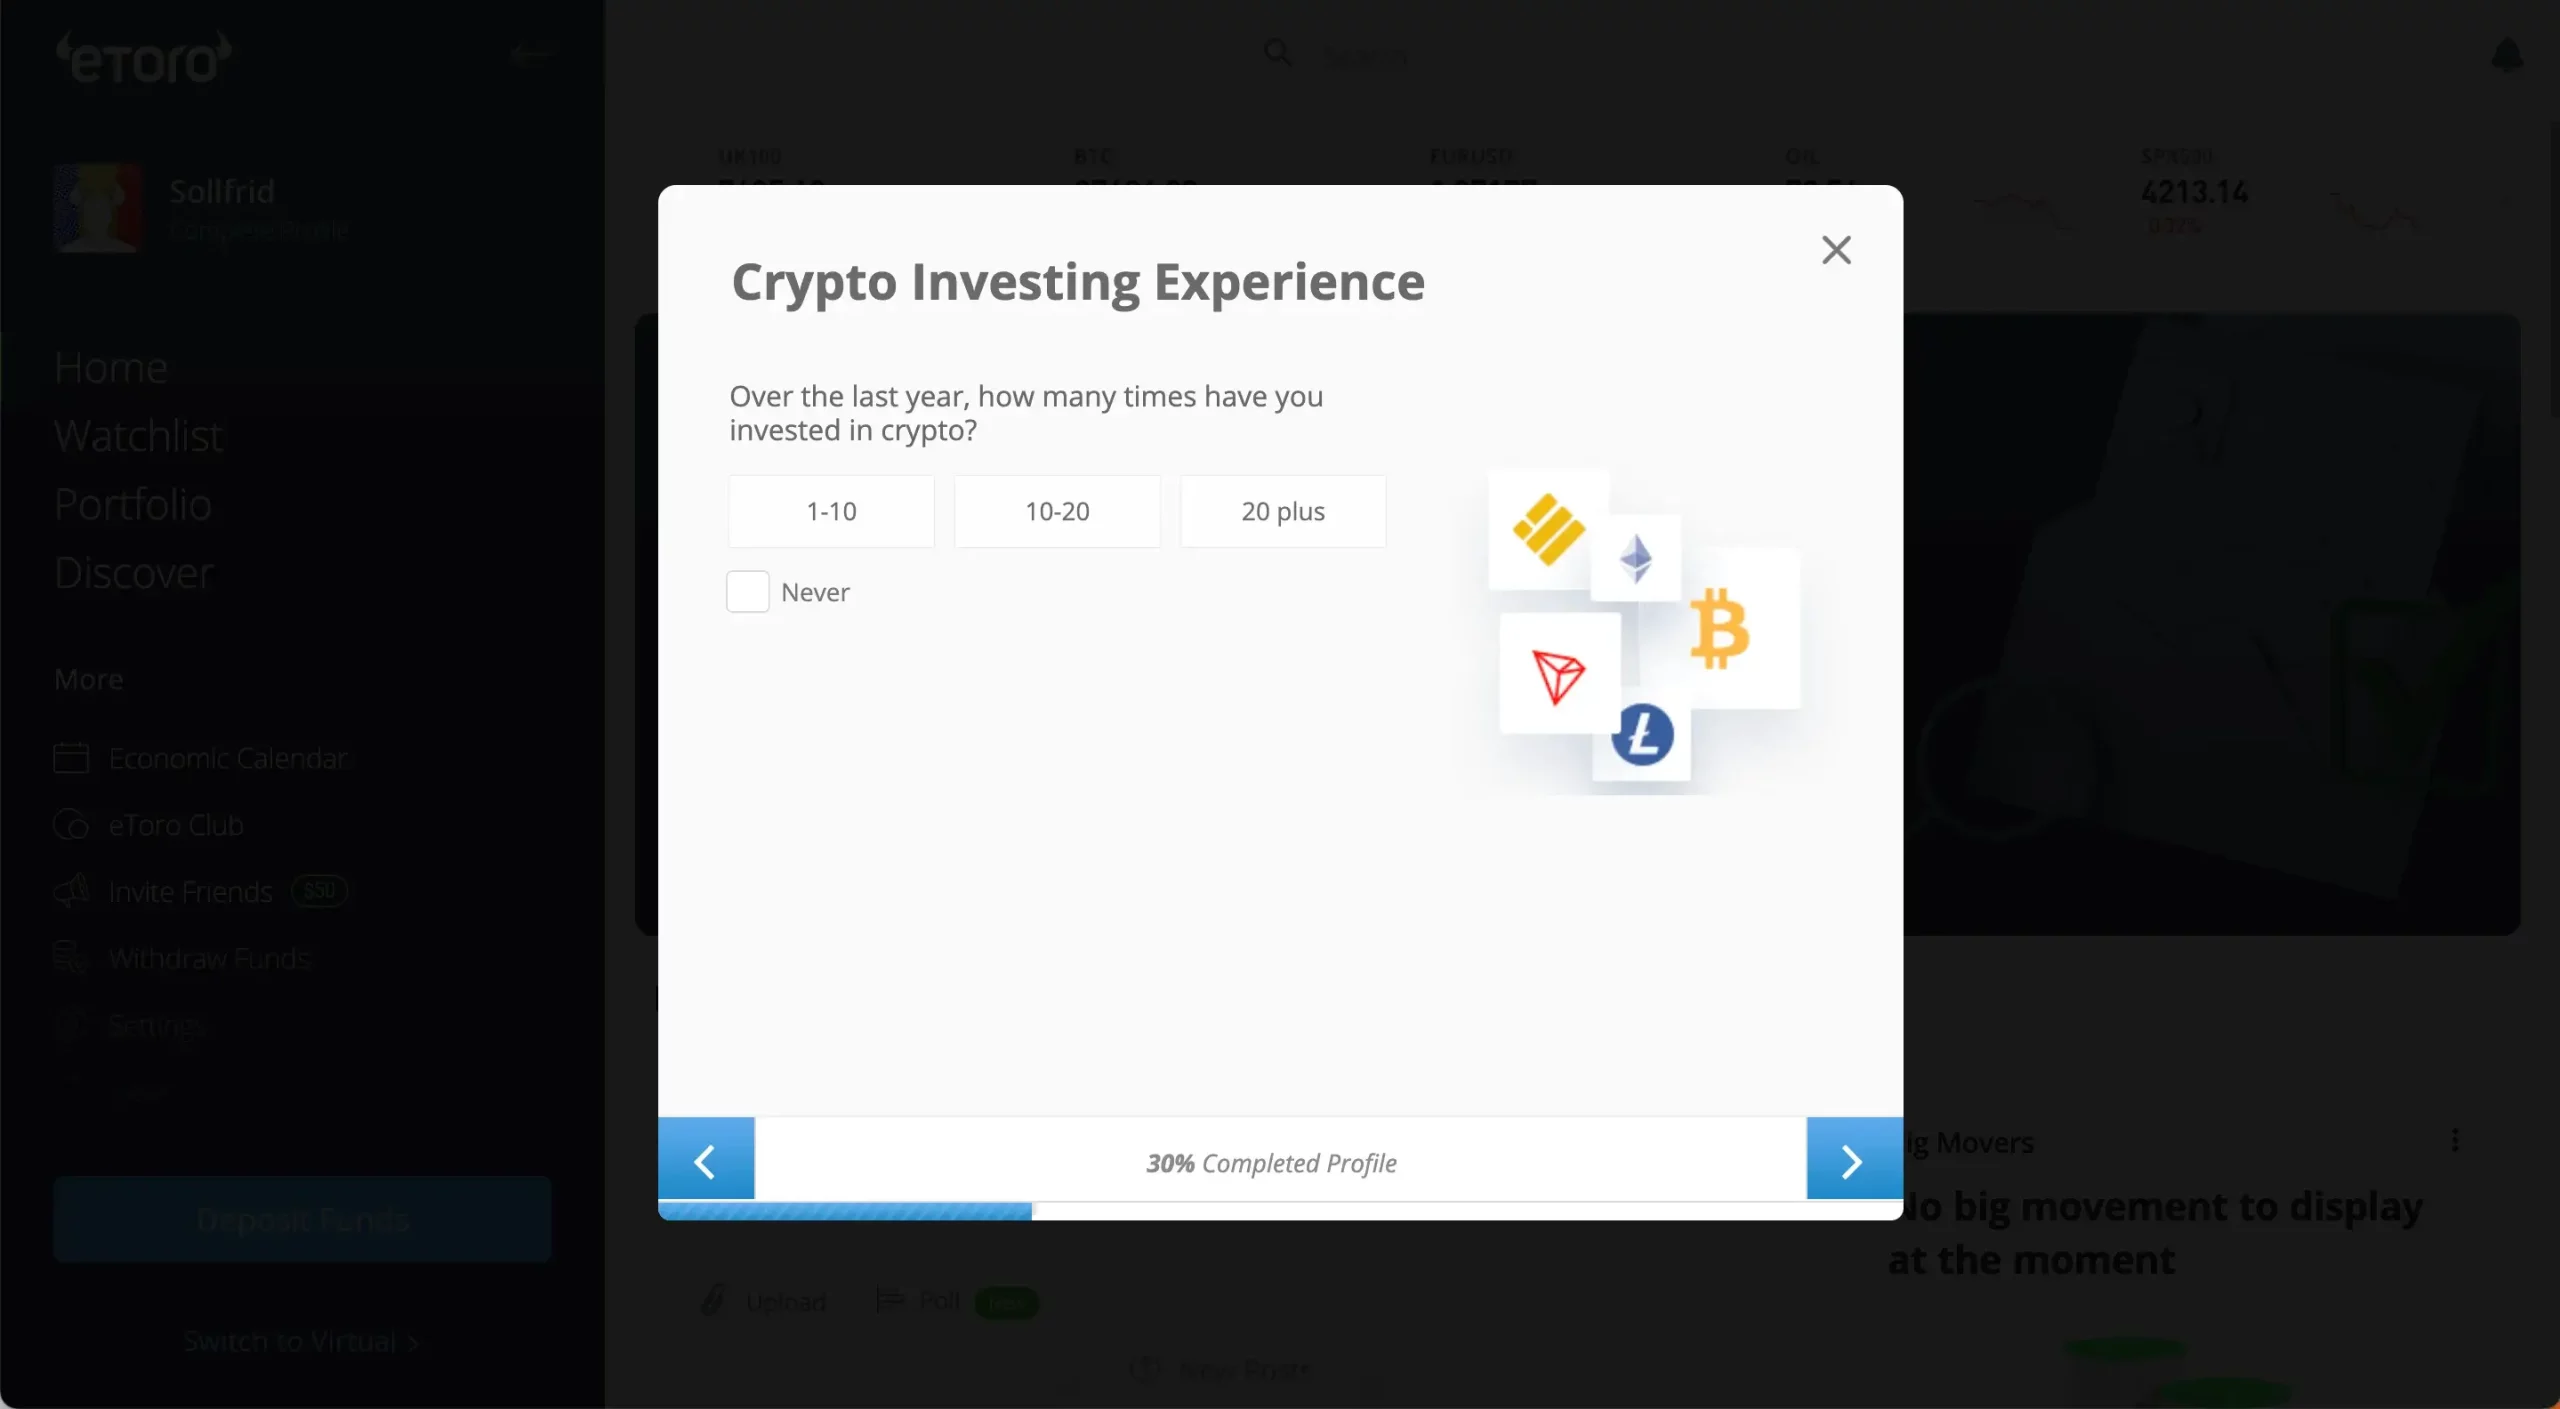
Step 1.10: Select the level of your crypto investing experience
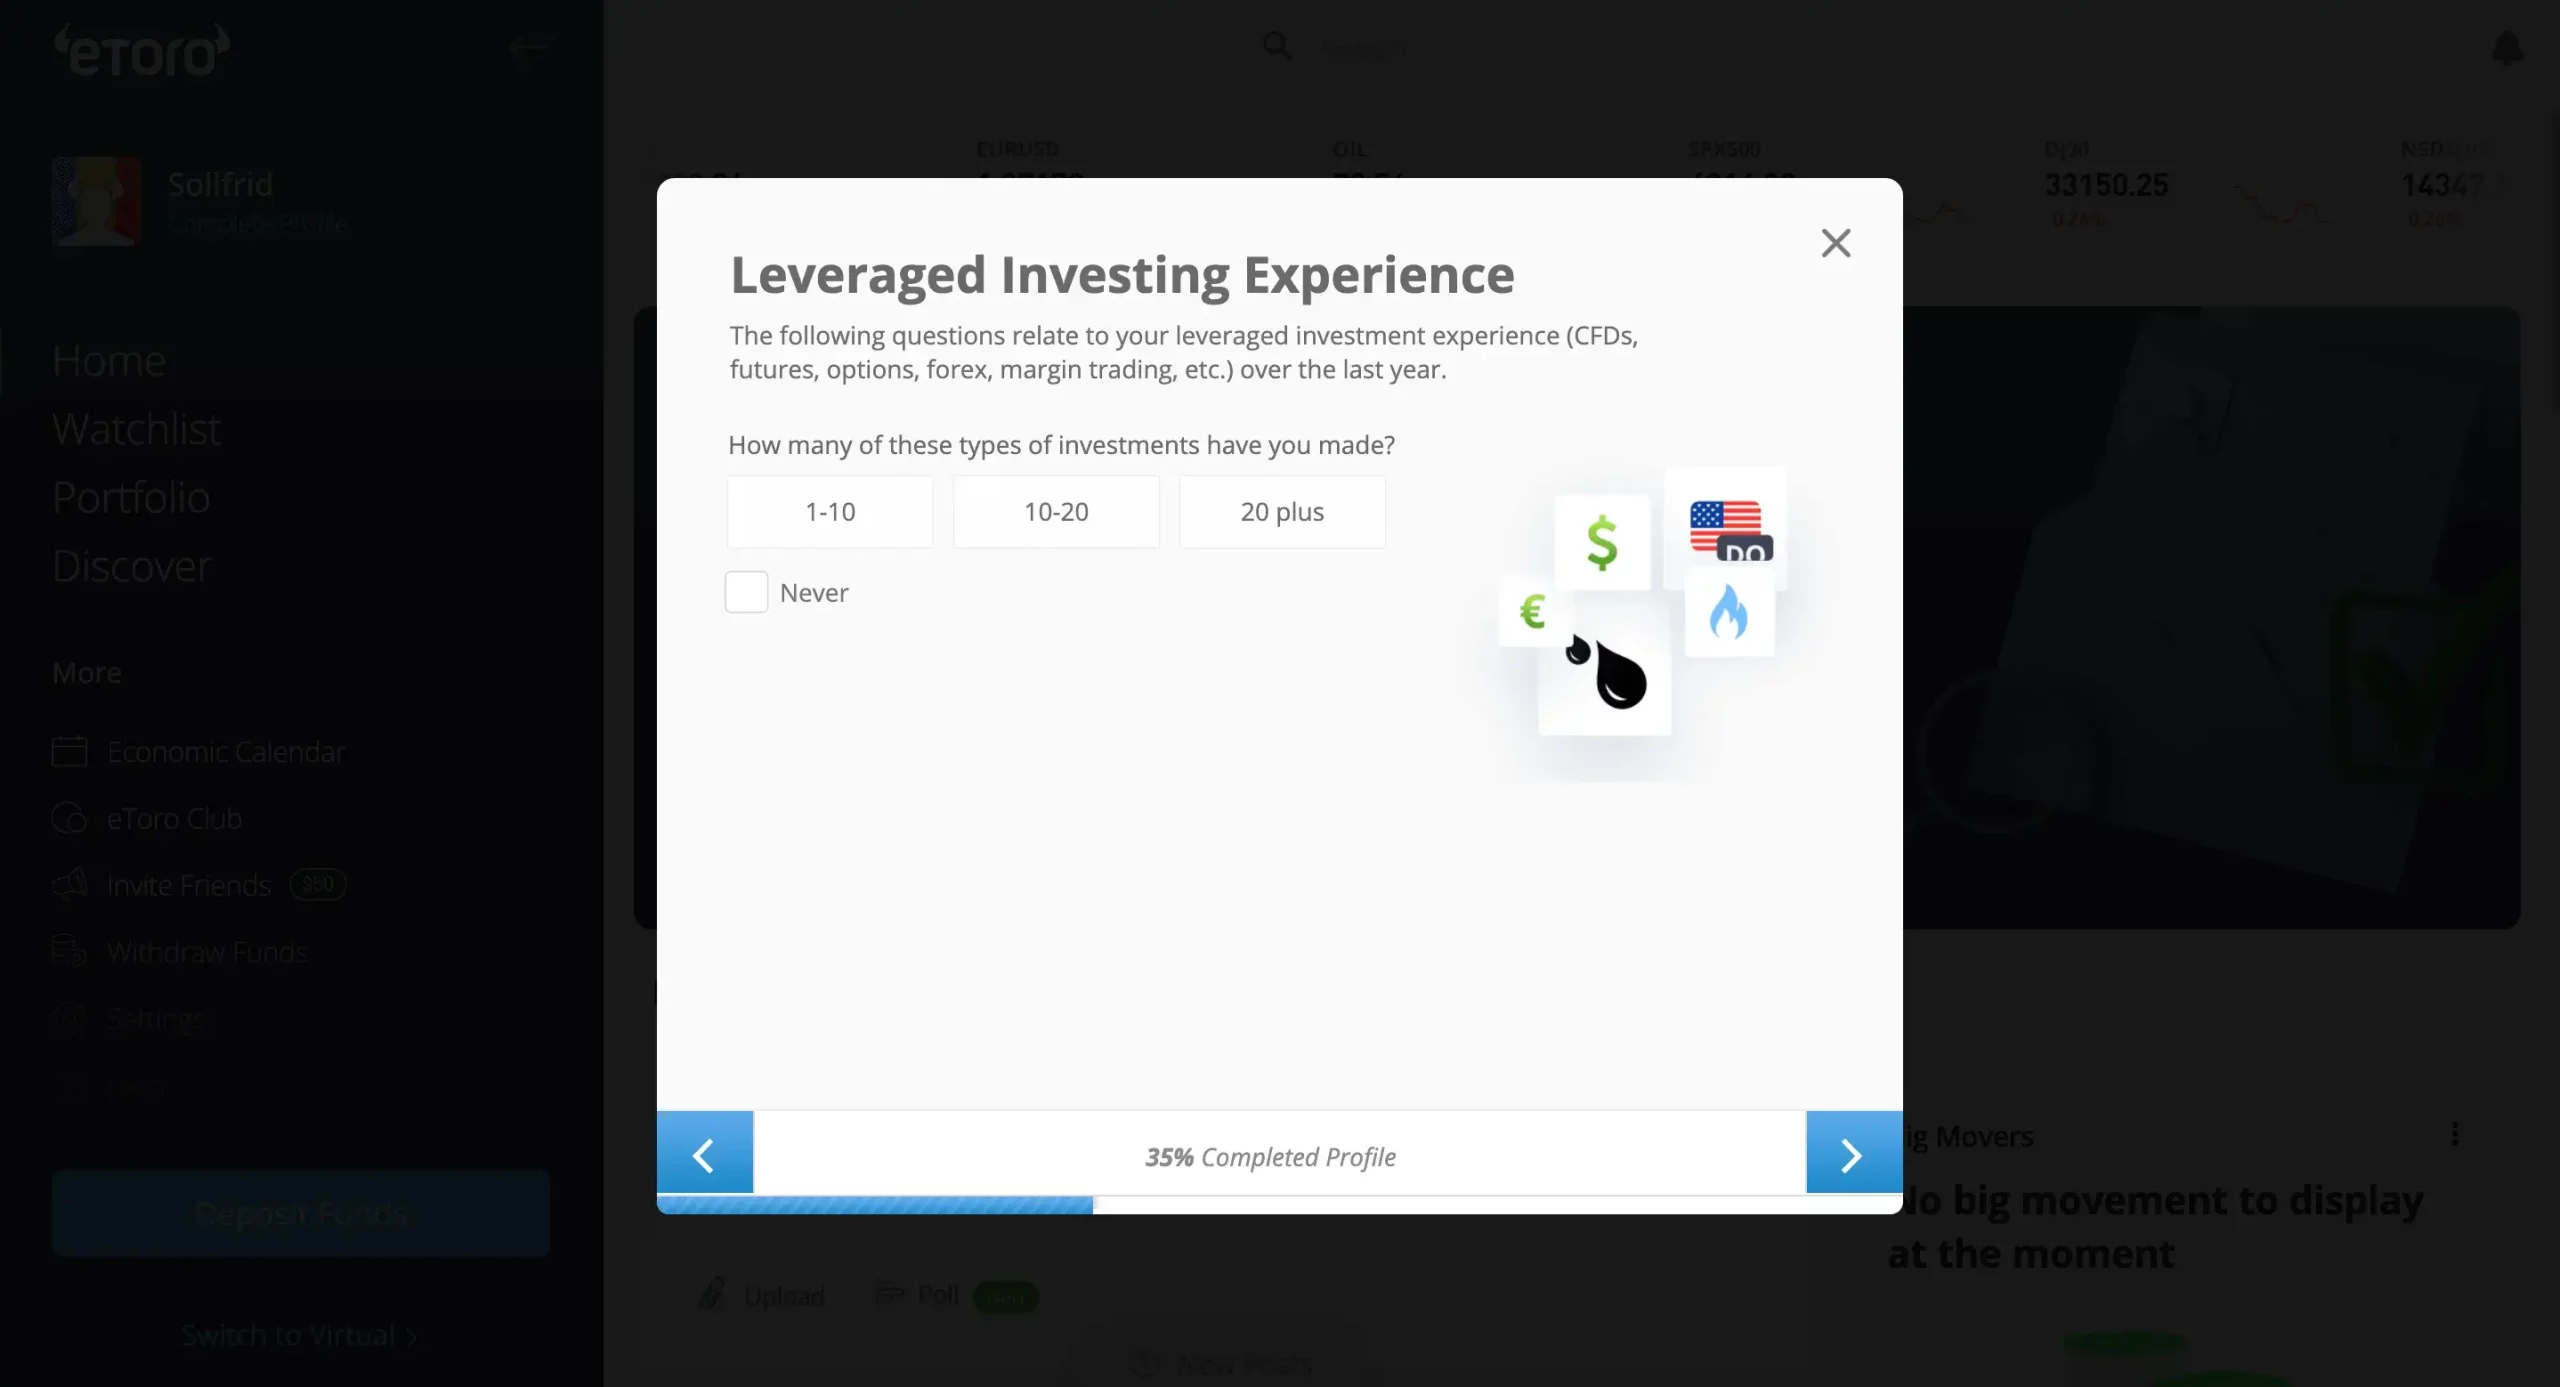
Step 1.11: Choose the leveraged investing experience
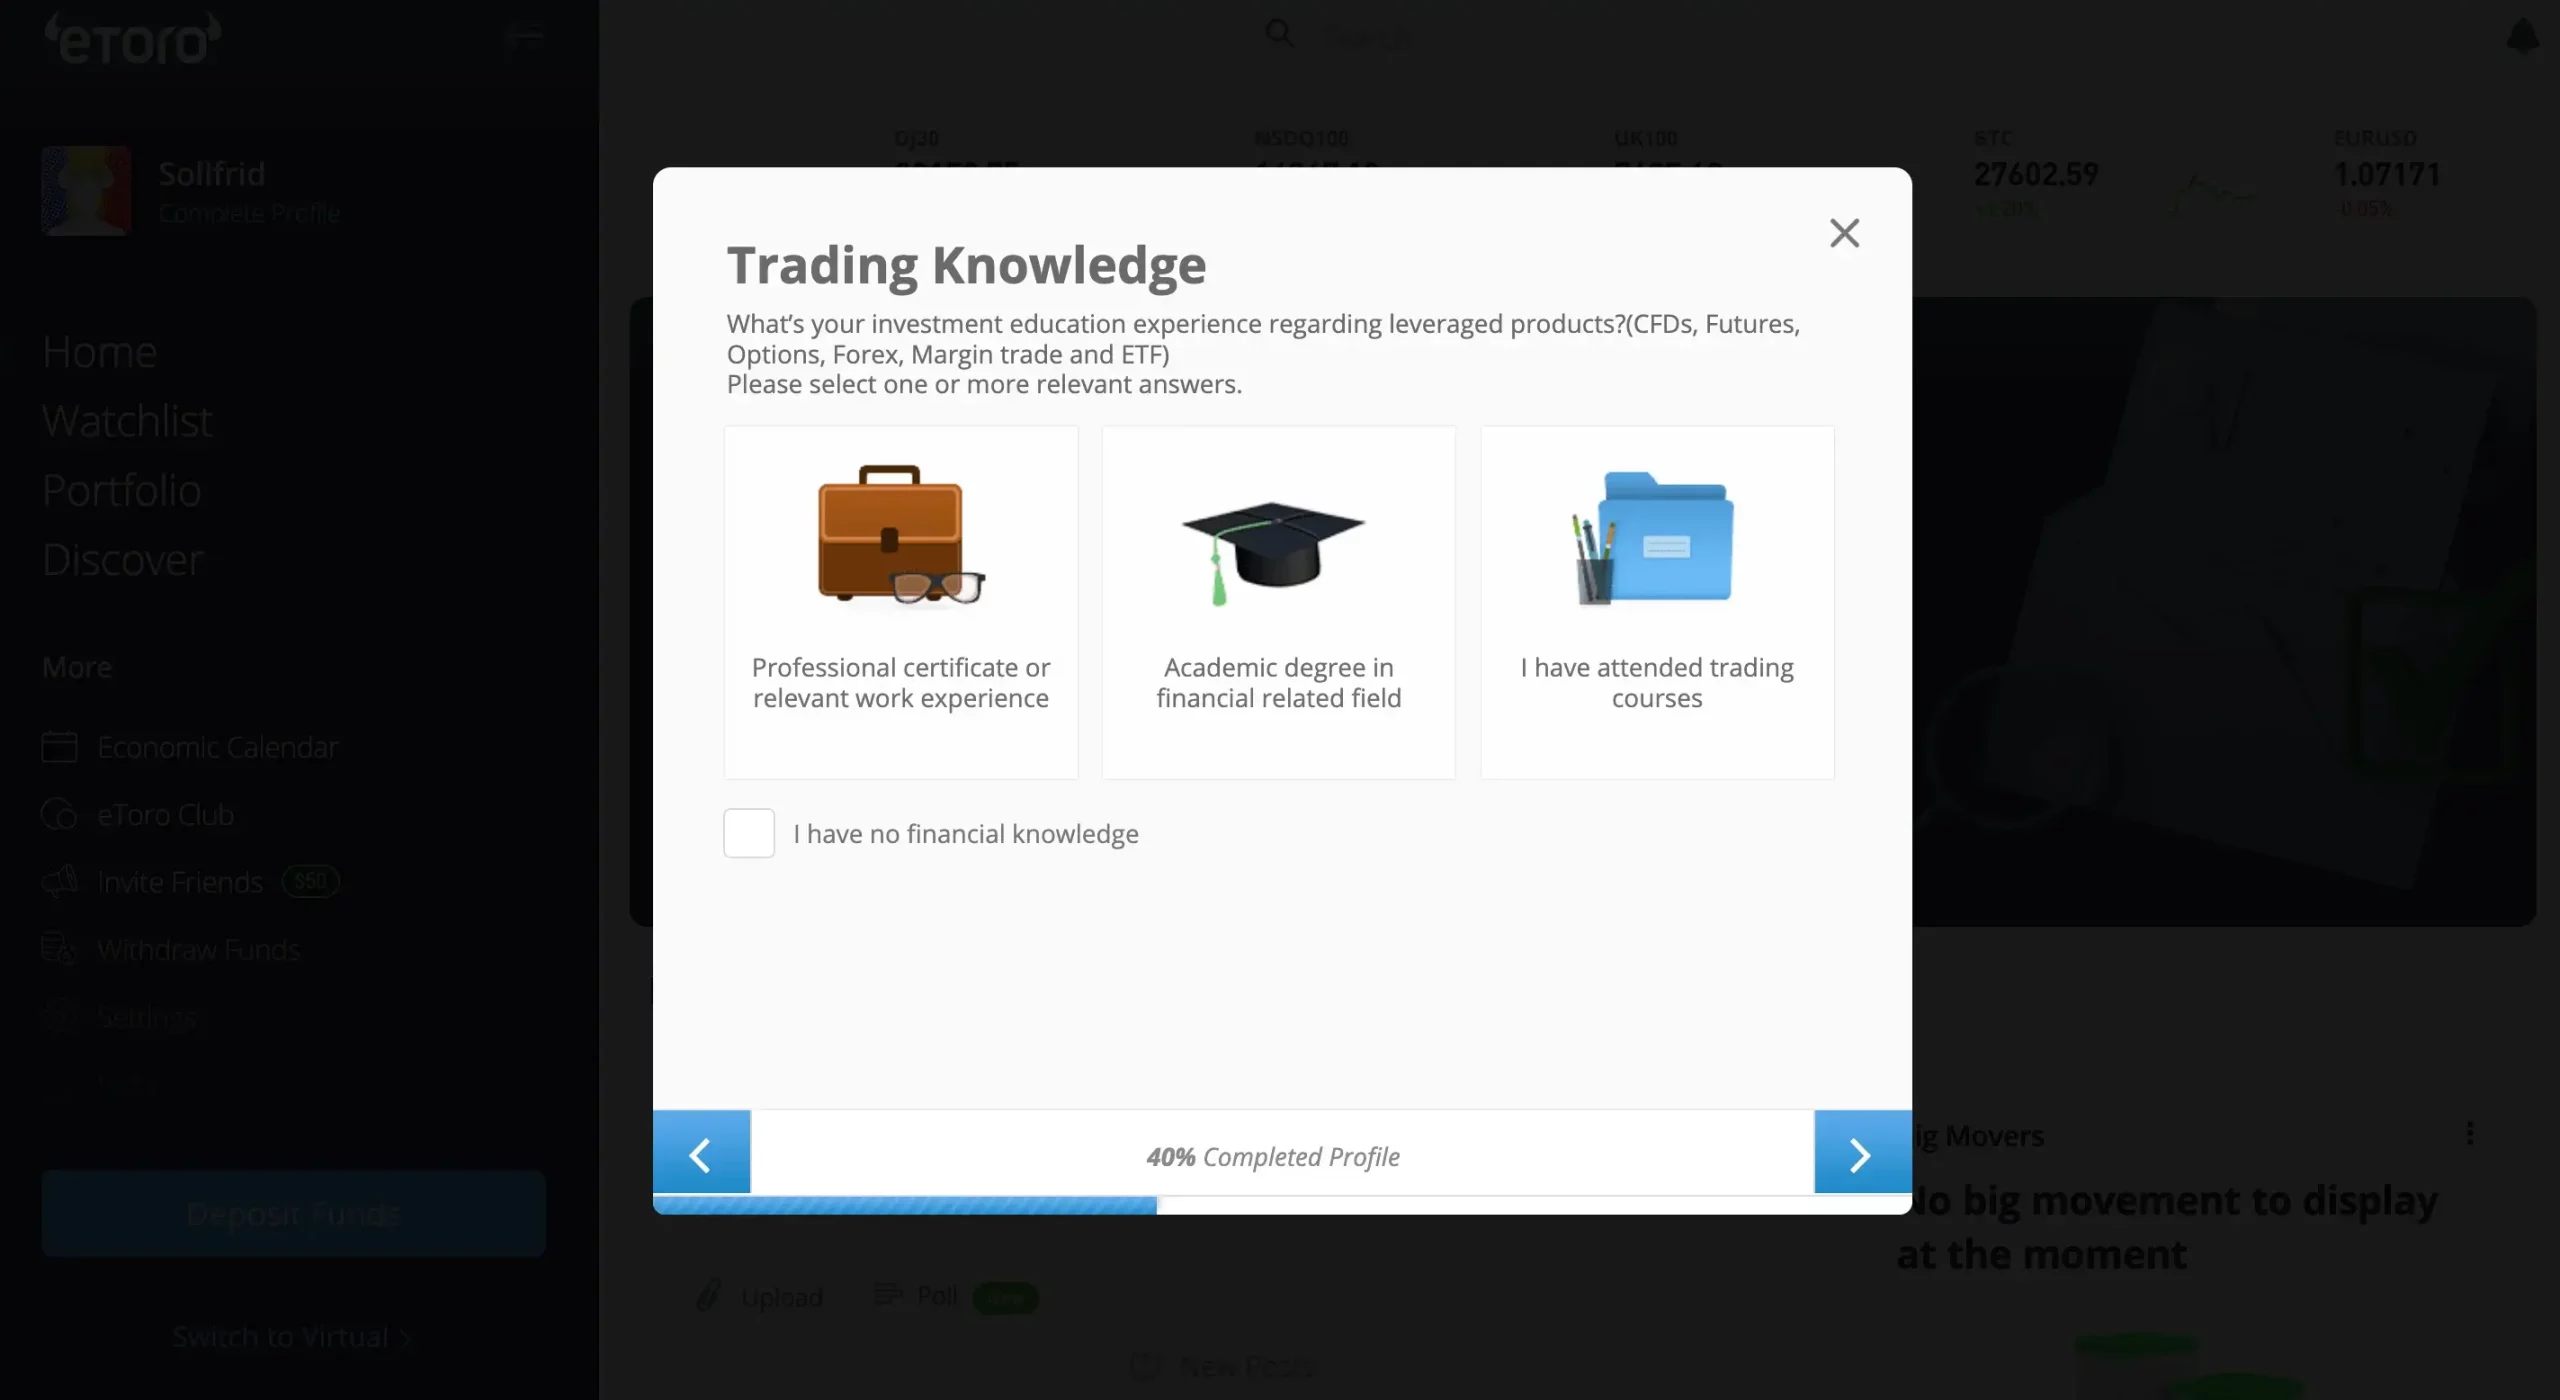
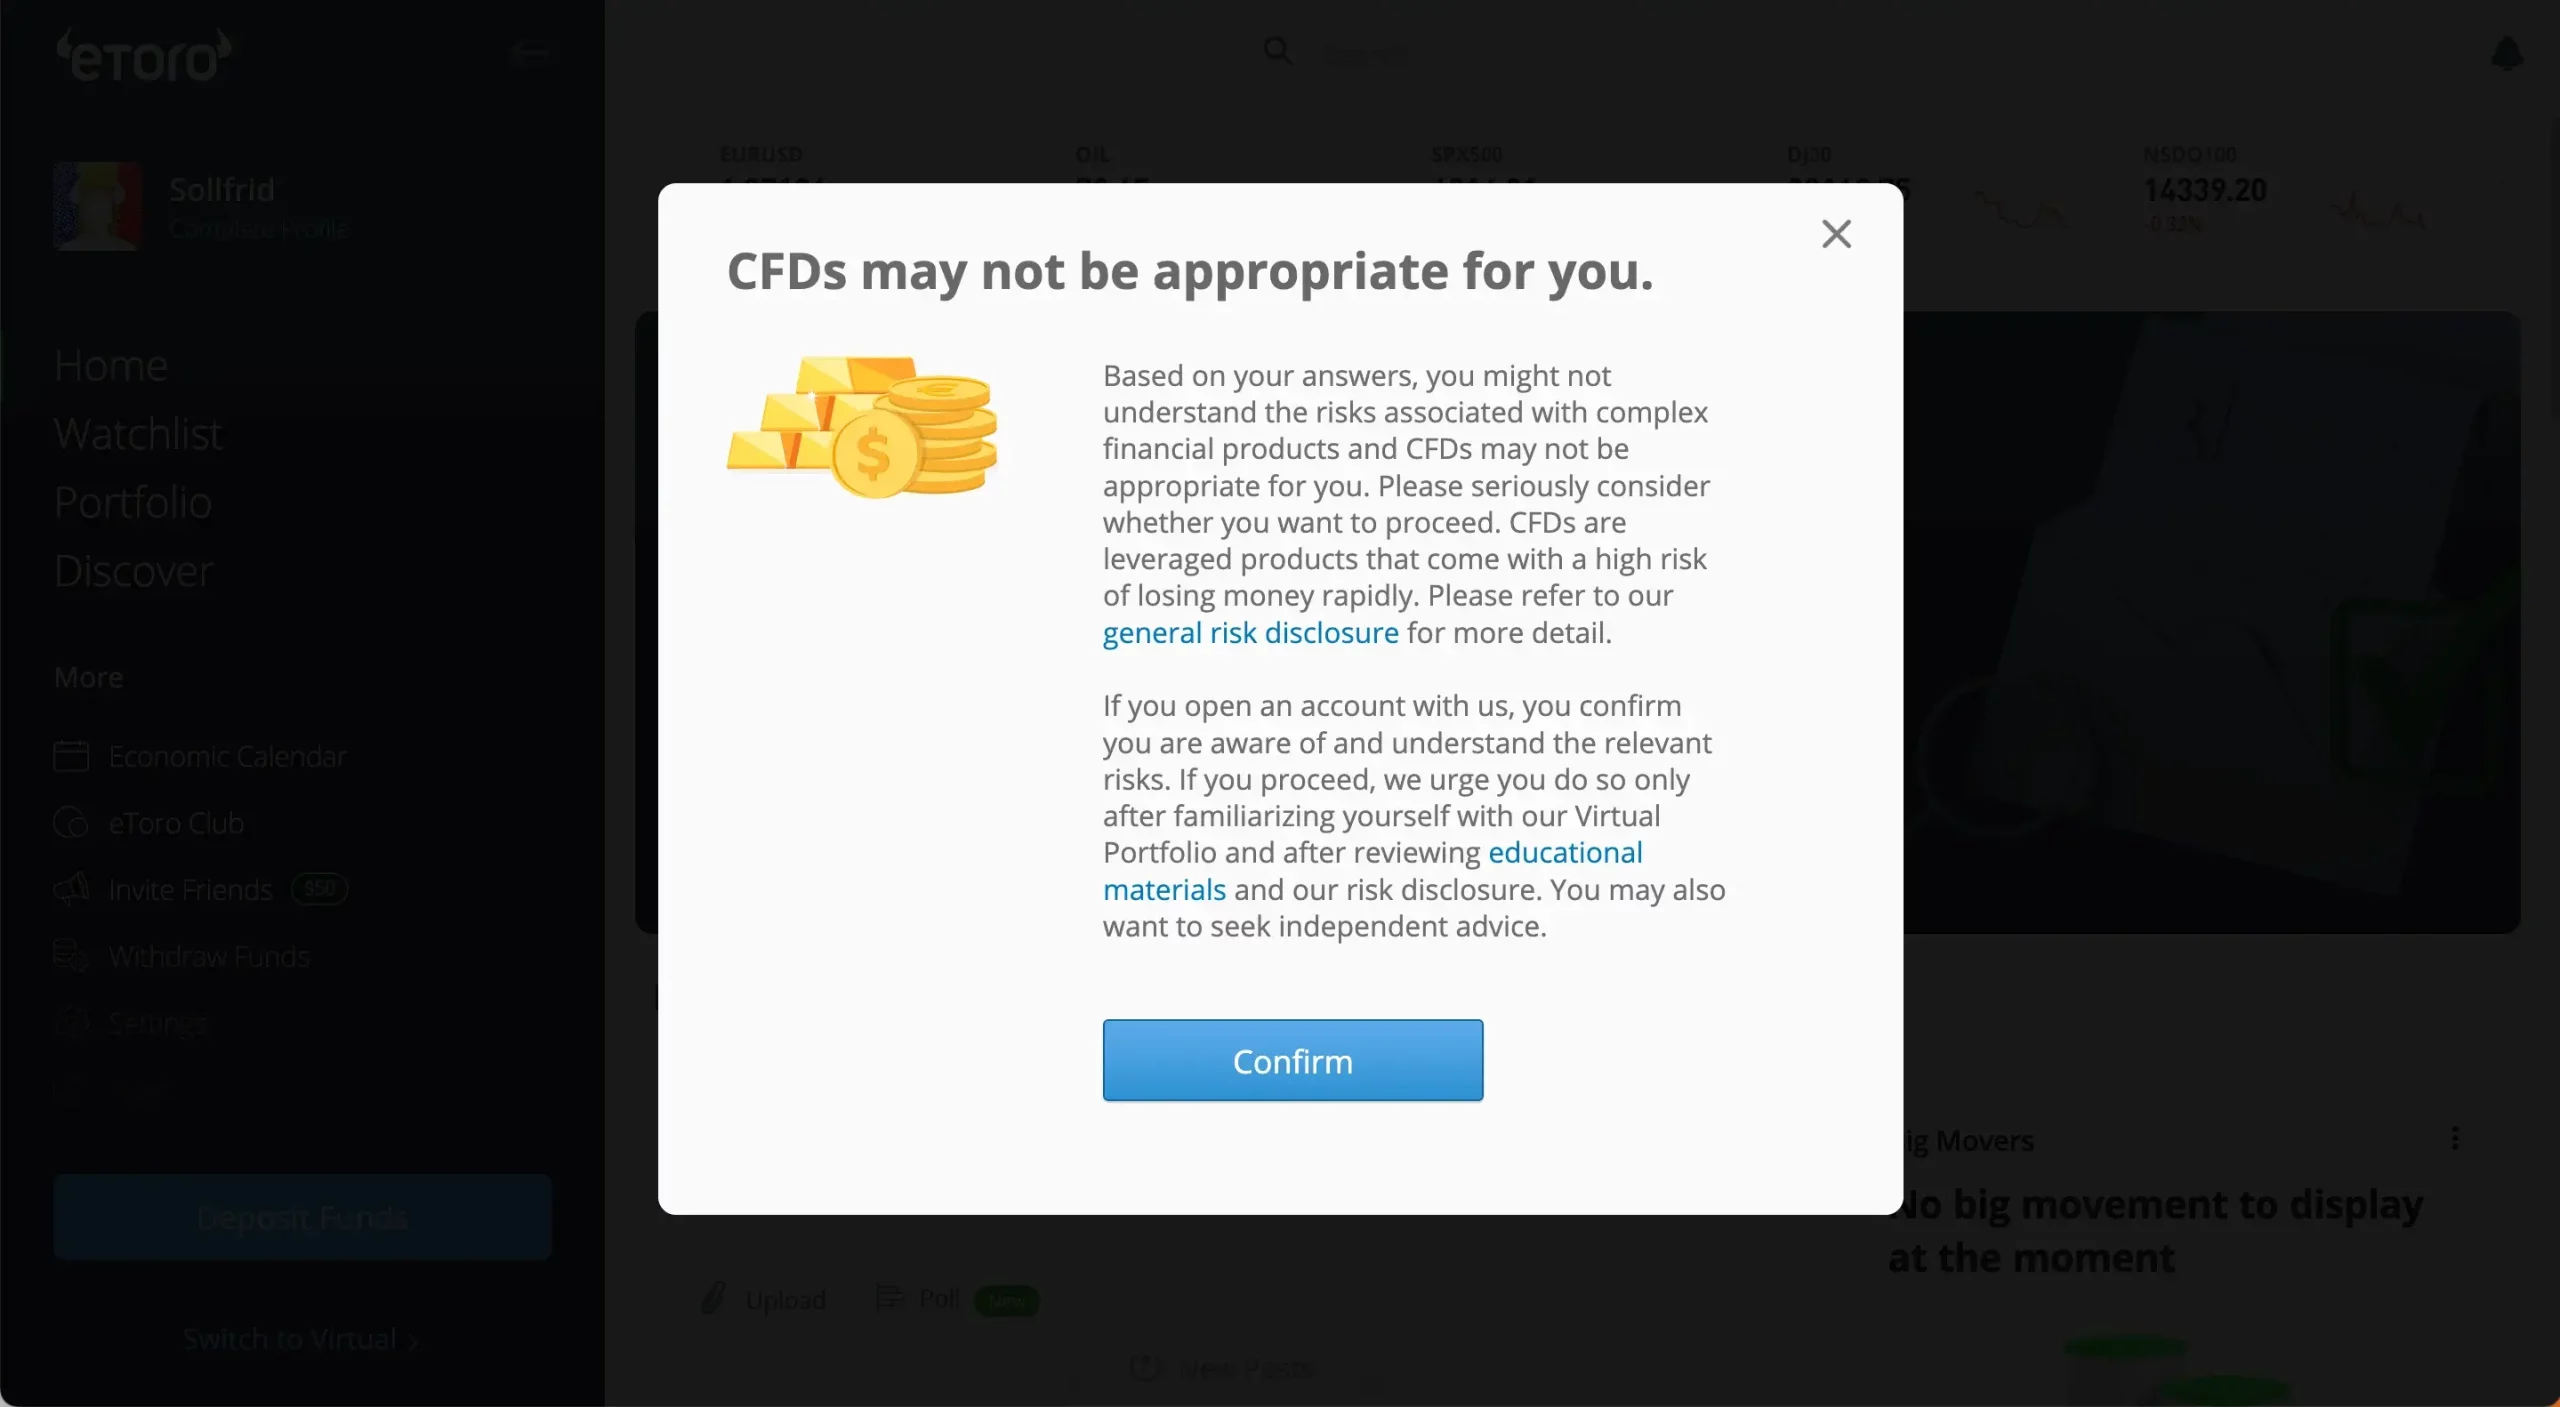
Step 1.12: What is your trading knowledge?
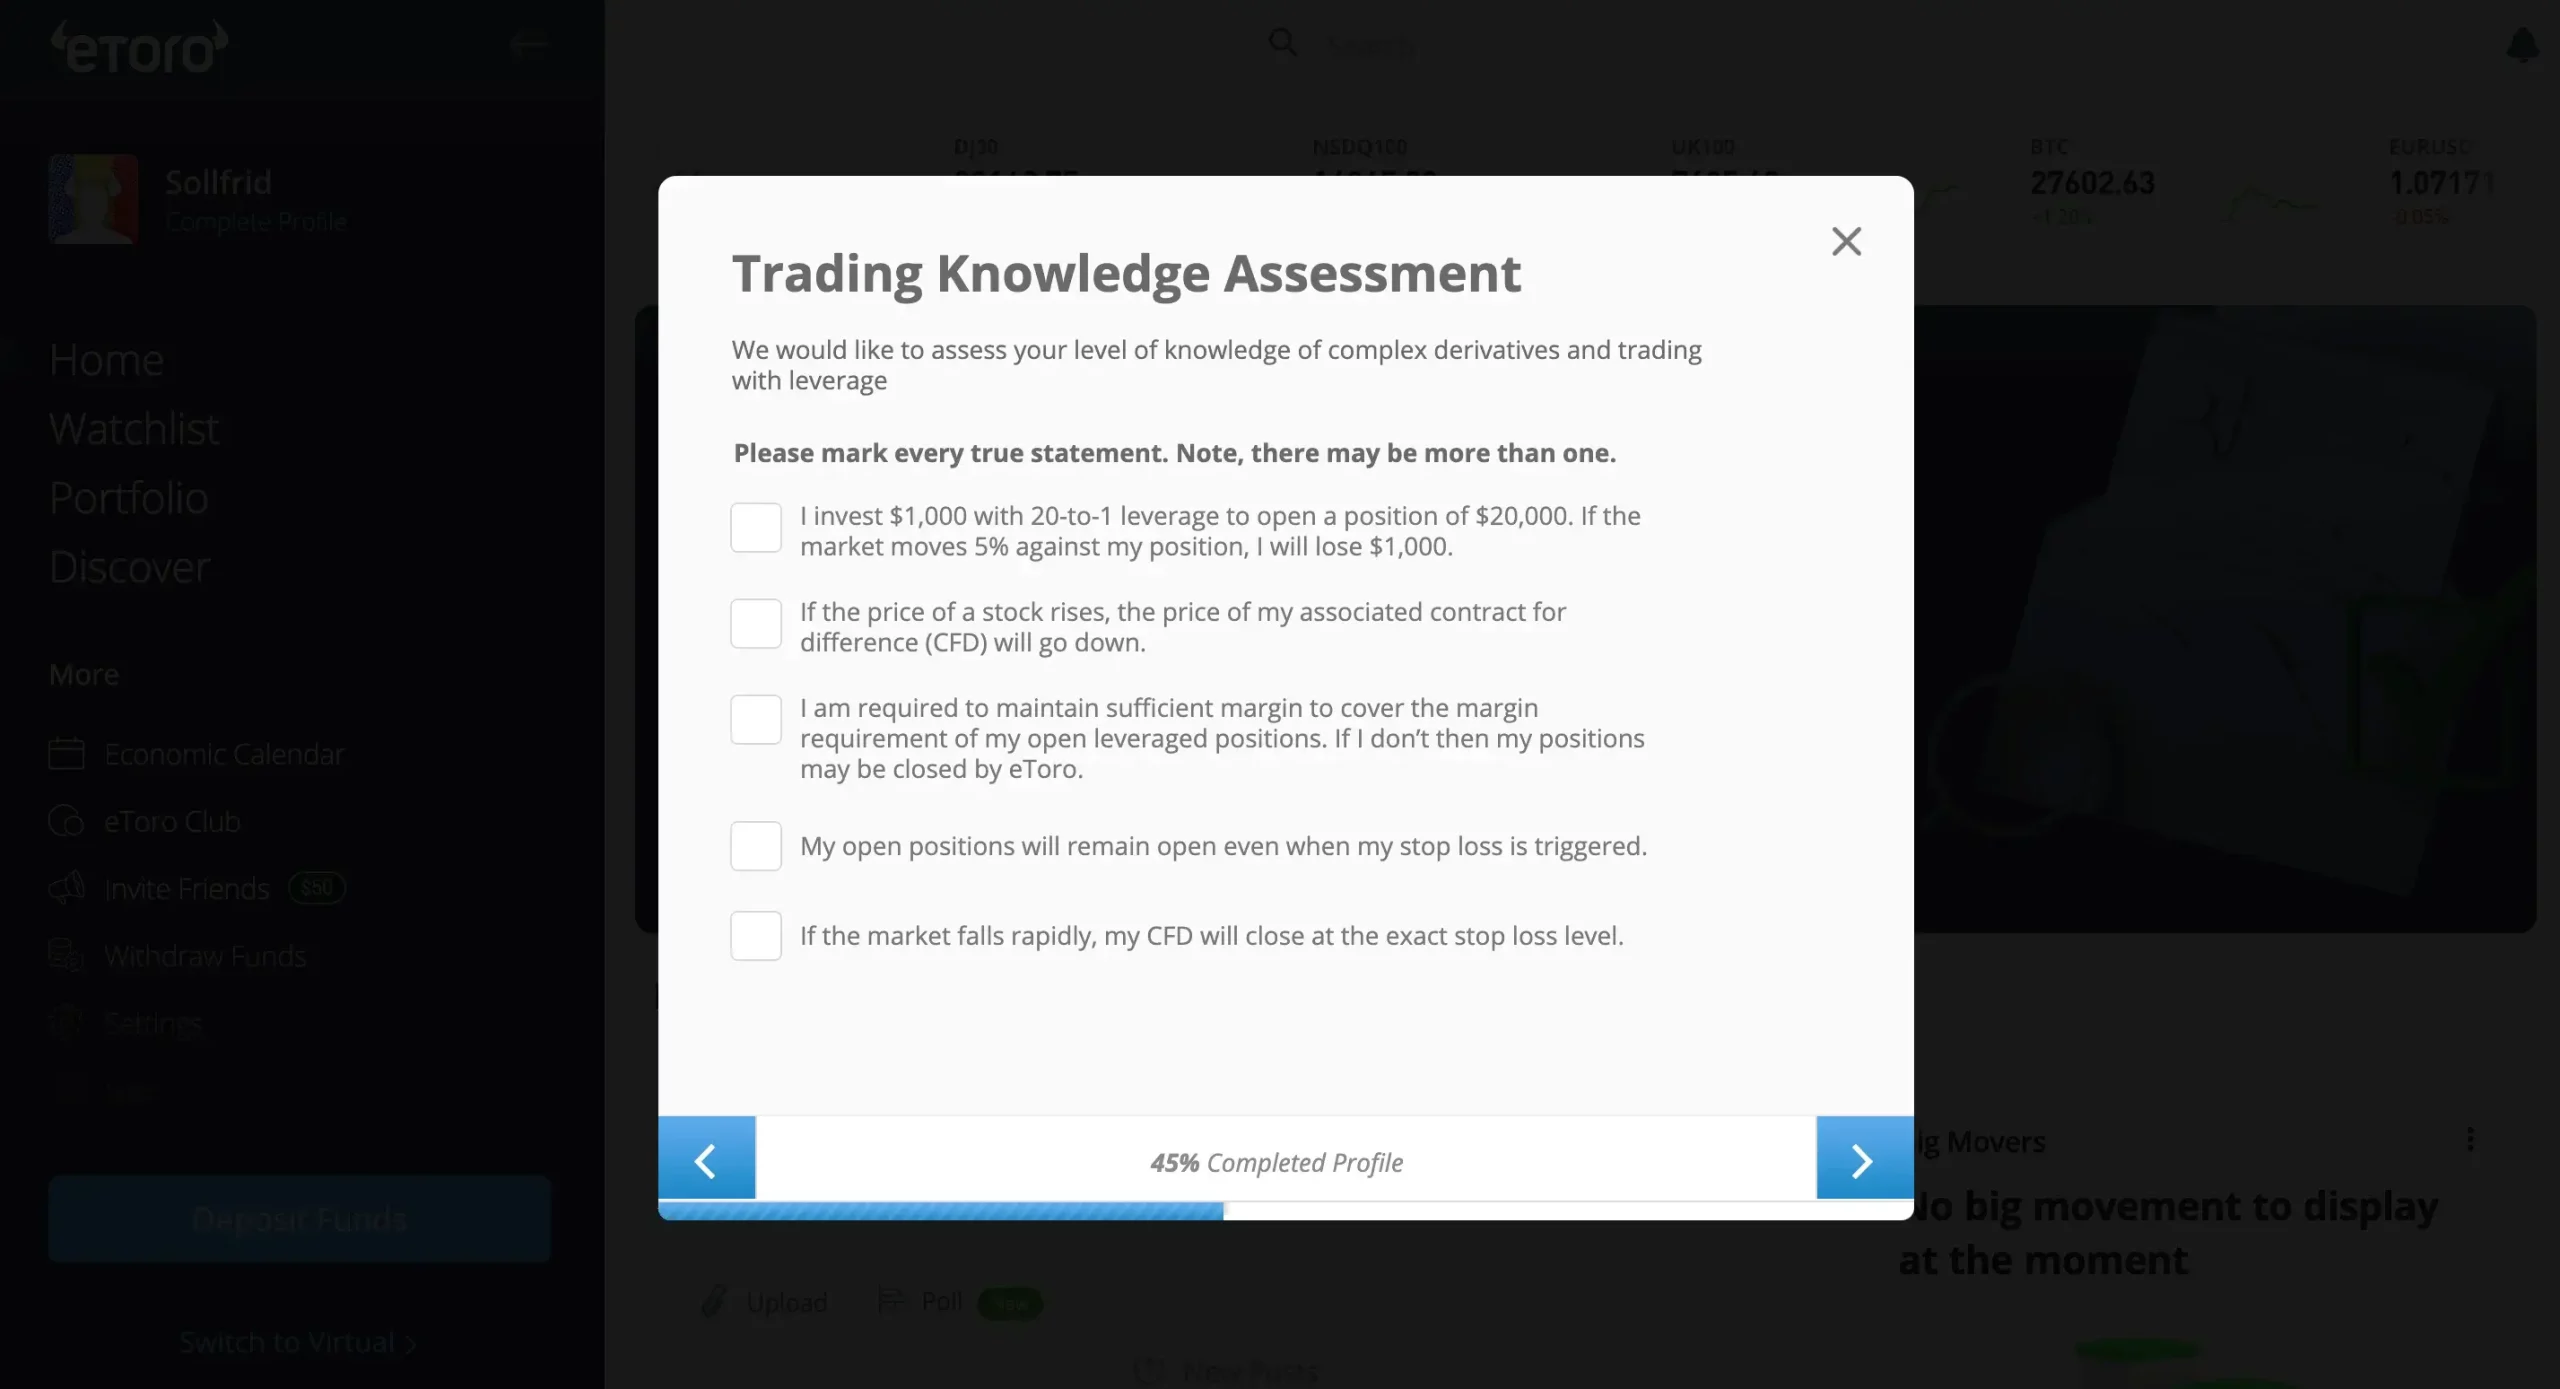
Step 1.13: Trading knowledge assessment
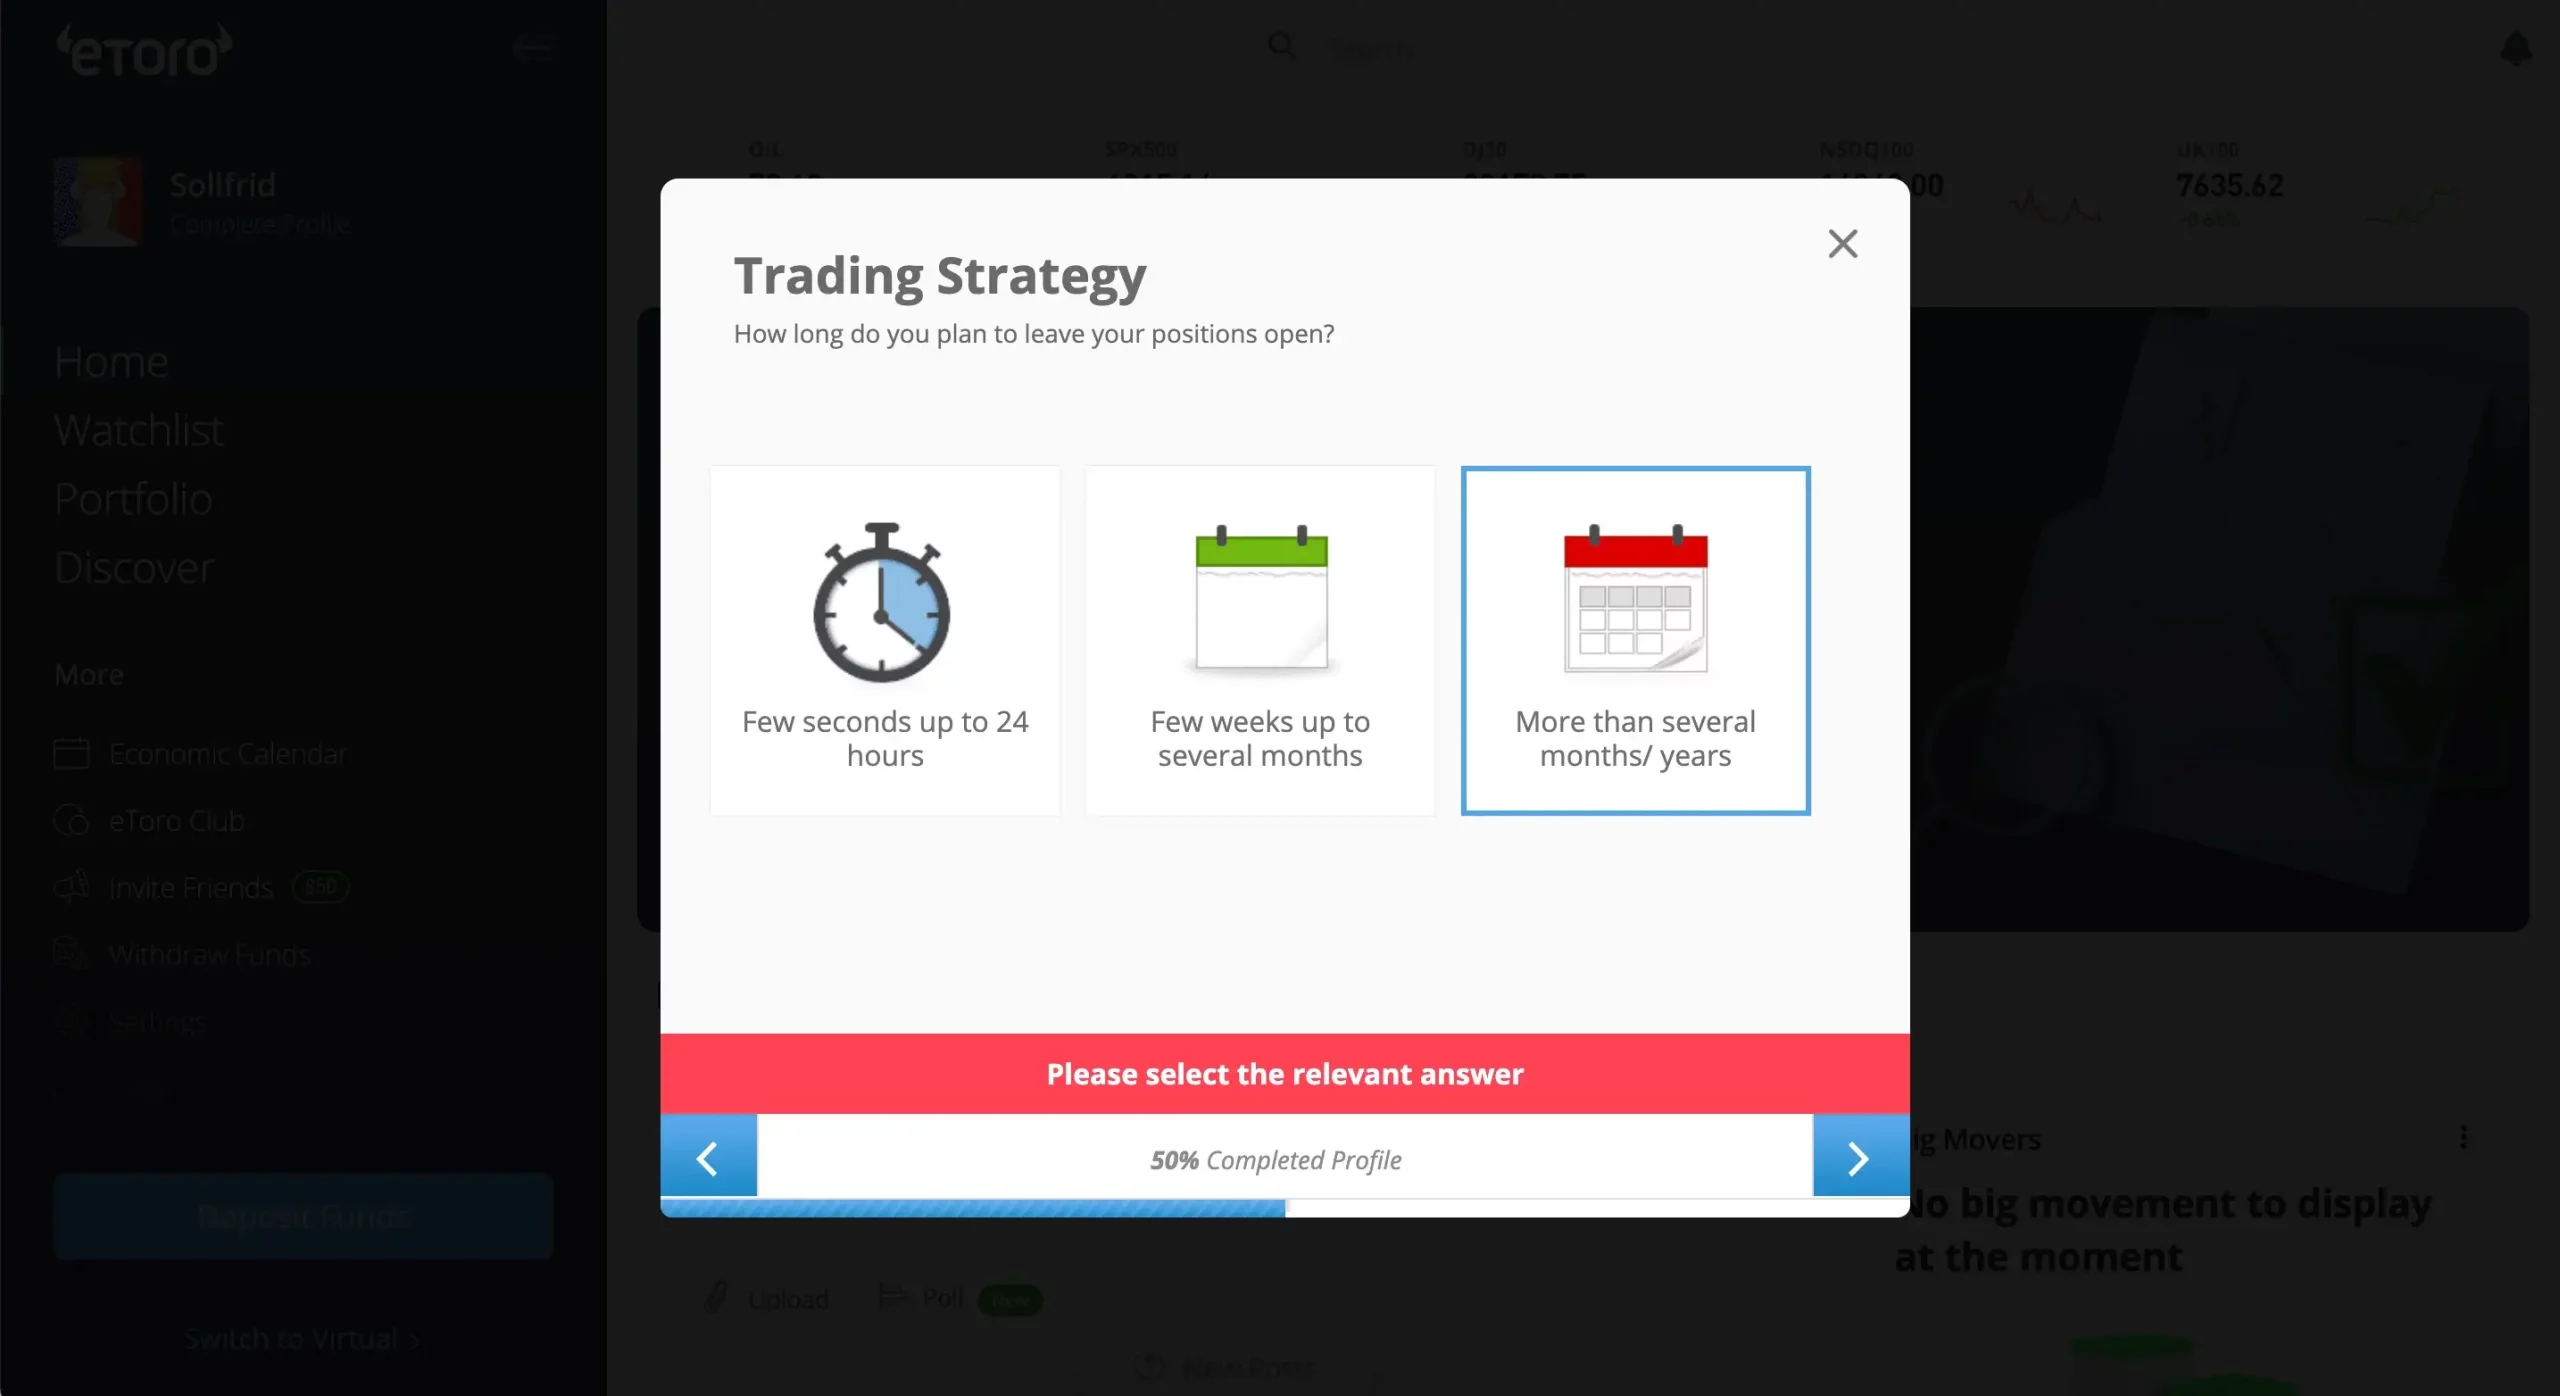
Step 1.14: What is your trading strategy?
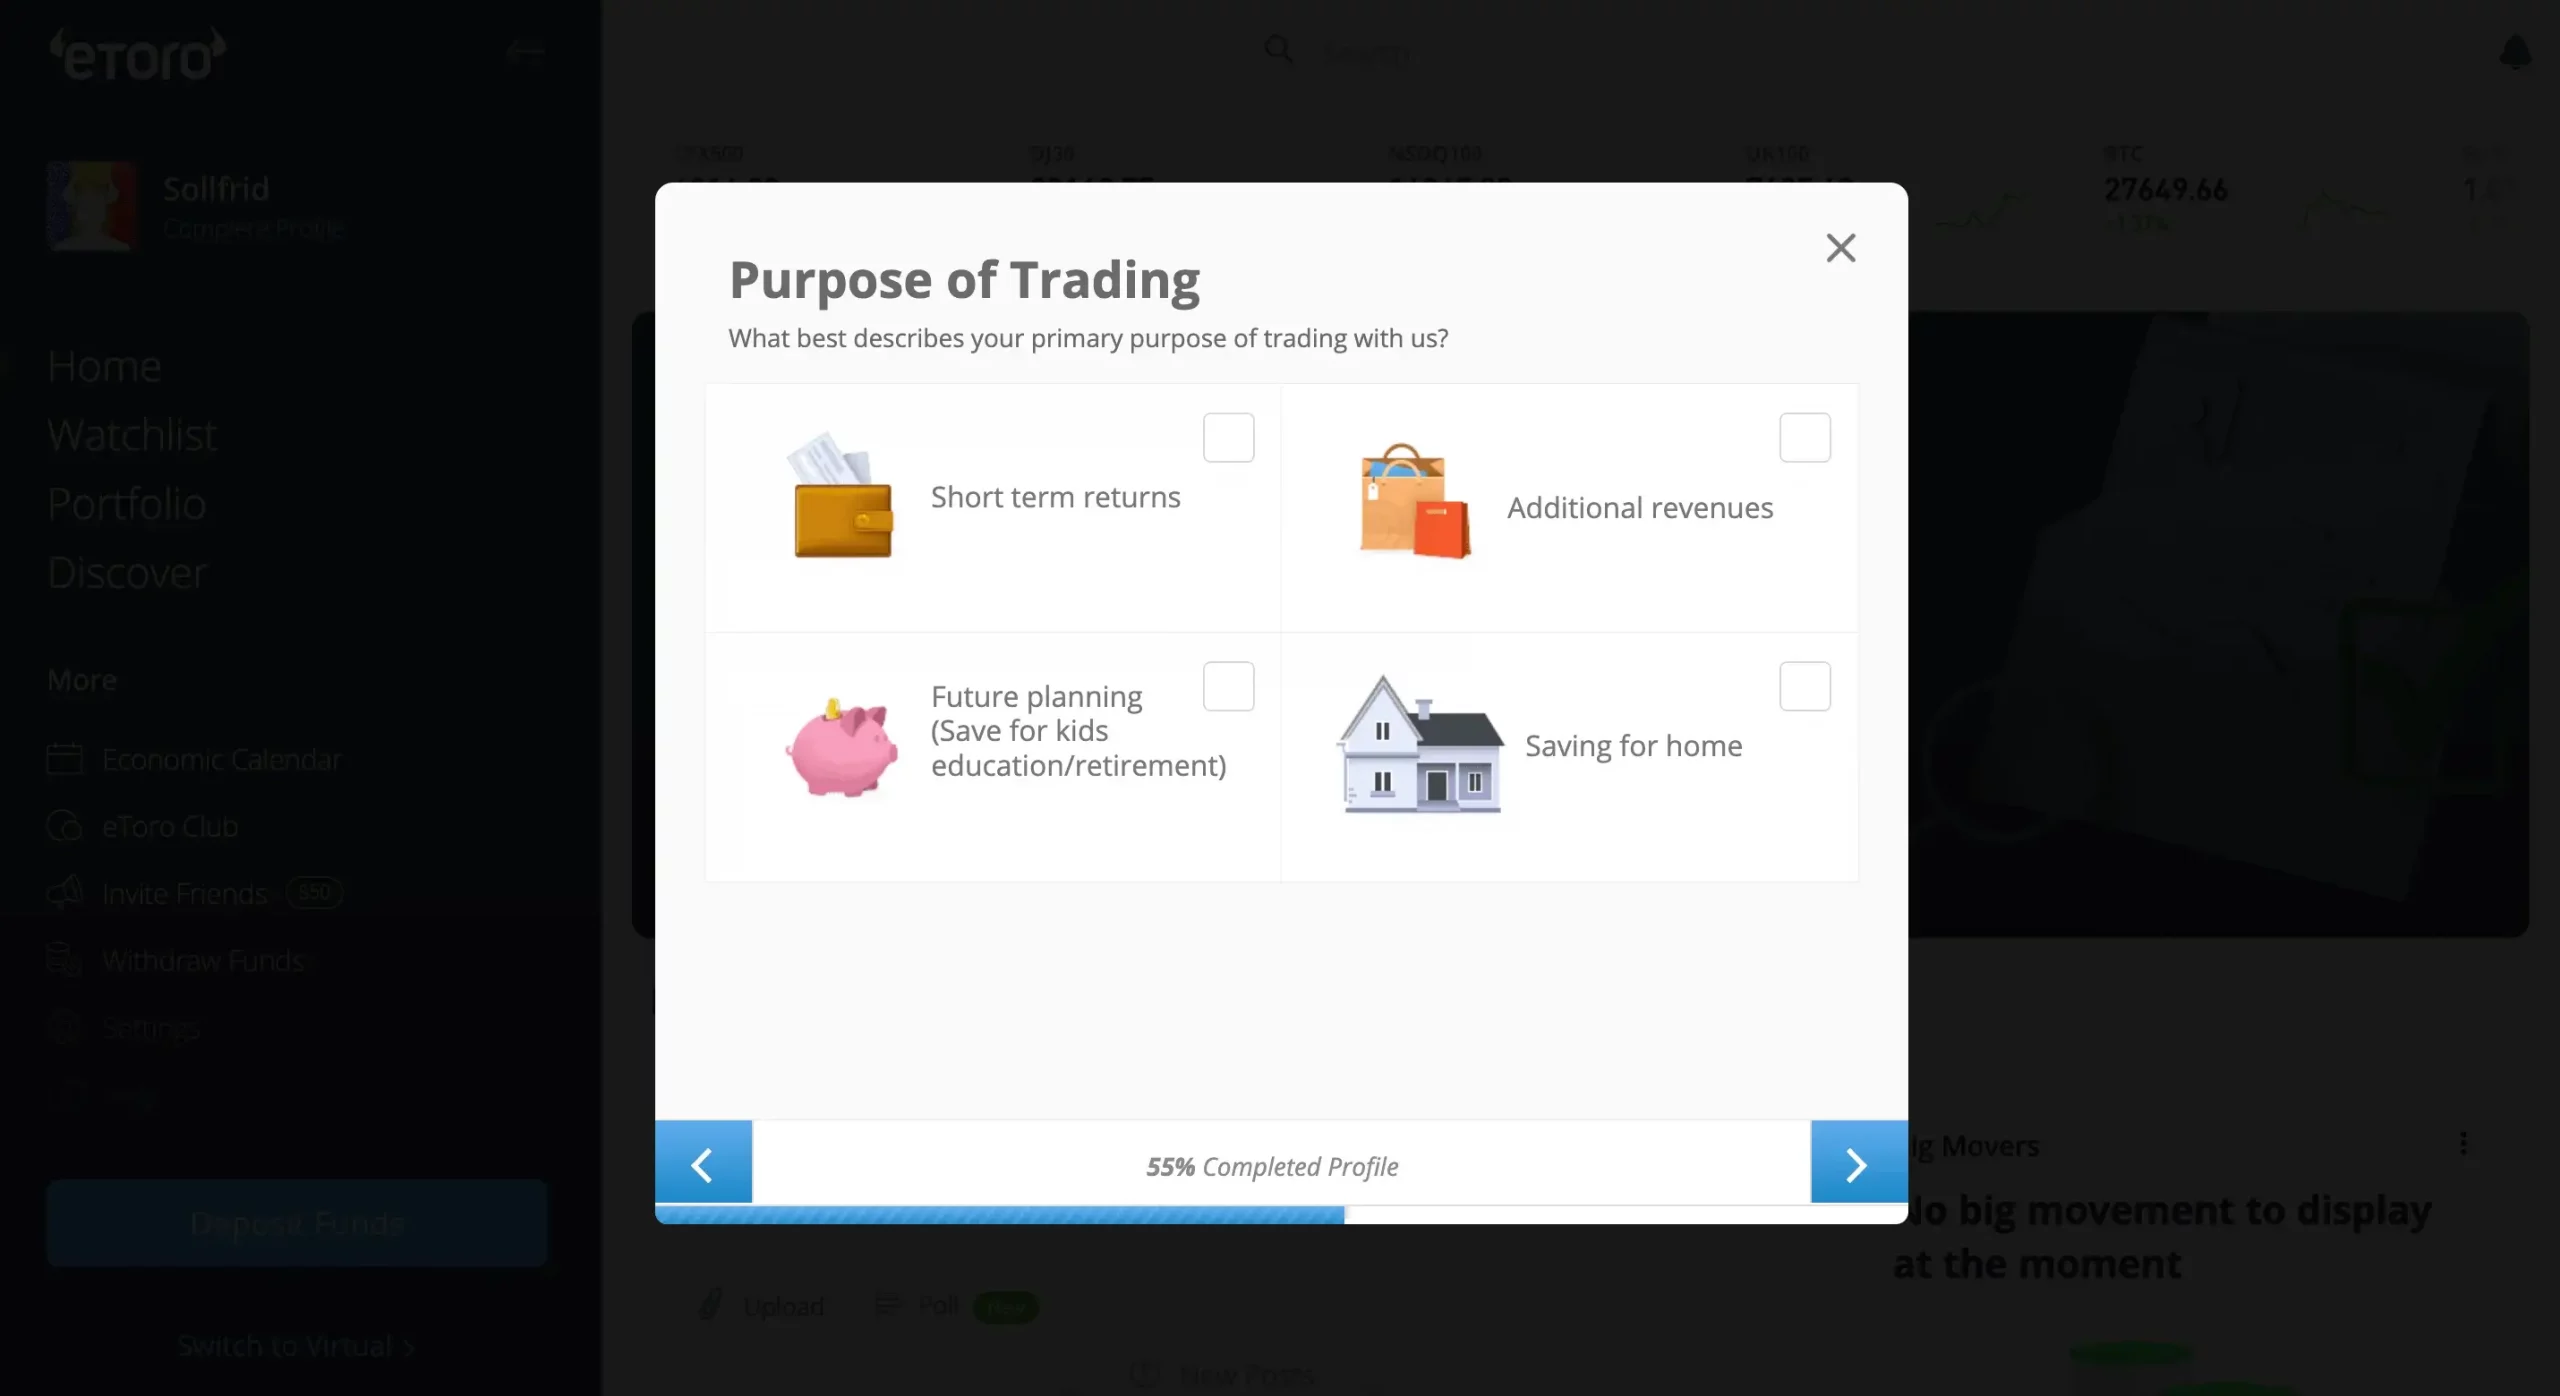
Step 1.15: The Purpose of trading digital currencies
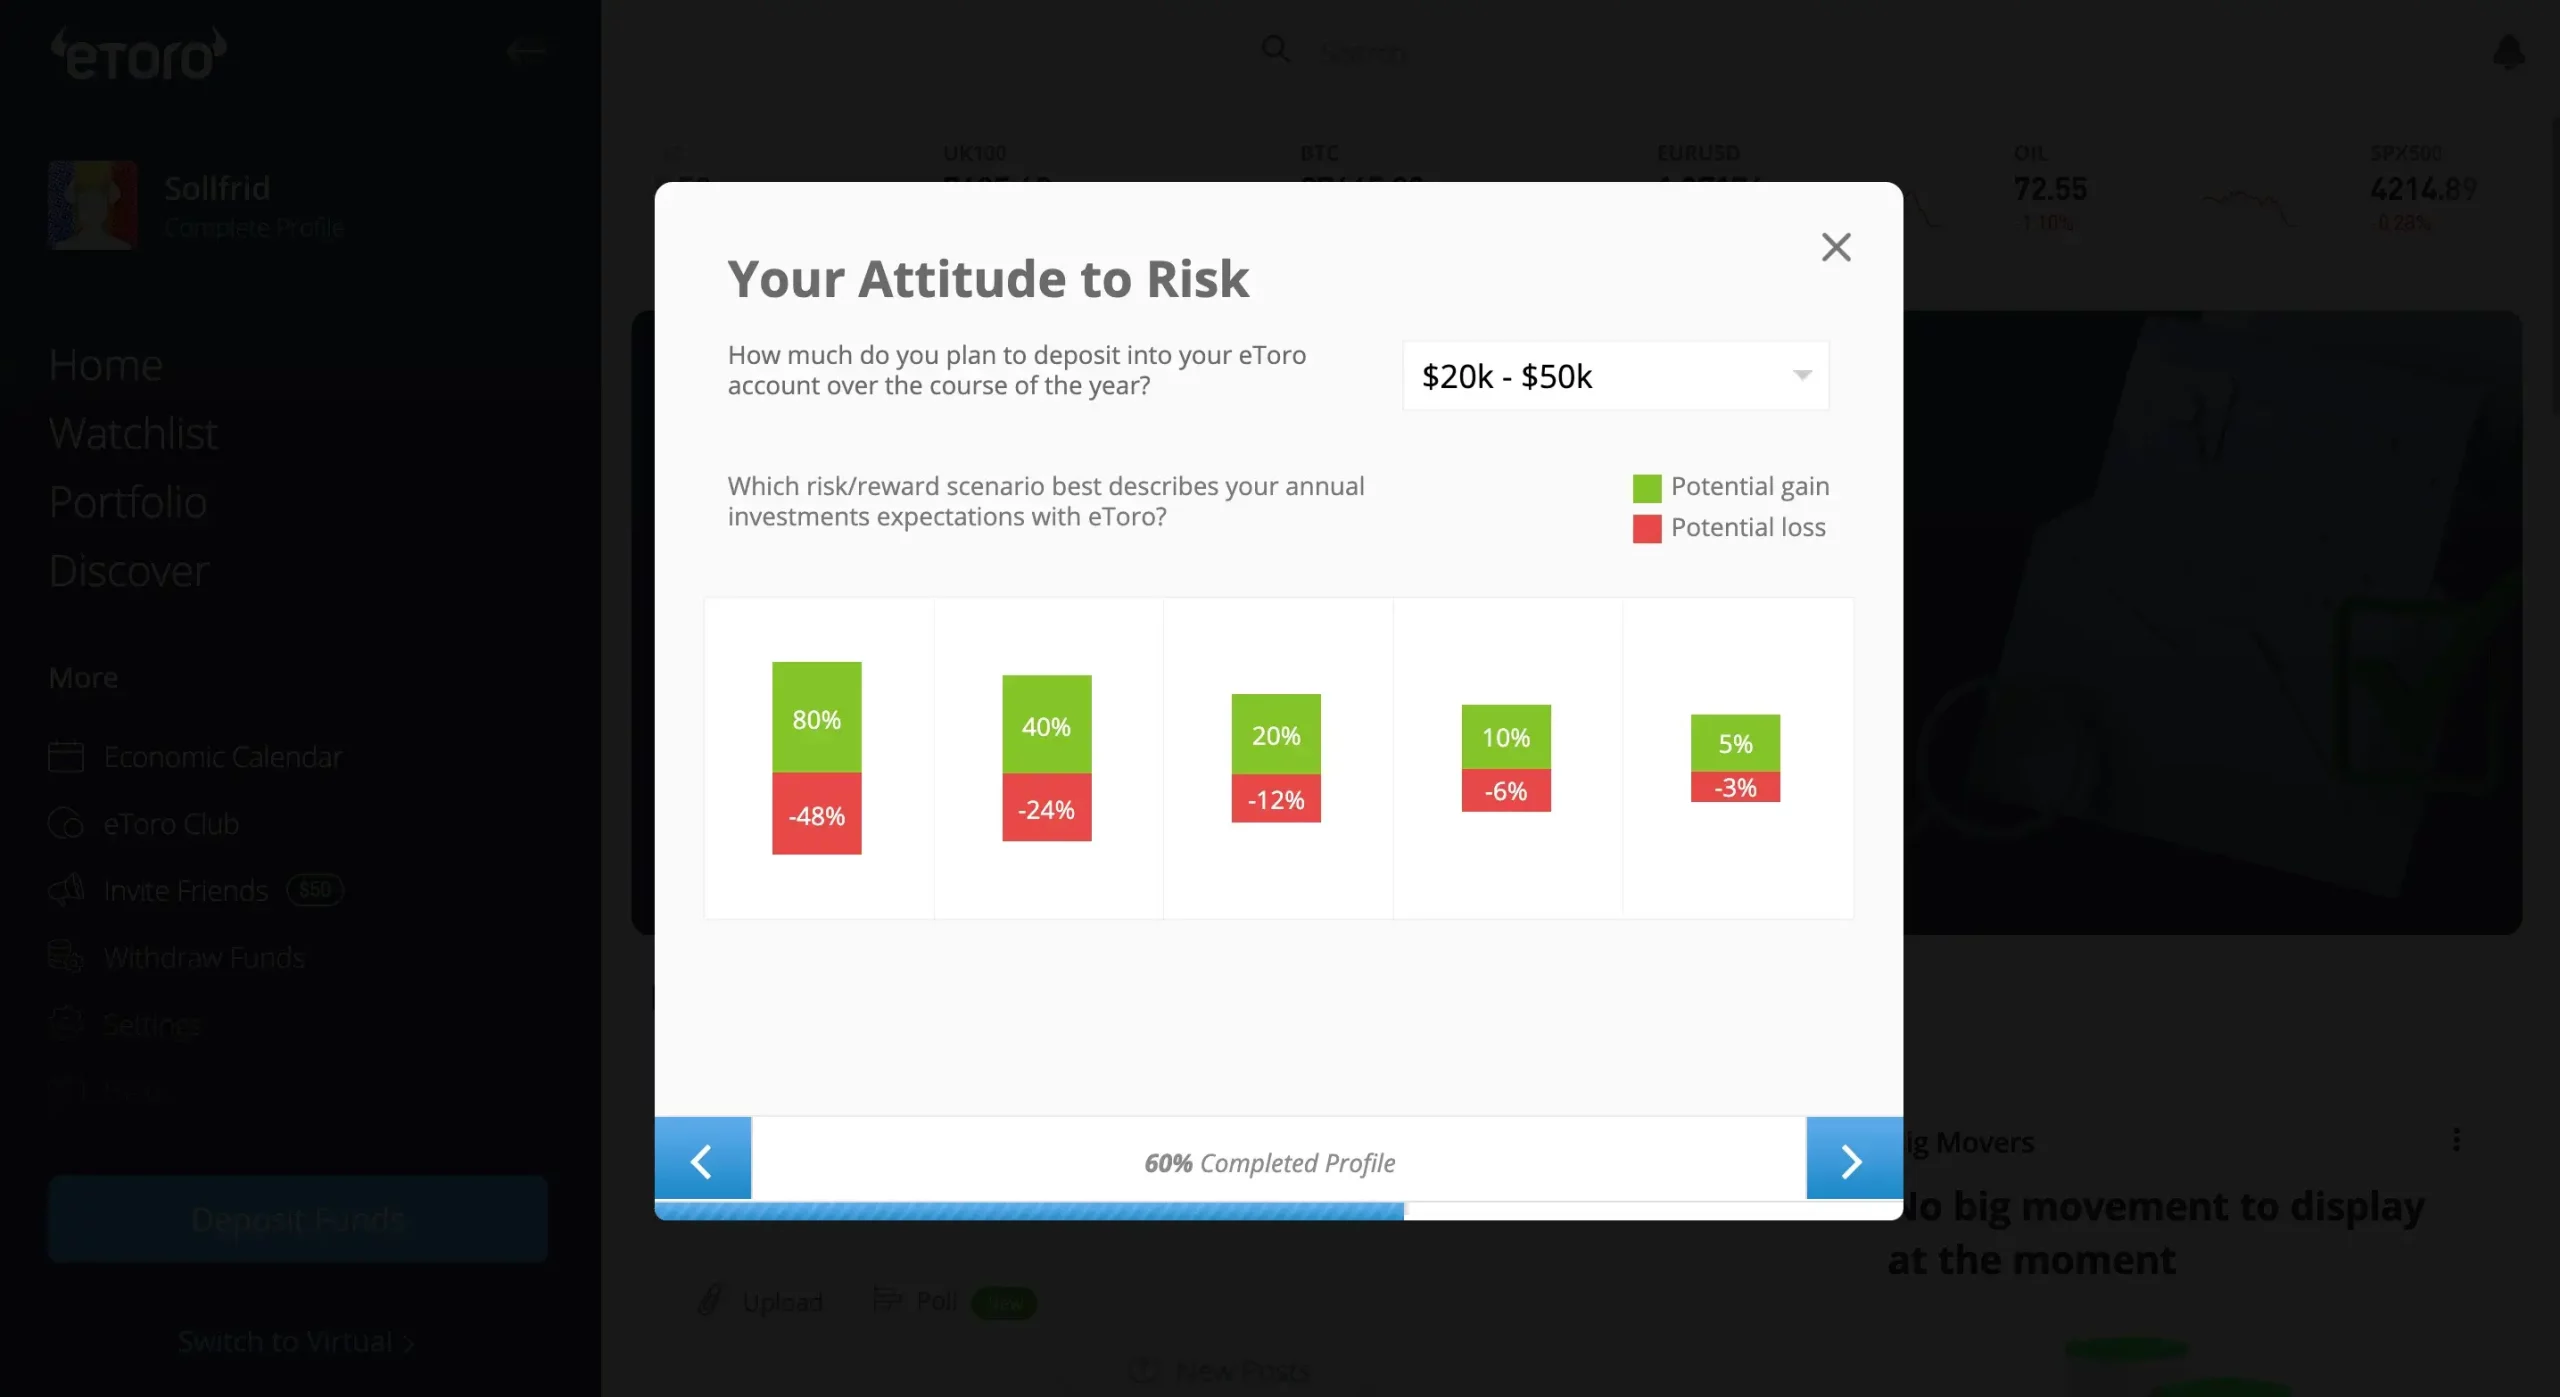
Step 1.16: Your attitude to risk
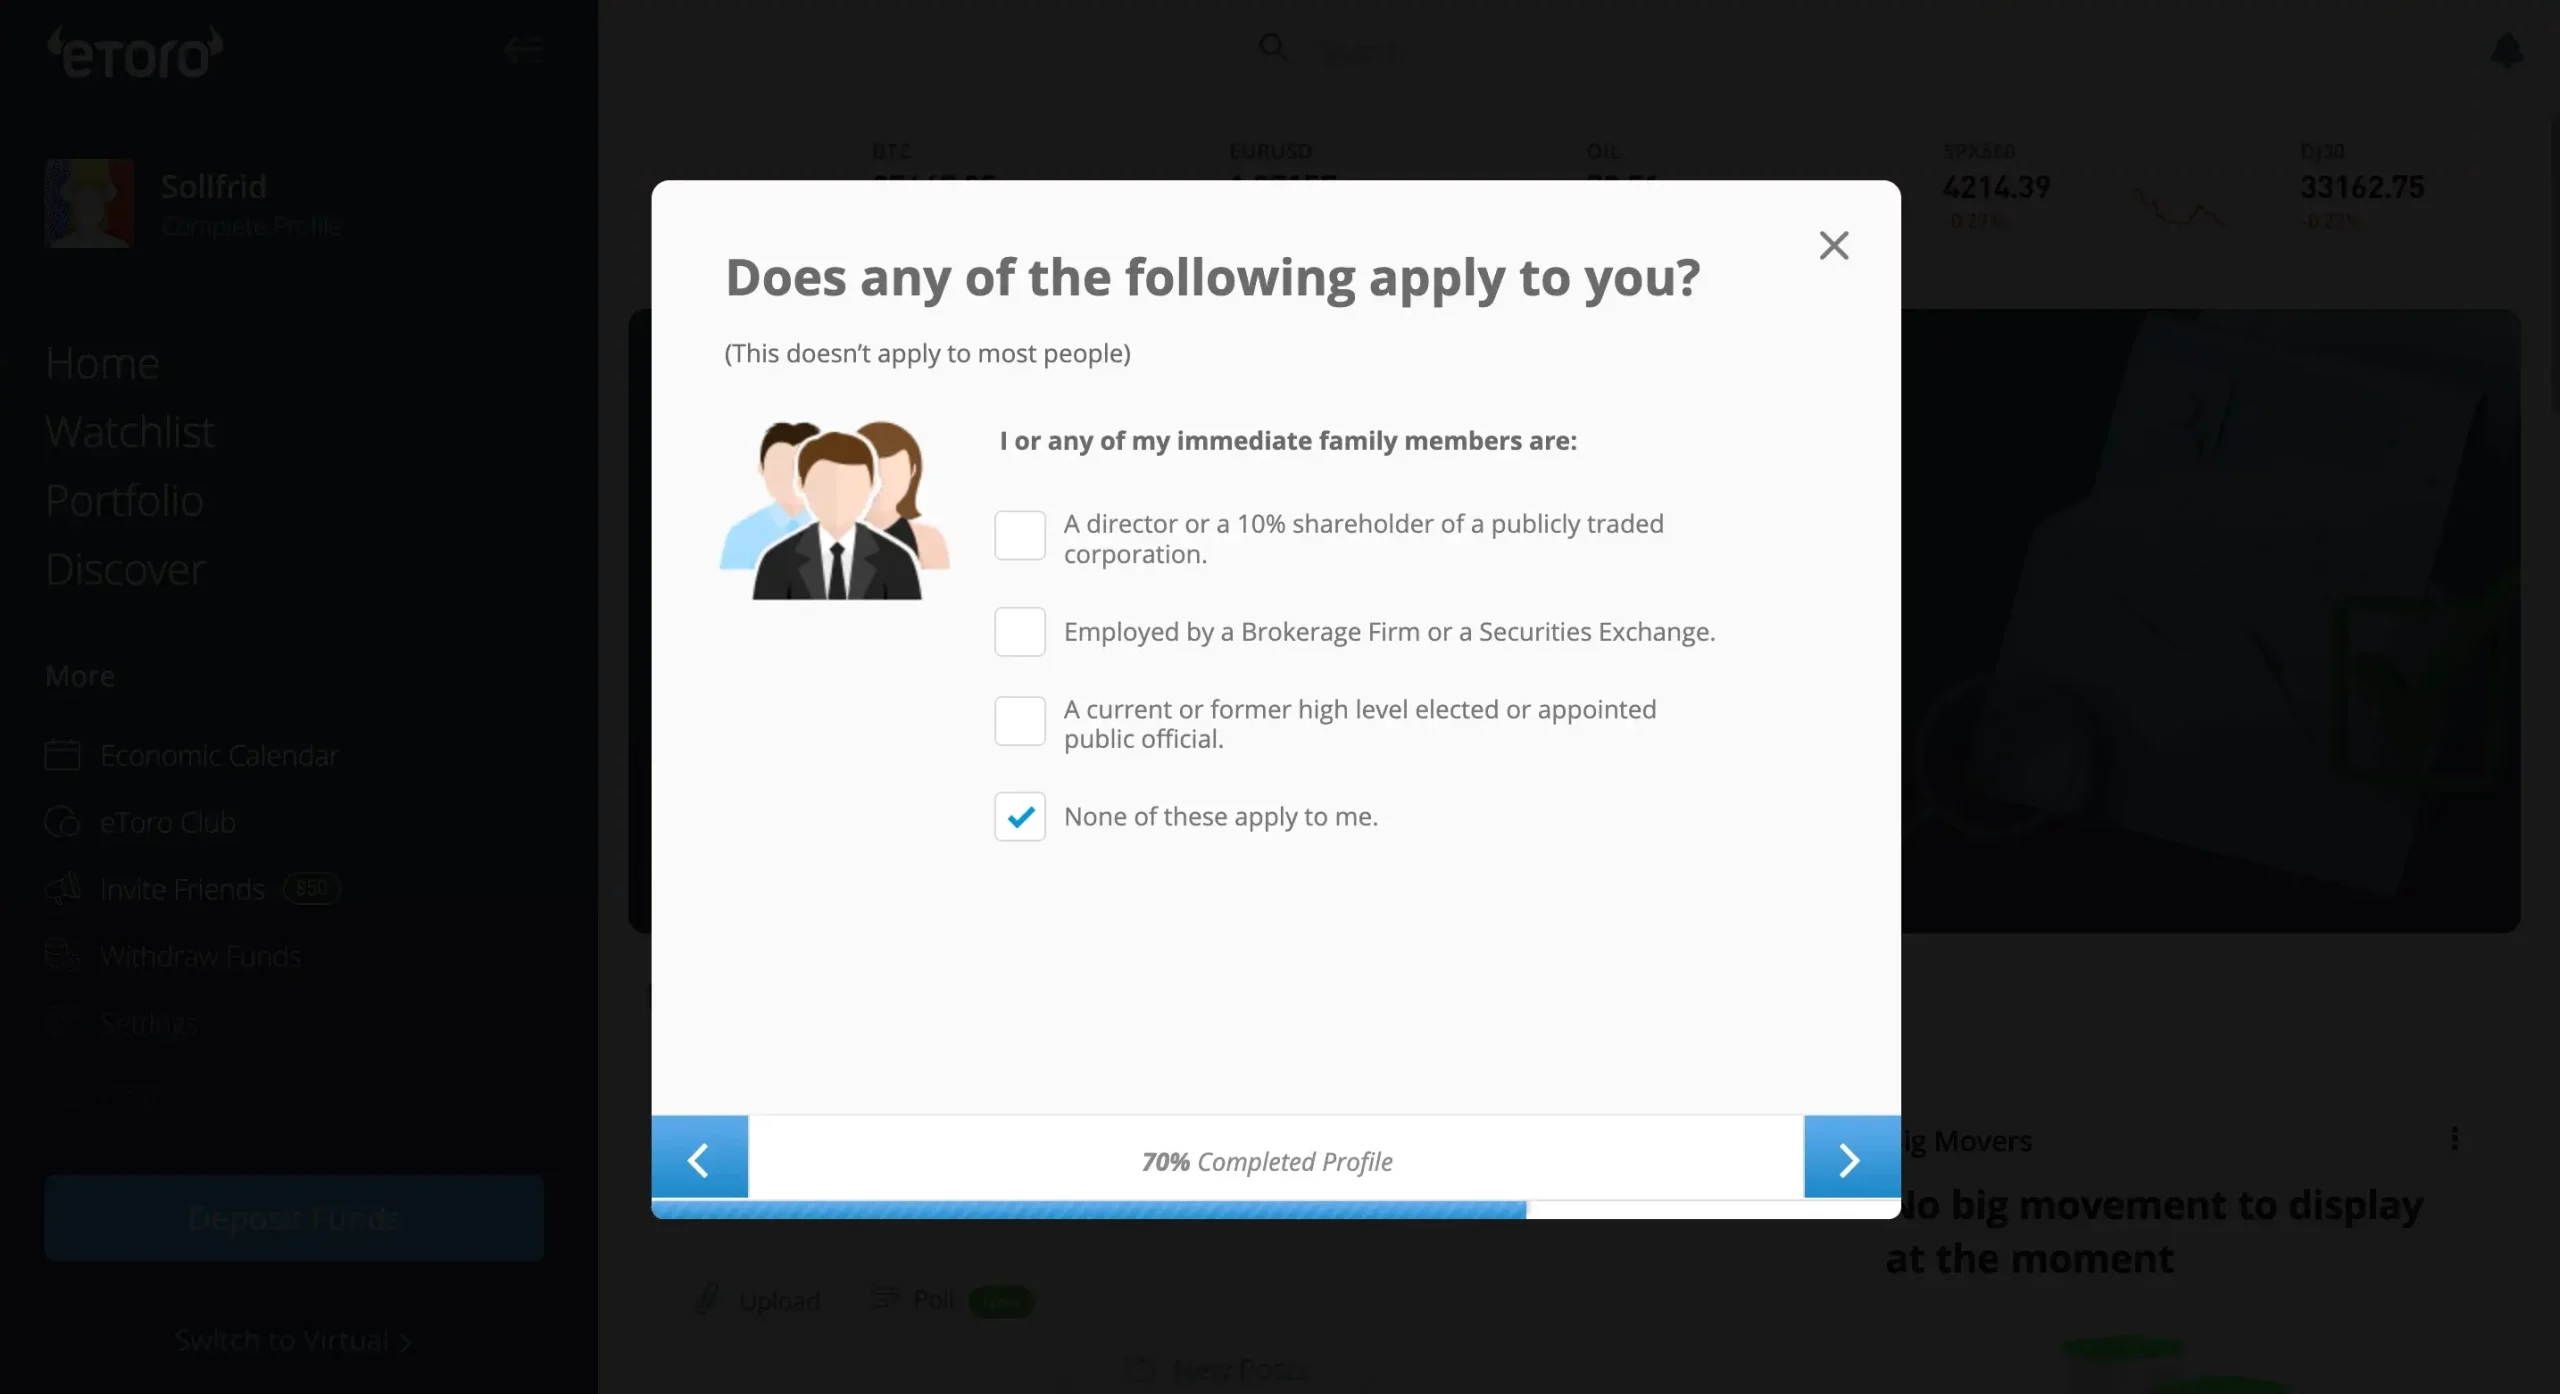
Step 1.17: Complete your eToro profile
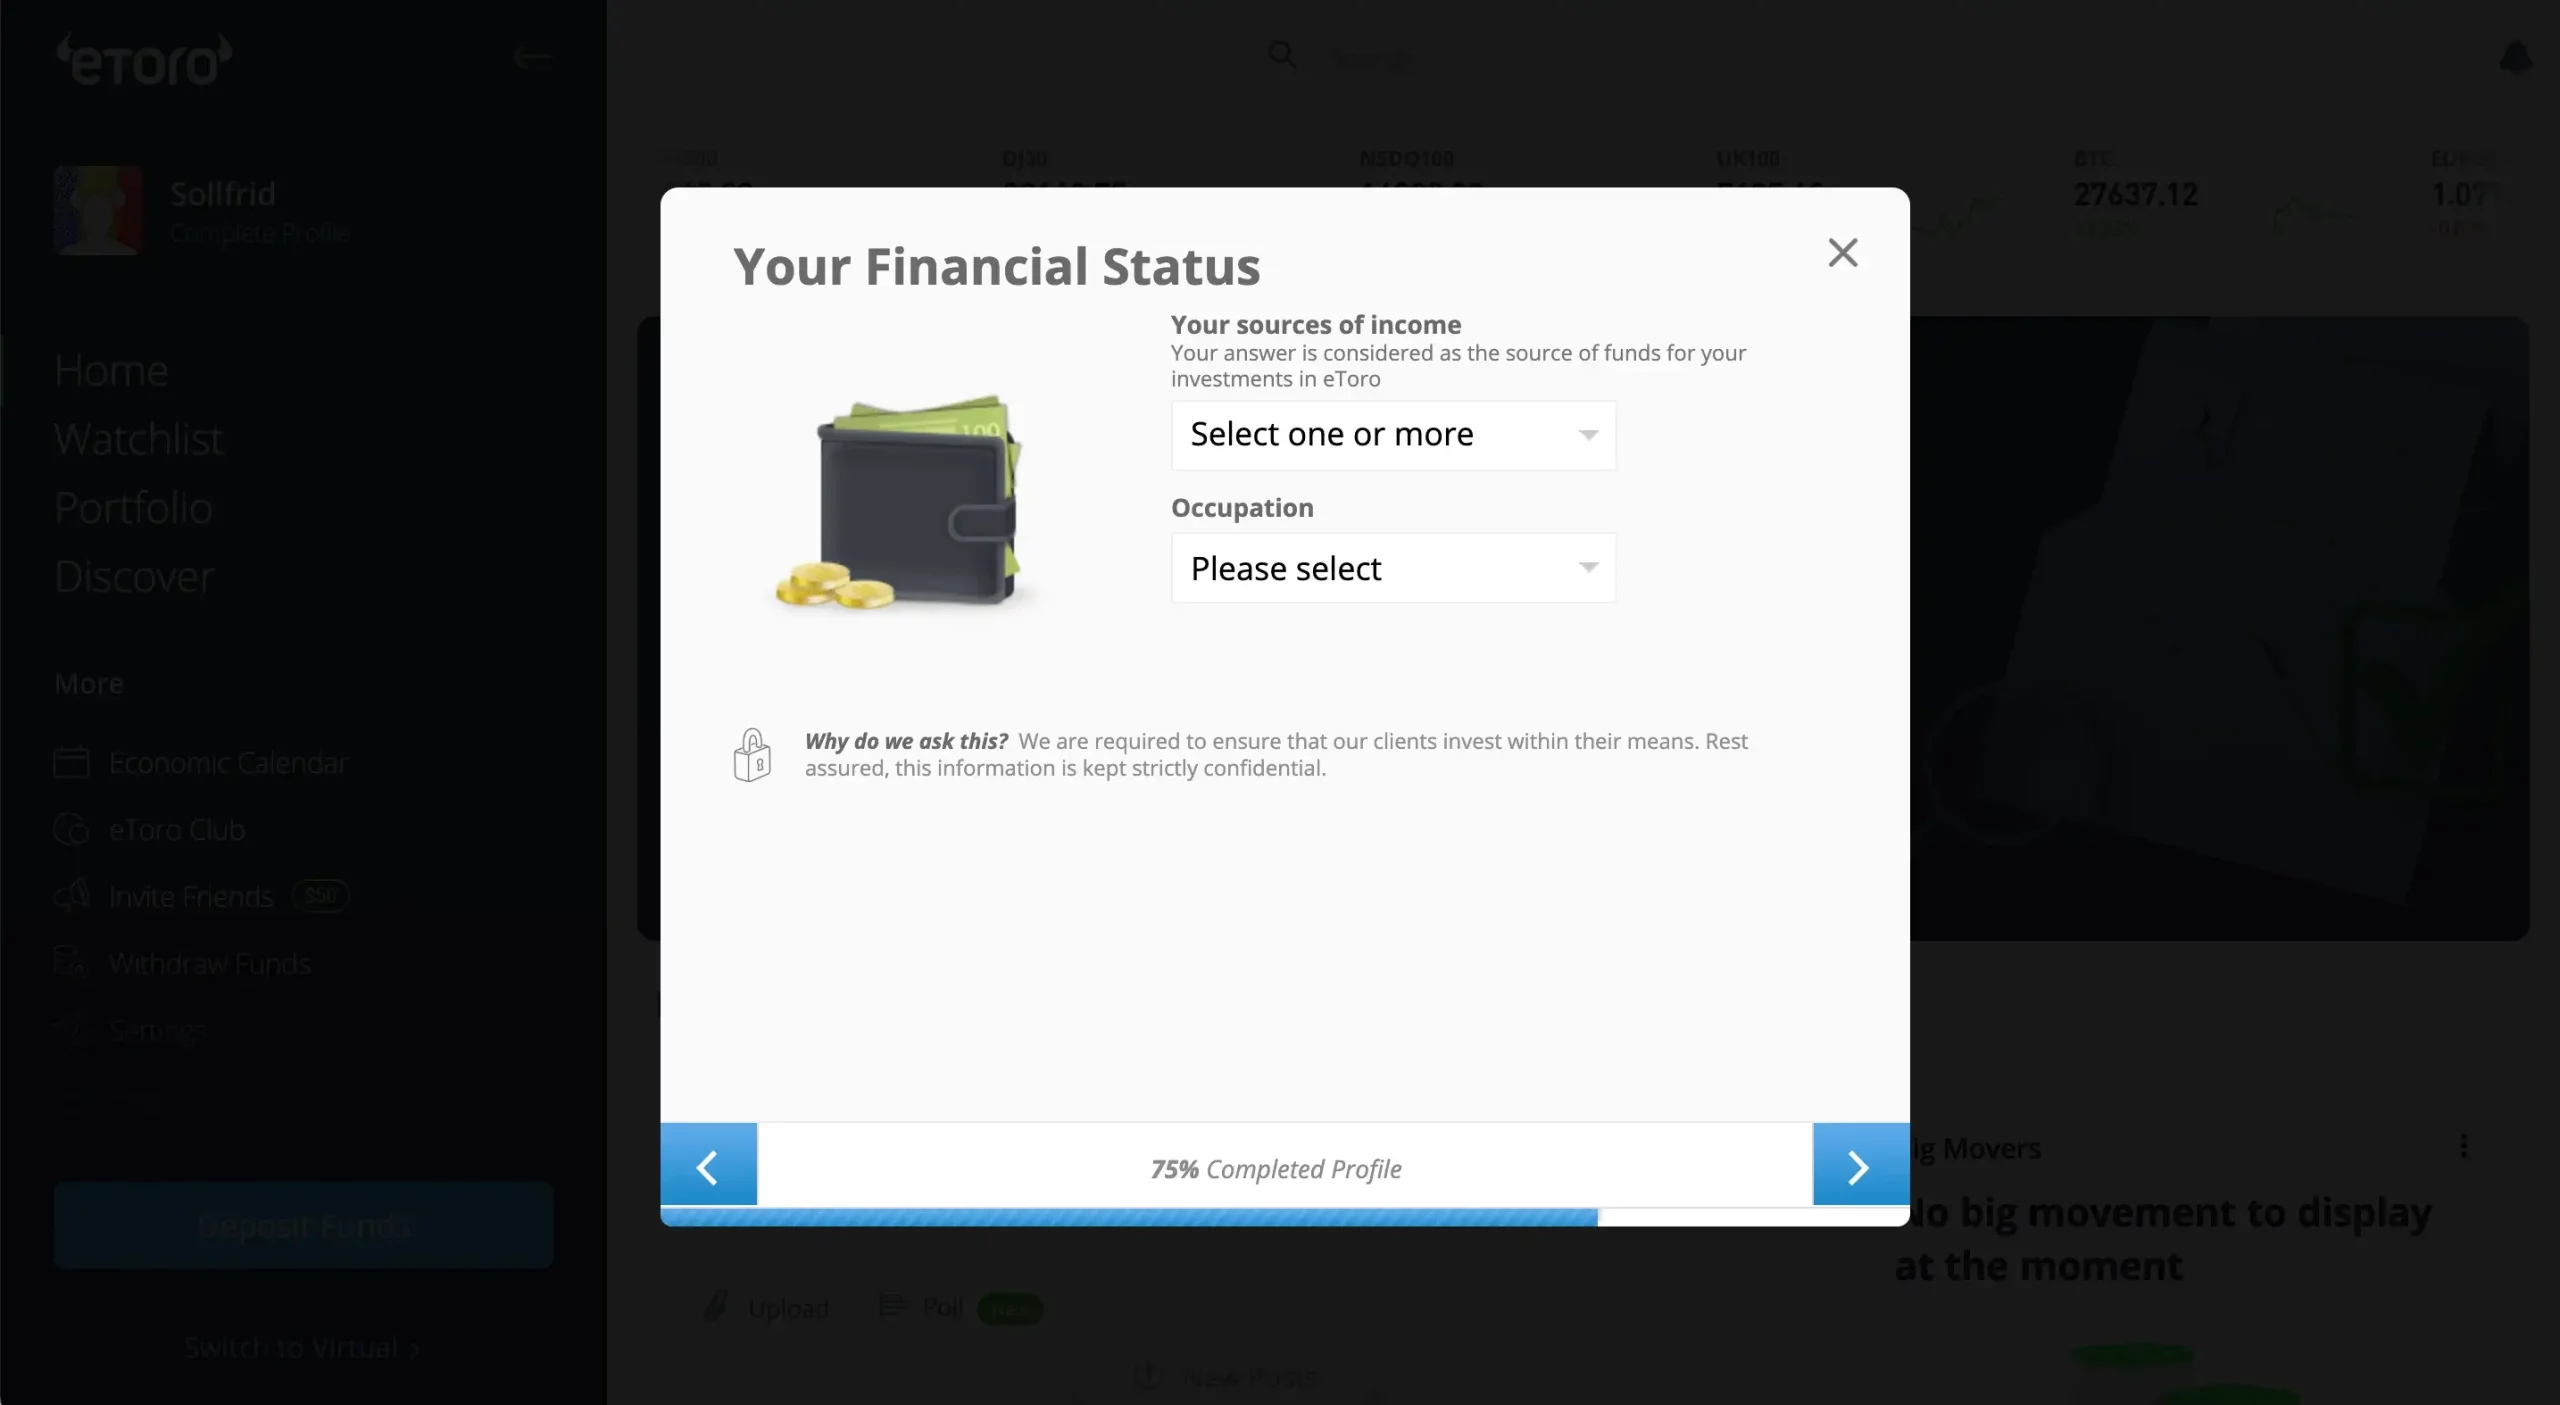
Step 1.18: Your financial status
Step 1.19: Your eToro account resolution is here!
Step 1.20: Complete your profile to deposit funds into your eToro account
Step 2: Deposit Funds into your eToro account
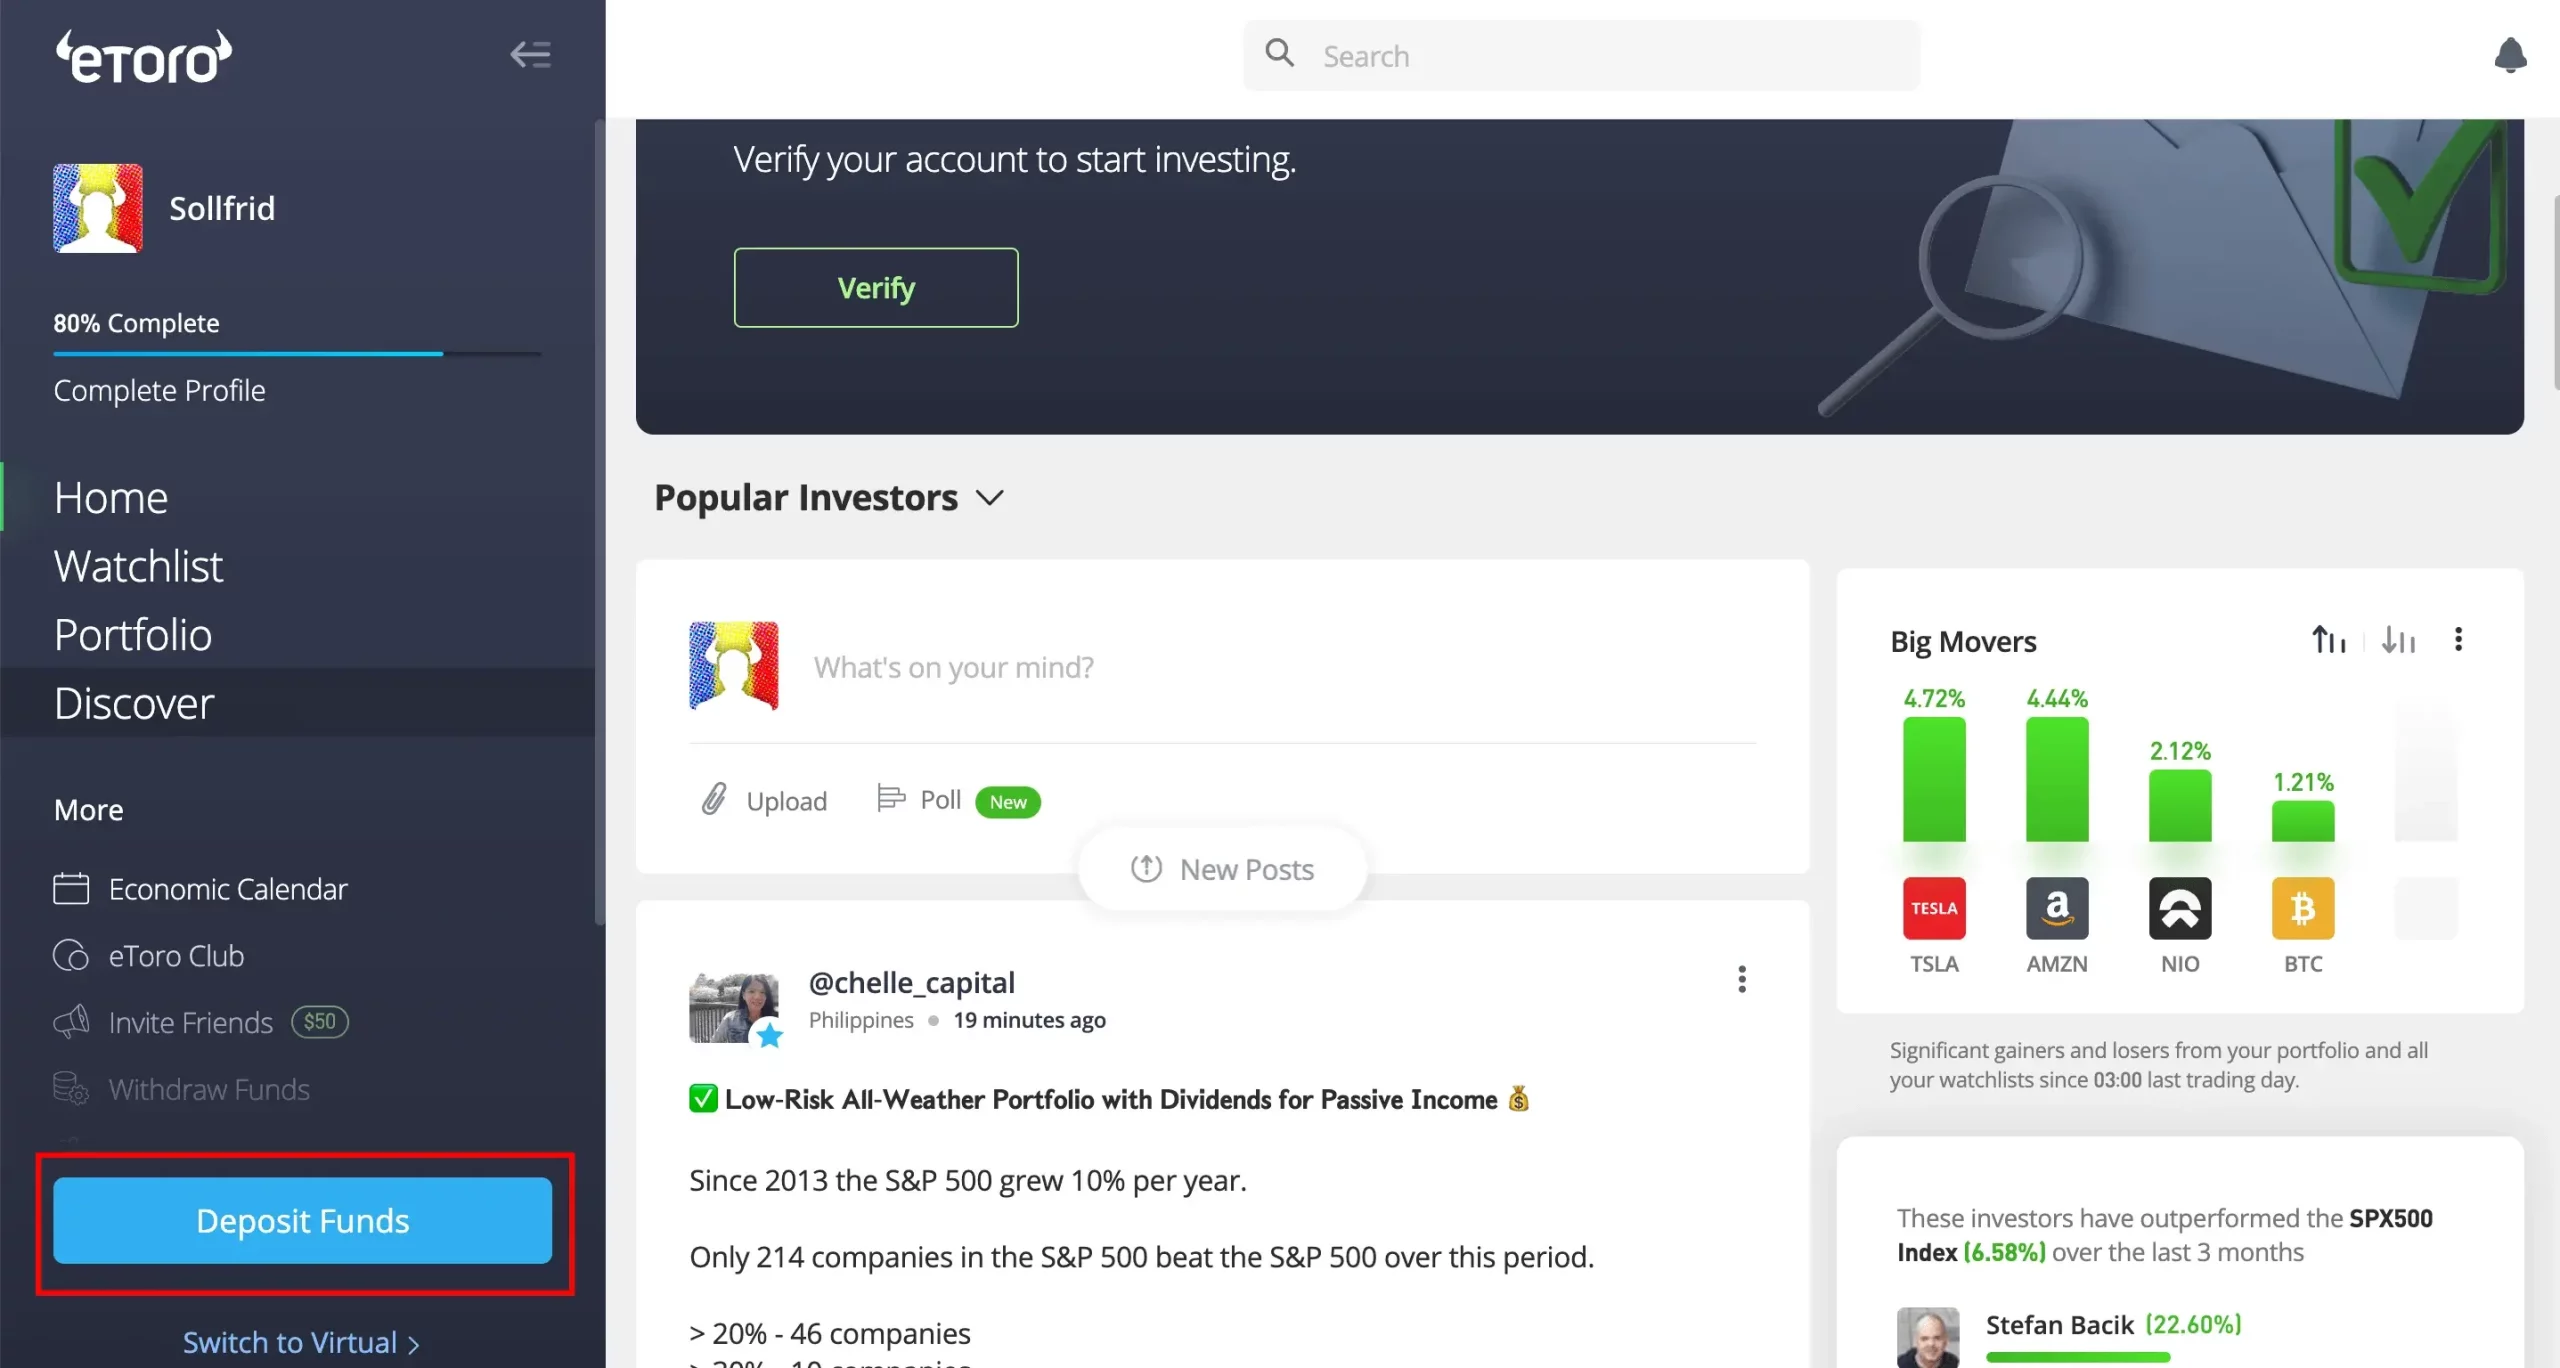
Please note that the minimum deposit in fiat is 95 € or $100, and it can be done by using a credit or debit card or a regular bank transfer from your bank account. So, complete all the details and hit the “Deposit” button.
Step 3: Buy Ethereum
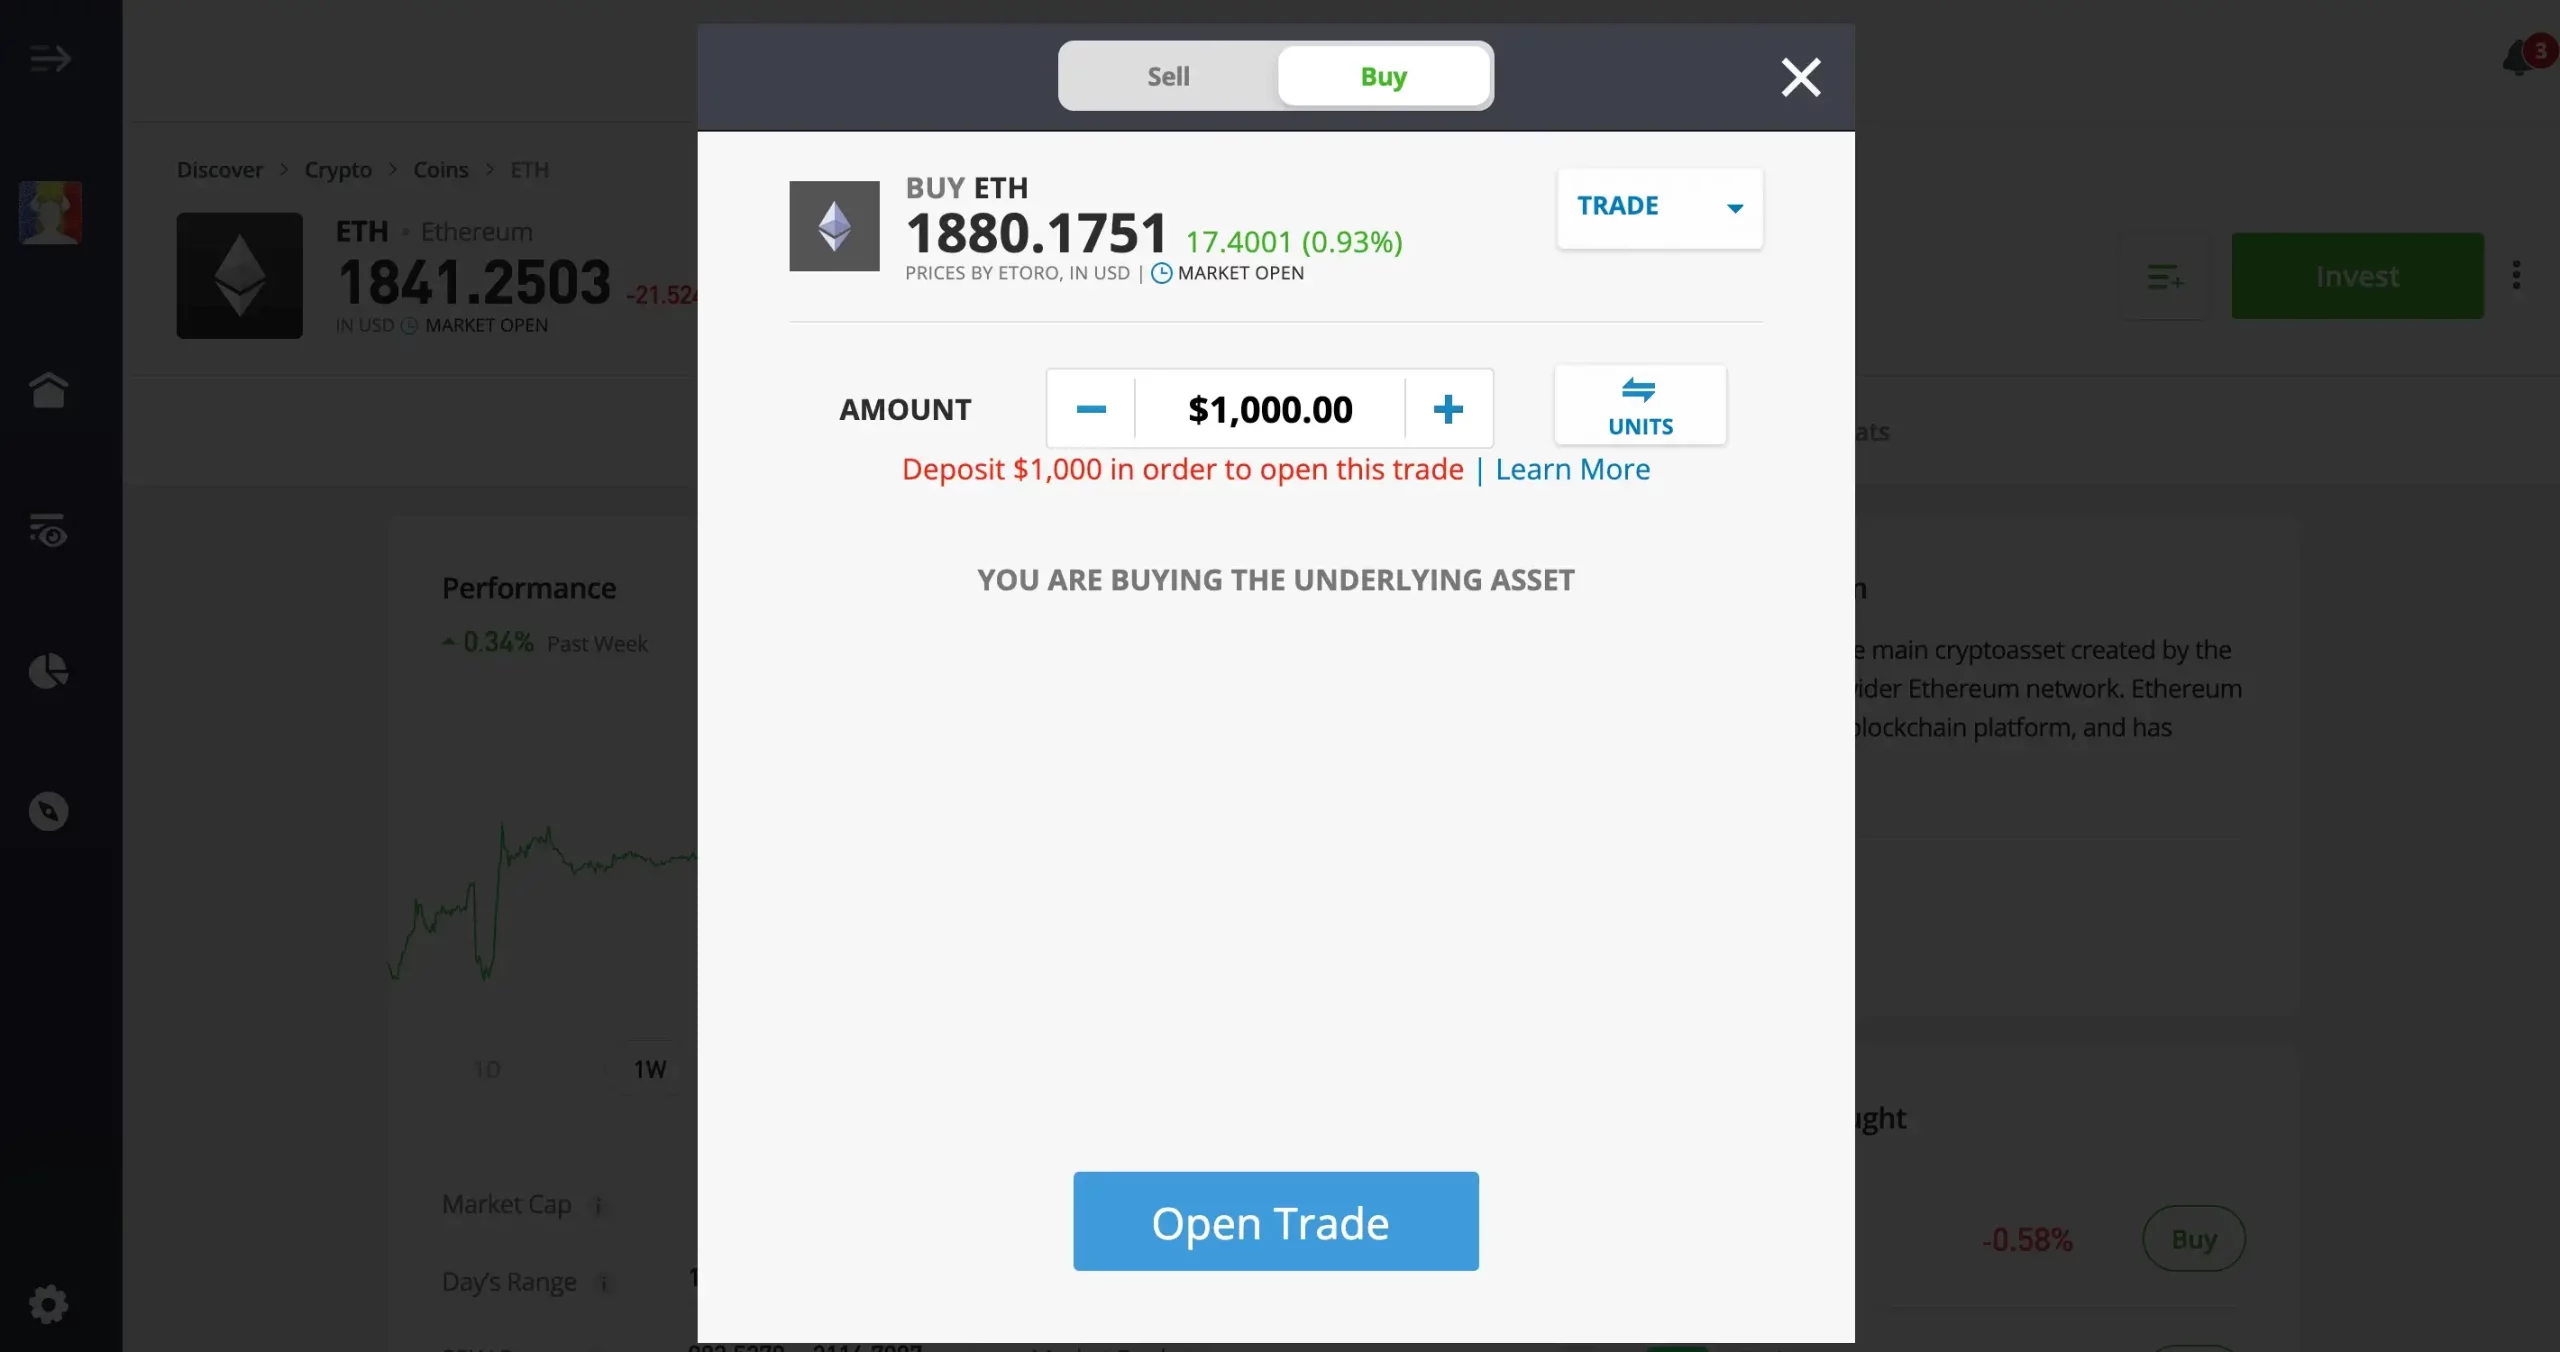
From your dashboard, type into the search bar “Ethereum,” navigate to the page, and click “Invest”; you’ll be buying Ethereum at the current market price.
Step 4: Set Up a Crypto eToro Wallet
When buying Ethereum on eToro, you have the option to store your currencies in your eToro account safely or create your eToro crypto wallet. Even though you are not required to have a crypto wallet, we highly recommend one.
Buy Ethereum on eToro: Tips and Tricks
Upon buying Ethereum on eToro, it’s essential to keep a few tips and tricks in mind to make the process smooth and successful. Here are some recommendations to consider:
1. Conduct thorough research
Indeed, the crypto world could be exciting and new; however, its volatility makes it susceptible to theft, fraud, and malware attacks. So, before investing, whether in Ethereum or any other digital currency, be sure to research. At Coindoo, we aim to constantly provide you with comprehensive crypto-related information, guides, reviews, and the latest regarding blockchain technology.
2. Only invest funds that you are comfortable risking
Star by making a rule only to invest what you are comfortable risking, but to reach this amount, you must consider your overall financial situation to your realistic long-term goals.
3. Use eToro’s Copy Trader feature
As eToro offers this option for new traders, it is wise to take advantage of such a mechanism to leverage the expertise of experienced traders in the Ethereum market.
4. Stay updated with market analysis
Take advantage of eToro’s educational side. Either by joining their learning academy or by checking the market news and analysis, this is a mandatory step to ensure the desired success of your trading efforts.
5. Consider long-term investment strategies
Instead of focusing on only one type of investment or currency, it is wise to research different other strategies that have the potential of snowballing. In our case, you can further explore Ethereum’s implication within the tech sector, analyze the DeFi market and draw a conclusion.
FAQ on Buying Ethereum on eToro
How to buy Ethereum on eToro?
Step 1: Visit the official website to create your account;
Step 2: Deposit Funds into your eToro account;
Step 3: Buy Ethereum;
Step 4: Set Up a Crypto eToro Wallet.
Can you invest in Ethereum with eToro?
eToro is a safe platform for Ethereum trading, including selling and buying. Moreover, eToro offers 2FA verification, cold storage, FDIC-insured USD balances, multi-signature facilities, private keys, and KYC.
What is the eToro fee for Ethereum?
eToro only charges a 1% fee for buying or selling, regardless of the currency.
Final Thoughts
We hope our comprehensive guide shines a light on your crypto investment plan, highlighting key aspects of your general strategy.
Be sure to research the crypto trends and news further to take a step toward your goals, and this cannot be done just by looking at a step-by-step guide. Instead, it requires multiple educational mediums, keeping an eye on the big players, and experimenting only with what you are willing to lose.